Tuesday, 3 January 2023

Carnevale: Escape From San Canciano

I'm on a bit of a roll with posting content at the moment, mainly because I had several games over the Christmas period that needed writing up.

However, this is my first actual progress post of the year and is testament to me taking a couple of my resolutions seriously in that I'm decreasing the mountain and getting something 'finished' quickly.

In this case it's the contents of Carnevale: Escape from San Canciano intro box from TTCombat that I received for Christmas.


One of the reasons I wanted this set, even though I already had the main starter set, was that it conveniently added to both the Guild and Rashaar forces I already have. I think it's meant to be another 50 ducats for each gang, taking my total to around 150 ducats. However, there have been points adjustments to the stats available online so, along with the extra Pilferer I painted last week, I've now got a disparity of about 20 ducats between the gangs (more if the Guild get a Gondola).

Both gangs get a hero and three henchmen to add to their forces meaning, as there are no leaders, I can make use of everything in appropriately sized games.


The new Rashaar additions include (from left to right): a Cult Officiant, a Lesser Rhyll (I think he's welsh), a Cult Enforcer and a Hybrid. The Cult members bring some additional land based (and slightly faster) combat prowess, whilst the Lesser Rhyll and Hybrid further cement the Rashaar control of the canals of Venice.

Perhaps the biggest bonus to the gang is the fact that the Cult Officiant and Hybrid can be trusted far more than the frankly awful Slaves to get on with objectives and agendas whilst the monsters are occupied with fighting, leaving the Slaves to focus on their true purpose: getting eaten.


In terms of painting I've largely stuck closely to the official paint scheme, although I'm using a more definite green (as opposed to blue-green) for the robes, to match what I'd already done with the Slaves. I've kept the Hybrid in drab colours as the seem to be the dregs of Venetian society in the game.

For the Lesser Rhyll I didn't know how I was going to approach him and so had a play with washes of Biel-Tan Green and dry brushing Elysian Green to achieve something that is, given the long limbs and distended belly, not totally unlike the lovechild of the Great Cthulhu and Kermit the Frog.


Whereas the Rashaar gained all new gang members, the Guild get a couple of duplicates amongst there number (from left to right): a second Gondolier, a third (THIRD!) Fisherman (woman), a Pilferer (this is my second, but that's not TTCombat's fault) and an Arbalest. Perhaps the most notable addition to the force is the Arbalest, which adds the first genuine ranged threat to the game and, along with the Capodecina, will allow the Guild to rule the rooftops.

I'll be honest, I'm not overly keen on some of these sculpts, although I appreciate that the sculpting is limited by the desire to keep these as one piece models for ease of introduction and so they are a bit flat. However, apart from the fisherman, they lack the character of the starter set Guild models, the Gondolier and Arbalest are stood weirdly (that's not how you hold a loaded crossbow) and the Pilferer has a strangely large and doll-like head.


In terms of painting, I've kept to the same sort of palette I used for the rest of the gang, ensuring an element of red on each of them to tie things together. I did have to put a bit of thought in to the colours to ensure that I didn't end up with the same trouser/shirt combos leading to them looking too uniform.

Although they're not my favourite group of models for the game, I'm pleased with how they've come out as a whole and I'm not read to play the two scenarios that com in the Intro box.


Whilst I'm talking about the intro box, it seems appropriate to do a little bit of a review. It's about half the price of the main set and can be picked up for under £30 from some sources - which is not bad given that you get pretty much everything you need to play. It's definitely a price point that allows people to impulse buy, and if you factor in that expanded rules and stat cards are available on the Carnevale game website, it's arguably all you'll need to buy for some time if you proxy models from an existing collection.


The game comes with a mini rulebook that seems to include everything apart from the rules for magic, the gang specific campaigns and the detaled background. However, there is more than enough to be going on with, as the rules do include the generic 5 scenario campaign, 'The Winds of Fate', for after you've played the initial two tutorial scenarios: 'Breakthrough' and 'Fight to Survive', which are detailed on a separate card.

Also included are stats sheets with a little bit of background on the gangs, dice, tokens, a quick reference sheet and even a cardboard ruler. If it weren't for the fact that the resin miniatures need cleaning before use, this would be a genuine 'straight out of the box experience'.  


This is especially true as, unlike almost every other game out there but just like the starter set, this comes with terrain too. A double-sided 2'x2' mat is provided (this size is fine for a small 8 figure skirmish) along with three cardboard buildings and a smattering of 2D terrain (a bridge, a gondola, a fountain, piles of barrel and boxes and floating debris). Obviously these aren't as good as 3D terrain (although I suspect I'll get good use out of the floating debris), but this is an intro box and it's a good way to ensure new player get to experience the different elements of the game in which terrain is important.

If I have a gripe about this intro box, it's with the buildings. Although they are actually better looking and more sturdy that those found in the main starter set, the do not go together without glue and a good amount of swearing. This means that they are not collapsible, which for me is one of the joys of the starter set as it means it doesn't take up much storage space.

However, it add three more buildings to my larger board set ups and given that I now need to find more space, will probably prompt me down the line of getting some of the MDF buildings.

All in all, this is a great intro to the game and if you've already got the main starter set it's probably the most cost efficient way to expand your gangs and terrain set up. I don't think it is as good in terms of value as the main starter set, although the price point probably means that more people are likely to encounter Carnevale for the first time through Escape From San Canciano.

On a personal level, I'm really enjoying the painting and the game, and I suspect I'm about to get neck deep into the canals of Venice. Additionally, these eight miniatures mark the start of this year's tally. There's no Hobby Bingo card at the moment (more on that in a future post), so you'll just have to make do with the raw numbers:

Acquired: 0

Painted: 8

Monday, 2 January 2023

Road to Berlin: The '34'

On the night of 30th June 1944, at the start of Operation: Bagration, a platoon of the 3rd Guards Tank Corps of the Red Army, led by Lieutenant Pavel Rak stormed across the bridges into the Wehrmacht-held town of Borisov. Despite throwing the German forces back in confusion, the Soviet tank commander found himself isolated as the rest of his platoon was destroyed and cut off when the bridges were blown behind him.

With only a small force of infantry to support him and facing overwhelming odds, Pavel Rak steeled himself to hold until relieved or to fight to the last man against the hated invaders.


This is the background of my final game of 2022, an asymmetric Bolt Action battle taken from the Road to Berlin campaign book. I would be taking on the role of the heroic Lieutenant Pavel Rak, and Matt would be commanding the nefarious faceless legions of the Third Reich.

The scenario dictated that Matt would have three times as many points as me (1800 vs 600), but I would be defending three bunkers (pictured below). The objectives were simple, Matt had 8-9 turns to capture the bunkers and I had to stop him or die trying.

You'll notice that two of the bunkers were actually coastal defences with hideous blind spots (this would be relevant) and for the third we created a strongpoint within the ruined factory. It made sense to us.


As stated earlier, the forces were somewhat uneven, but Matt and his Germans had a lot of ground to cover, whilst I had the benefit of sitting tight and letting him come to me. Given that I had to include a T-34 in my list to represent Lt Rak, I opted for quantity over quality for the rest of my force which was drawn from the Operation Bagration theatre selector:

Soviet Defenders (all Inexperienced unless noted)
2nd Lieutenant
Free Rifle Squad (12 men)
LMG Squad (10 men, 2 LMG)
2 AT Rifle Teams (Regular)
Mortar Team & Spotter
T-34/85 (Regular)

Matt had more freedom but was required to use the Folorn Hope theatre selector which limited his choices to an extent. However, he knew that he would have to storm bunkers and deal with a T-34 and so could build his list accordingly...all 1800 points of it...

German 1st Platoon (1st wave, all Regular unless noted)
2nd Lieutenant
Forward Air Observer
Heer Grenadier Squad (10 men)
Heer Grenadier Squad (9 men, Veteran)
Flammpanzer B2 (f)

German 2nd Platoon (2nd wave, all Regular)
2nd Lieutenant
Major
Heer Grenadier Squad (10 men)
Panzerschreck Team
Panther Ausf D

Turn 1


I deployed my infantry squads in each of the bunkers, with the rifle squad occupying the factory strongpoint. The AT teams took up positions to allow them to try to put pins on advancing units and the T-34, Mortar team and officer were all hidden away out of danger.


Matt deployed most of his first wave on my right, around the stately home, with the air observer in an upper floor. We'd both overlooked the fact that the scenario began using the night fighting rules and so for now there was very little shooting possible.


On the other flank he deployed the somewhat terrifying form of the Flammpanzer. The fact that Matt has one of these is due to the fact that he has a rather large French army and there's only so many Char-1b tanks a single force can use.

I was very aware that if the Flammpanzer got in amongst my bunkers the game would be over very quickly and so the only shooting of the round came from and AT rilfe team and the mortar trying and failing to put pins on it.

Turn 2


The Flammpanzer continued to advance and the Panther failed to arrive from reserve, and so I brought Rak's tank out of hiding and, after successfully spotting the lumbering beast (it was still dark), opened fire.


BOOM!

First blood to the Russians.

I'd actually managed to put pins on the tank with the mortar and the AT rifle team in the same turn, but the T-34 shot was good and set the Flammpanzer on fire. Once the crew failed their morale test (which the pins helped with) we decided that the burning hulk should be a light source for the rest of the time that darkness lasted. It seemed to make sense.


Meanwhile, the German infantry scurried across open ground praying that it would get light before they found cover.


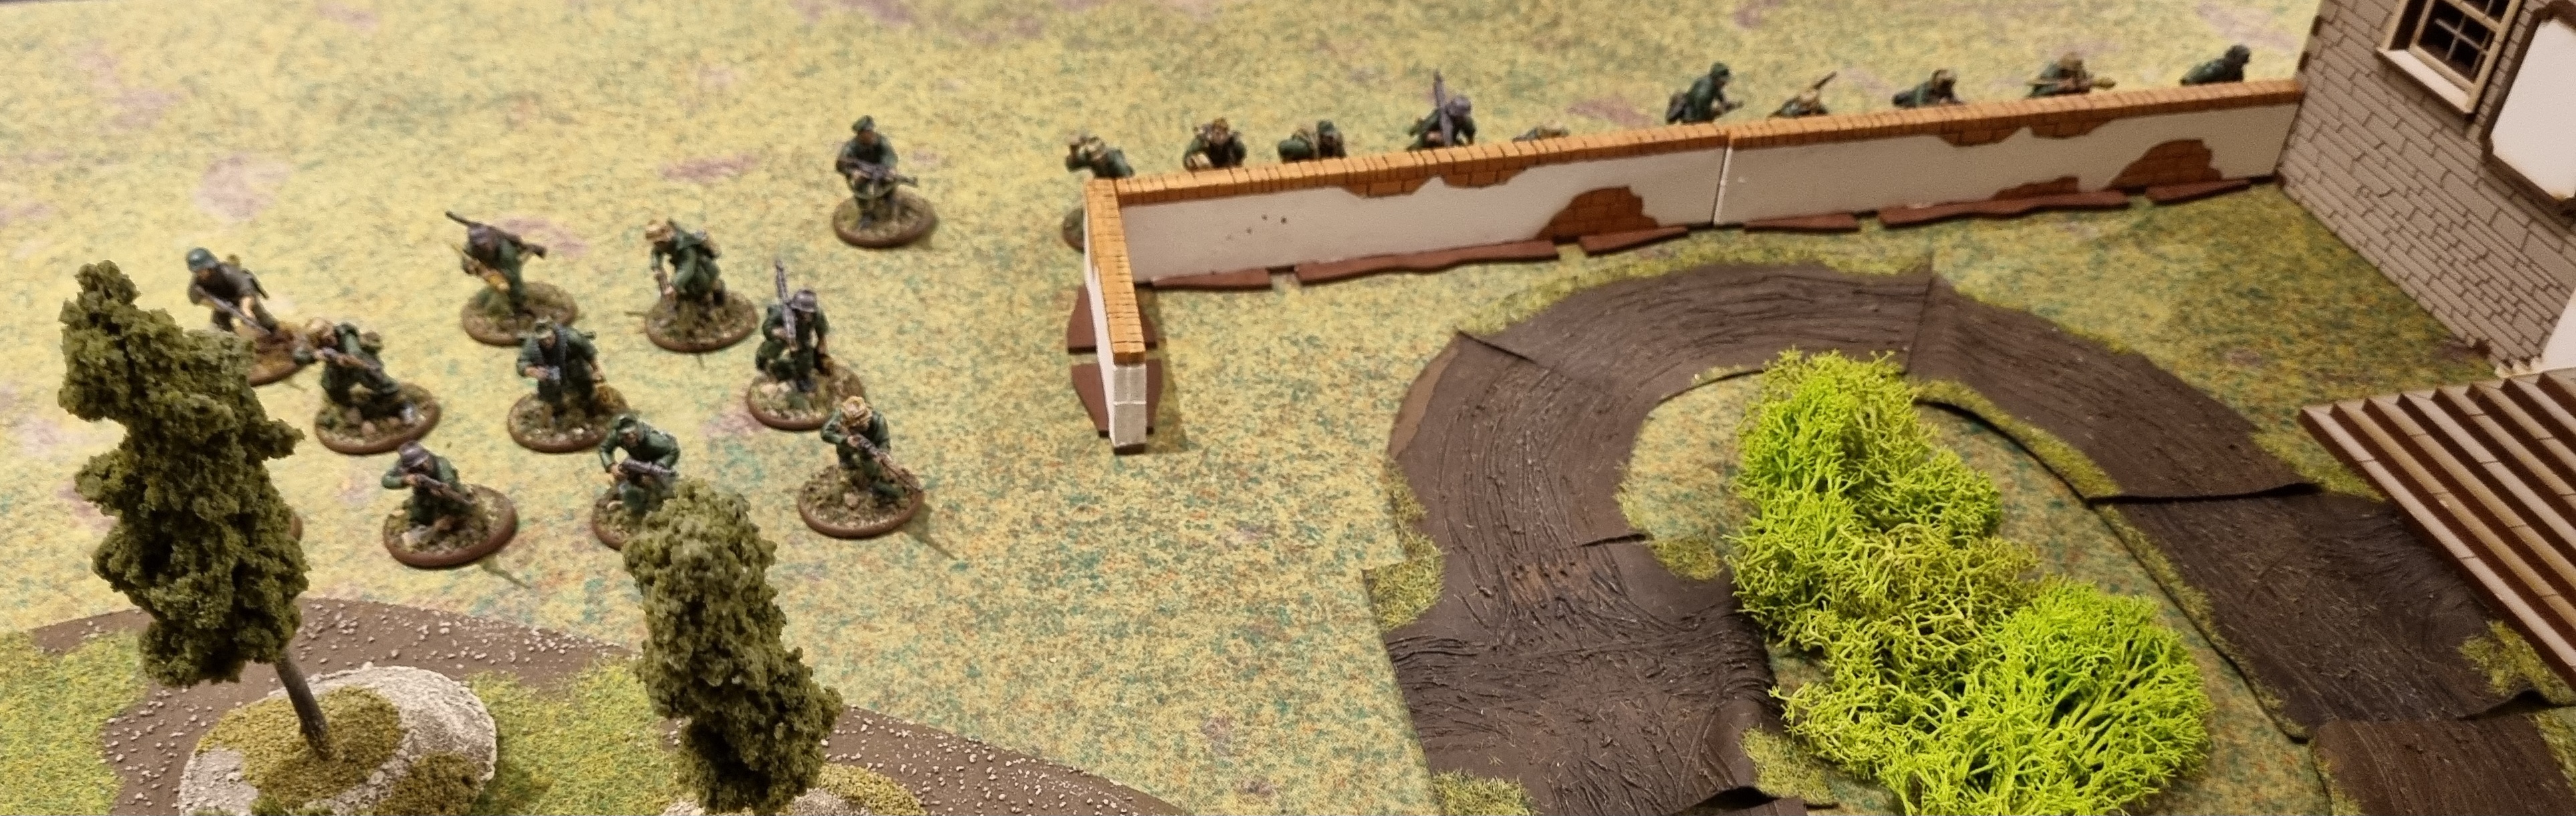
The veterans, however, revealed their superior experience of warfare by using the massive building to sneak up behind, aiming to turn the flank of the Russian defences.

Turn 3


With the sun failing to rise again, German infantry swarmed across open ground hoping that they wouldn't be spotted. Unfortunately, the LMGs in the bunker opened up on them.


The pressure was added to by the T-34 using is machine guns to spray the squad, inflicting significant casualties and causing them to break. My T-34 was living up to the legacy of Pavel Rak.


However, despite the successes in the centre of the battlefield, Matt had brought most of his second wave on to my left flank. Two squads of infantry advanced and the ominous form of a Panther rolled in to view. The defenders of the factory facing them were a single AT rifle and a squad of inexperienced infantry.

Turn 4


The advance towards the factory continued apace. A smattering of riffle fire issued out of the strongpoint, aiming more to pin and slow down the assault rather than with any hope of driving it off.


And even if they were successful in this, another squad were coming up in support. Things looked bleak for the defenders of the factory.


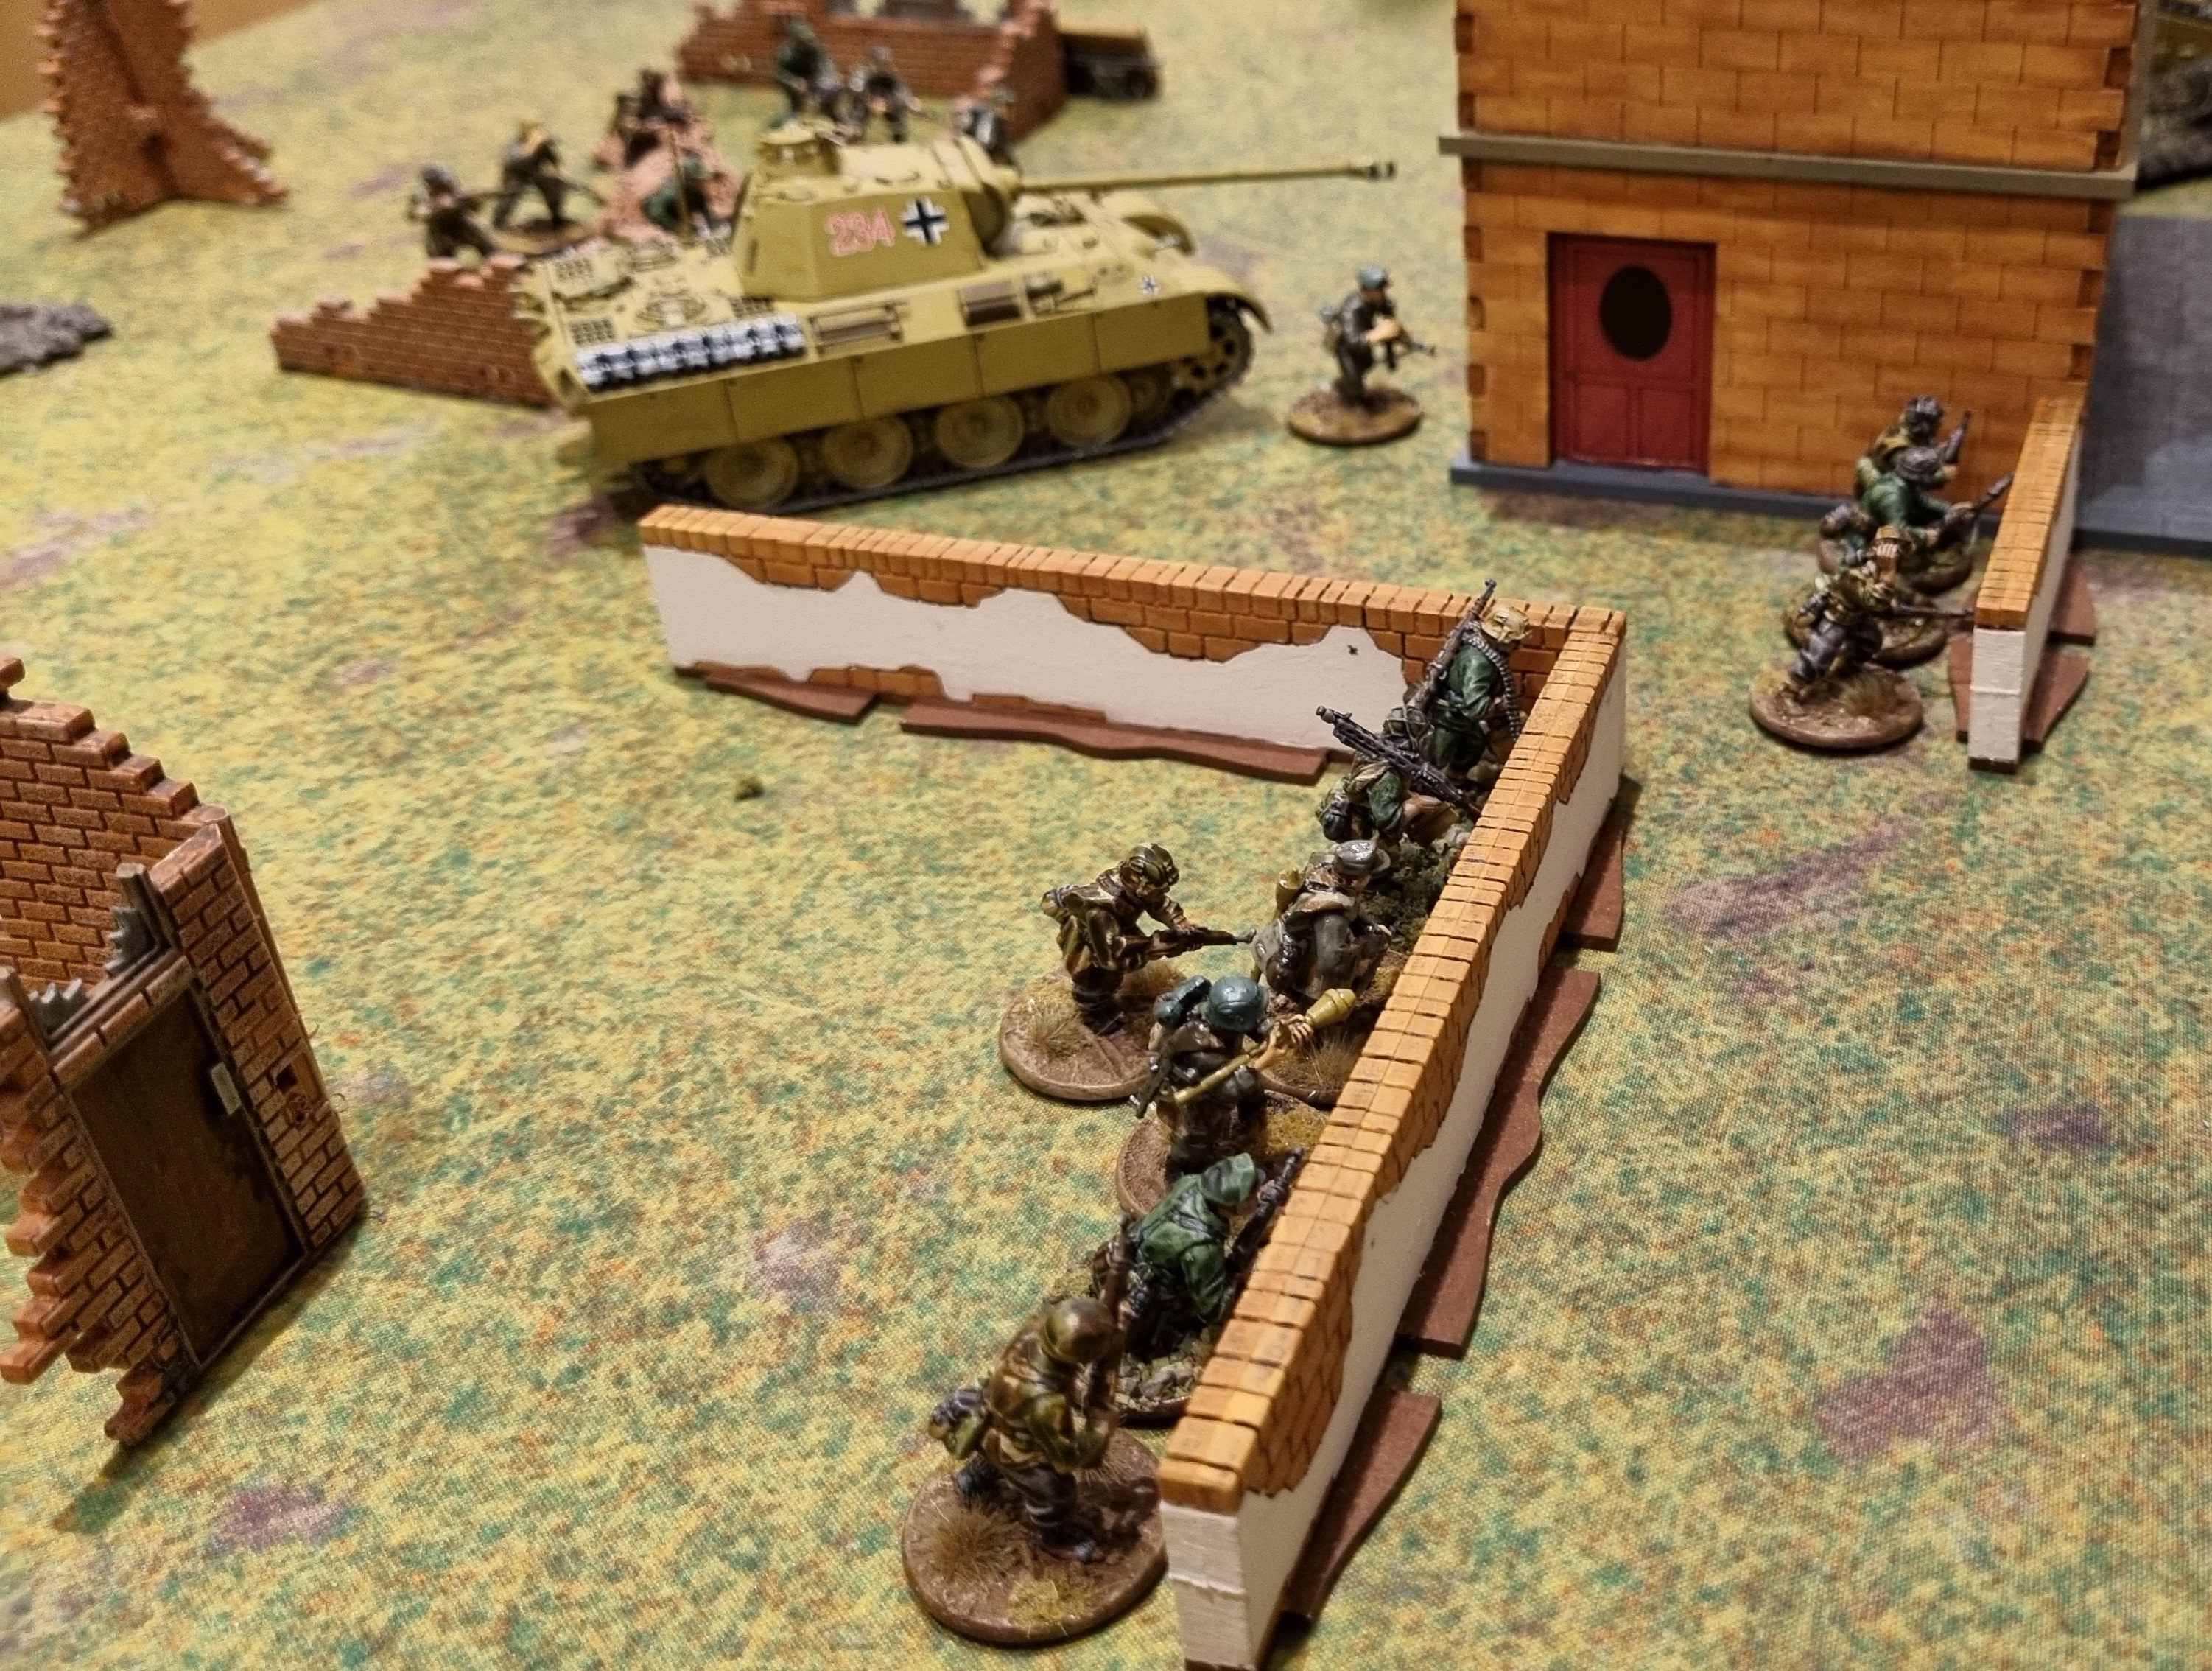
Things took a turn for the worse in the centre too, where the Panther and panzerschreck team moved into range of Pavel Rak. Both fired, but somehow both failed to cause any damage.


More infantry moved out into the open, keeping the attention of the soldiers in the bunker fixed to the front.

Turn 5


During all of this the veteran squad had successfully turned the flank of the Soviets, causing the mortar team to redeploy, and the officer to move to defend the bunker which, as a coastal defence, had a massive blind spot. Again, veteran experience had enabled the Germans to spot this.

The officer made a valiant attempt to pin and slow the veterans but his fate was sealed.


Over near the factory, the flood of German soldiers continued and the AT rifle team was brushed aside with ease.


Meanwhile, another squad had made it into assault range of the entrance to the strong point. If all went to plan, the Germans would be in position to take two objectives in the following turn and the Rusians would not have the means to dislodge them.

Turn 6


Daylight finally came and inevitably the air observer targetted my heroic T-34.

On my right the veterans were poised to strike and assaulted the bunker. Veteran soldiers bristling with assault weapons charged into inexperienced recruits armed only with rifles. The outcome was inevitable, but the scenario gave the Soviets the fanatics special rule which meant that the fight was more drawn out that it might have been. When the dust settled there were six veterans remaining anf the bunker was in German hands.


Meanwhile in the centre another assault was being prepared but things weren't going to plan. The panzerschreck team managed to hit but did little more than jam the tureet of the T-34 and the Panther failed to fire after taking a pin from the second AT rifle team. At least the infantry were able to use their cover and get forward, killing the AT rifle team in the process and sweeping towards the bunker.


Over on the left there was a surprise turn of events when the rifle squad rushed out of their bunker with a cry of "Ura!" and swept the German squad away in a storm of fixed bayonets.

Turn 7


The buzz of engines overhead signalled the arrival of the Luftwaffe who somehow managed to miss the tank in the open and instead annihilate their own infantry, removing any chance that Matt had of actually capturing the central bunker unless he could get a HQ unit to relieve the veterans on the left.


In order to prevent this and realising he was on borrowed time anyway, the foolhardy Lieutenant Rak turned his rear to massive gun firing on him and opened up with his hull machine gun on the lone officer heading toward the bunker. The veterans wouldn't be leaving and, barring a disaster, the centre was secure from piecemeal assaults by small squads and HQ units.

With the now customary failed shots from the Panther and panzerschreck, all eyes now turned to the factory. 

Turn 8


The final German squad geared up to assault the factory and went in, SMGs and assault rifles at the ready. The fanatical defenders fought back ferocously and two rounds of combat were fought, after which Soviets were still standing. The remaining German officer tried his luck, but also died. The bunker had held.

Soviets 1 - Germans 0


The heroic tale of Pavel Rak finally came to an end when the Panther eventually worked out which way was up and took out the T-34. 


Rak had prevented the veterans from leaving the right hand bunker, but this was still firmly in German hands.

Soviets 1 - Germans 1


A smattering of Germans lingered near the central bunker which was still grimly defended by the Russians. Technically the scenario states that units within 3" of an objective contest it, but this didn't really make a great deal of sense, given that standing outside a bunker doesn't really do anything unless you're armed with a flamethrower.


As Matt had gallantly assaulted the factory rather than loitering with intent but with the scenario rules being a touch weird we decided to call it a draw.

The Soviets still help two of the bunkers, but had no means of harming the Panther without leaving shelter and so would be pinned down until the veterans could be freed up to clear them out.

 Final Score: Soviets 1 - Germans 1

This was a really fun game to play with a very different feel to it. In retrospect I should probably have had slightly smaller squads and tried to have a few more mobile troops that I could use as a fire brigade. The AT rifles were a good choice, but the mortar was not the best decision against a mobile opponent and so I could easily have squeezed in one or two better quality squads designed for counter attacking.

Matt obviously wouldn't have brought the air observer and had terrible luck with his many failed attempts to destroy the T-34. Despite the points advantage, it's not easy to assault a fixed position and he had to keep moving throughout the game, whether he had cover or not or risk running out of time.

It's been enjoyable to get back to Bolt Action over the last few weeks and I'm hoping to get a few more games. I really enjoy the scenario gaming much more than straight fights and I'll be looking to ake good use of the campaign books over the coming year.






Sunday, 1 January 2023

Orsa The Fearless: Ragnarok

With the death of the Mountain King, Orsa is able to forge and alliance between the Northern Tribes, the Svartalfar and, after learning to accept her dark heritage, even the feral Vild flock to her cause. They march to meet the forces of invading Altan Empire on the Barrow Hills.

However, as battle is about to be joined, Orsa learns that Skadi, the corrupted Norn, will perform a ritual to strip the essence from her sister Skuld and give Skadi dark power of untold levels. With this power, there would be no hope of stopping Skadi's dark legions from destroying everything.

Making the hard decision to leave her allies on the eve of battle, Orsa leads a combined force to stop the ritual from taking place and defeat Skadi once and for all.


***

And we're back for the finale of the Orsa the Fearless feature pack for 7TV Fantasy. This scenario is pretty much a straight fight between our heroes and the forces of evil. The only wrinkles are Skadi's ability to generate new undead warriors whilst inside the stone circle and the burial mounds rules from the encounters booklet which cause random events each time a star or co-star takes two move actions in a turn (a rule we remembered...sometimes...).

For this finale, I was joined by JP. He'd brought his undead legions forth and I would be controlling or so far unsuccessful heroine, portrayed by glamour model Alessandria di Napoli in this even lower budget remake of the already pretty low budget remake of the 1980's (fictional) cult classic.

***


Bale-fires burned in the Barrow Hills at a site of ancient power and significance to the Northern Tribes. Here they believed was a place where the gods could be communed with, and as such for generations, great chieftains had been interred into burial mounds in this place to ease their passing to the netherworld.


Into this ominous landscape comes the Norn-Crone Skadi and her unnatural minions drawn from the ancestral tombs of the very peoples that she seeks to enslave. The reanimated corpse of Ingrum the Fallen, the Executioner King, orders forwards his eternal servants, still mounted on their spectral steeds, whilst beside Skadi lumbers an Ofarr, an abomination of wickedness forged from the flesh of the newly slain.


Meanwhile, Grissle of the Hoarfrost is also risen and glides forwards ahead of Skadis legion of Draugr, those poor Altan warriors who had been assigned as an honour guard. Their bones still served in death, but their flesh was all gone, used in the vile magic that had created the Ofarr.

This shambling hoard made its way forward, its only purpose to prevent anybody from impeding the ritual that would give Skadi ultimate power over the Northern Tribes, their allies and even the Altan Empire.


Suddenly, figures appear on the hills. Skadi looks up and recognises the mercenary Wulf leading a combined force of Vild and Svartalfar to stop the summoning. The Norn-Crone snarls, there are not enough of them to stops her, but a familiar roar echoes through the barrows and Skadi curses.


As sure as day follows night, Wulf's force is joined by a war-party of Northern Tribesmen, led inevitably by that Vild foundling of Skuld's, Orsa, and her damnable bear, Karhu.

Skadi would needs to slow them down if she was to complete the ritual.


Skadi muttered words in a foul and forgotten language. As the Svartalfar rushed forwards they were assailed by spectres emanating from the barrows around them.


Ingrum the Fallen screeched and his dark knights surged forward towards the stricken Svartalfar, and were followed by the unholy form of the Ofarr.


With one flank of the enemy engaged, Skadi scuttled forwards to begin the ritual of power...


...whilst Ingrum led the Draugr forwards to engage Orsa.


Although seemingly slashing at thin air, the Svartalfar were able to drive off the spectres before the enemy forces arrived.


However, a volley from Wulf and the Vild failed to slow the massive forms moving towards them through the mist, battle would be joined too far from the stone circle for any of them to intervene in the ritual.


Meanwhile, on the other flank, the Northern Tribes paused to unleash a volley of arrows that dropped several of the Draugr, but the shambling undead kept moving. The mist briefly parted and Orsa briefly had a clear shot at her foe...


She bent her great hunting bow and let fly a shot that flew straight and true, puncturing Skadi's shoulder and crucially breaking her concentration. The Norn-Crone screeched as the impcat knocked her to the floor.


However, her screech urged her minions forwards. Dark riders galloped up the burial mounds and thundered into the Vild lines.


Meanwhile, Draugr rained arrows down on the Northern Tribesmen whilst Grissel of the Hoarfrost drifted out of from behind an obelisk. Her deathly chill seemed to draw Karhu's spirit out of his body and sent Orsa's normally stoic companion running, seeking a place to cower.

She then turned her baleful gaze upon Orsa and the warrior-maiden was gripped the with instinctual rage and bloodlust of the Vild.


She leapt towards her companions, cutting down the cheiftain from behind. His bones would rest with his ancestors, but not before Orsa hate sated the long denied hunger for human flesh...

...but before she could commit such a terrible atrocity, the chanting of a Shaman brought her back to herself and she looked down on the crime she had committed and considered the even worse crime she has been about to commit.


Hatred burning in her eyes, Orsa charged towards Grissel, her blade slashing out and driving the shade backwards. Somehow Grissel was able to parry Orsa's lighting strikes, but was being slowly driven down to the ground.


It cackled at Orsa, "You'll never defeat me alone!"

"But she's not alone, " came a voice from behind the creature, "she's built an alliance to stop you," and the blade of a Northern Tribesman emerged through Grissel's shifting form, breaking the spell that was holding it together.


The Svartalfar now counter-charged into the minions of Skadi, driving the foul creatures back and allowing Wulf to slip away unseen.


With her attention fixed upon Orsa, Skadi didn't see Wulf sneaking up. He grabbed her by the neck and dragged her over to where Orsa was making a fight back.


He knew that the Svartalfar would fight bravely, but they were over-matched and would eventually be ground down. However, they had sworn their allegiance and they could and would buy Orsa time with their deaths.


Wulf had captured Skadi, but keeping control of her was a more difficult issue. Foul magic surged out of her, killing the warrior who had aided Orsa in a foul explosion of flesh that required cutting out of the film in some territories. Wulf and Orsa were knocked flat, stunned and immobile as everything went blurry and slow-motion.


The disgusting form of the Ofarr lumbered into view, striding towards where Wulf lay, picked him up by the throat and, in scene that also didn't make it past many censors, bit his head clean off.


More Draugr arrows fell amongst Orsa's allies, and she thought she could hear the voices of the gods as she lay sprawled suggestively one the floor (it was actually a contractual requirement that Di Napoli would have one scene like this in each episode) Time seemed to slow down and the foul Ofarr began to move towards her, whilst Skadi screamed in victory.


Suddenly, there was a growl as loud as the great Fenrir and Karhu leapt in to the fray defend Orsa, the fight between the Ofarr and the bear a masterpiece of special effects technology, as the stop-motion Ofarr swiped at the man-in-a-bear-suit, only to have it's own throat ripped out.

Karhu roared in triumph.


However, Skadi wasn't done and the ritual was near completion. Dark magic seemed to suffuse her, healing her wound and drawing Ingrum the Fallen to her side, knocking the bear back to where it would not be able to stop to the Norn-Crone from ascending to absolute power.

Orsa got to her feet, a single warrior by her side. Karhu was down, Wulf was dead and her allies were gone. Only she stood between Skadi and ultimate power. Remembering the gift of mandrake root Skuld had given her in a cutaway scene in the first episode, she thought of what her foster-mother had told her:

"Keep this with you. Dark magic cannot abide the mandrake root. When it's time, remember me and remember you are Orsa. The Fearless."

Alone, outnumbered and injured, Orsa grabbed the mandrake root and rushed headlong towards Skadi, plunging it into the swirling energies surrounding the Norn-Crone. A purple light swelled around them and suddenly burst outwards, dissipating the energies and freezing Skadi and Ingrum in place.

The ritual was over. The undead collapsed where they were and the sun bean to peek through the clouds. Orsa plunged her blade into the heart of the still frozen Skadi, looking deep into the witch's eyes as she did so, the failure written there little comfort for those she had lost.

Wulf and the the others were laid to rest in the barrows of the ancestors. The lone survivor took the tale back to the tribes who had fared badly against the Altan Empire forces, and yet hope had been kindled and the fight would continue.

Orsa and Karhu stood silhouetted on the hill top. Skadi may have been stopped, the Altan Emperor had put these events in motion. She looked southwards with vengeance in her heart.

***

That was a brilliant game with an epic conclusion.

It swung backwards and forwards with heroic deeds and vile magic tipping the balance. The good guys felt overwhelmed simply because of how many plot points the evil cast generated, and when JP used the voodoo doll artefact to dominate Orsa, I thought it was over.

However, killing Grissel and then capturing Skadi with the staff of the serpent gave me a chance as Wulf stole the scene and used the opportunity to get his prisoner nearer to Orsa for the death blow until a terrible combination of spells and trilogy cards saw both Orsa and Wulf stunned and immobilised and having to pay double plot points to remove the statuses.

Wulf being killed made things desperate for the good guys unless I could pull off the kind of endings that only happen in 80's fantasy movies like Willow or Red Sonja. The Winter of the World trilogy card had immobilised much of the evil force and therefore, despite absolutely slaughtering the good guys, the villains were on the edge of being axed.

Orsa, who was on one wound, rushing in with the mandrake root on the last turn of the game immobilised both Ingrum and Skadi, axing the villains and causing a three point swing to give a 4-2 victory to the heroes.

However, because of previous losses, the game began with the villains having a 3 point head start, meaning that ultimately the campaign was a minor victory for the villains.

This just means that there will be a sequel.