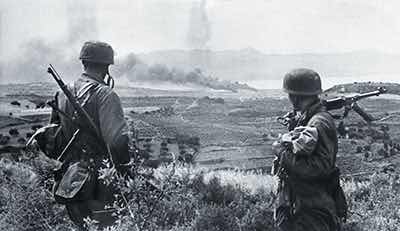
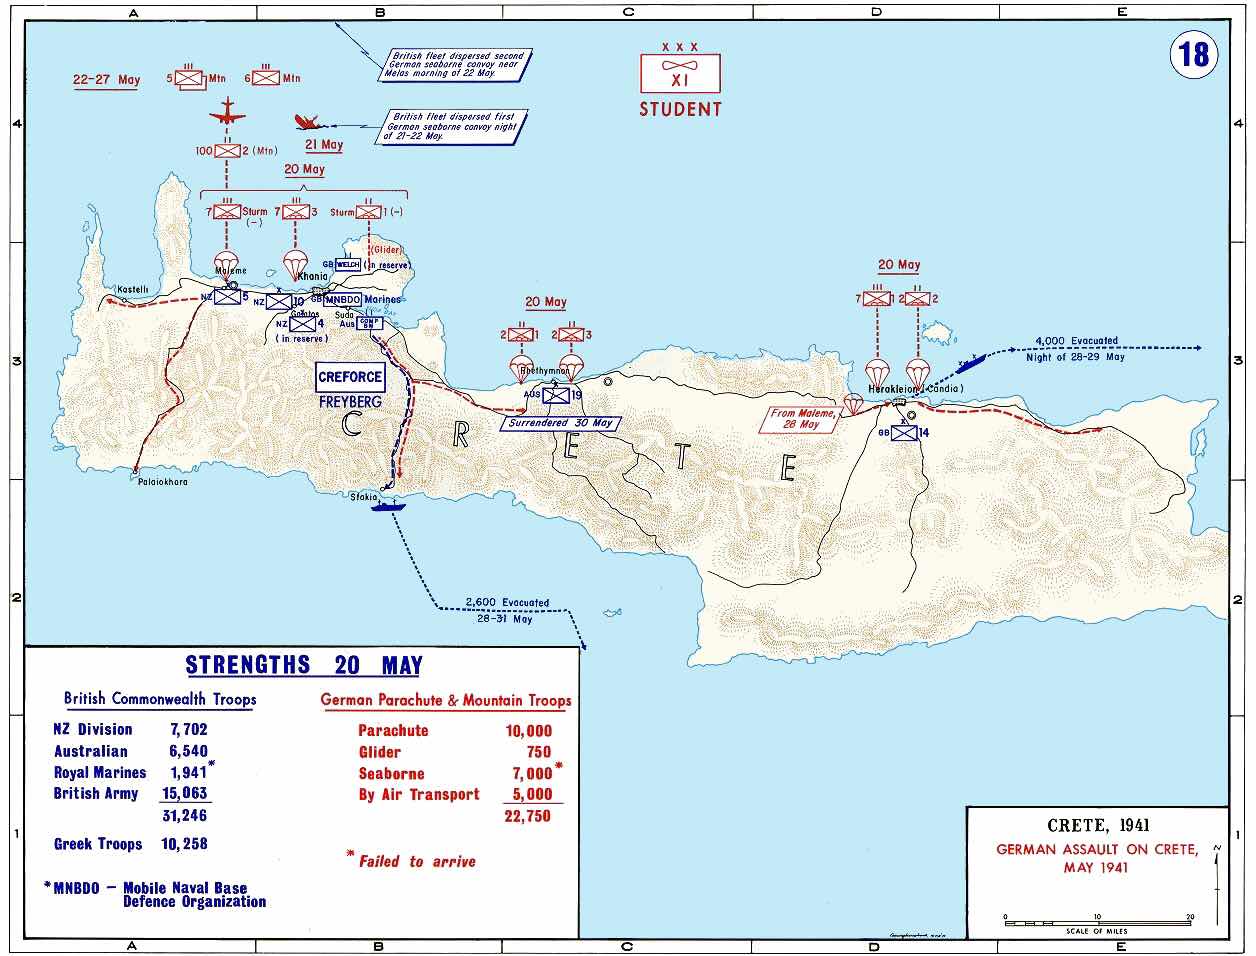
May, 1941, and the Third Reich launches a massive airborne assault of the island of Crete in an attempt to wrest this strategic base just off the coast of mainland Europe. The Fallschirmjager, although successful, would suffer enough casualties to make Hitler wary of using them in this manner again.
Over the last six months, Pete and I have been slowly building our new Bolt Action forces up to allow us to play a series of linked games that featured in Wargames Illustrated #371. As small actions, they gave us realistic targets to aim for, and also helped me to choose what to build (something I struggle with). Also the narrative element is something we’ve really started to enjoy in games of Bolt Action.
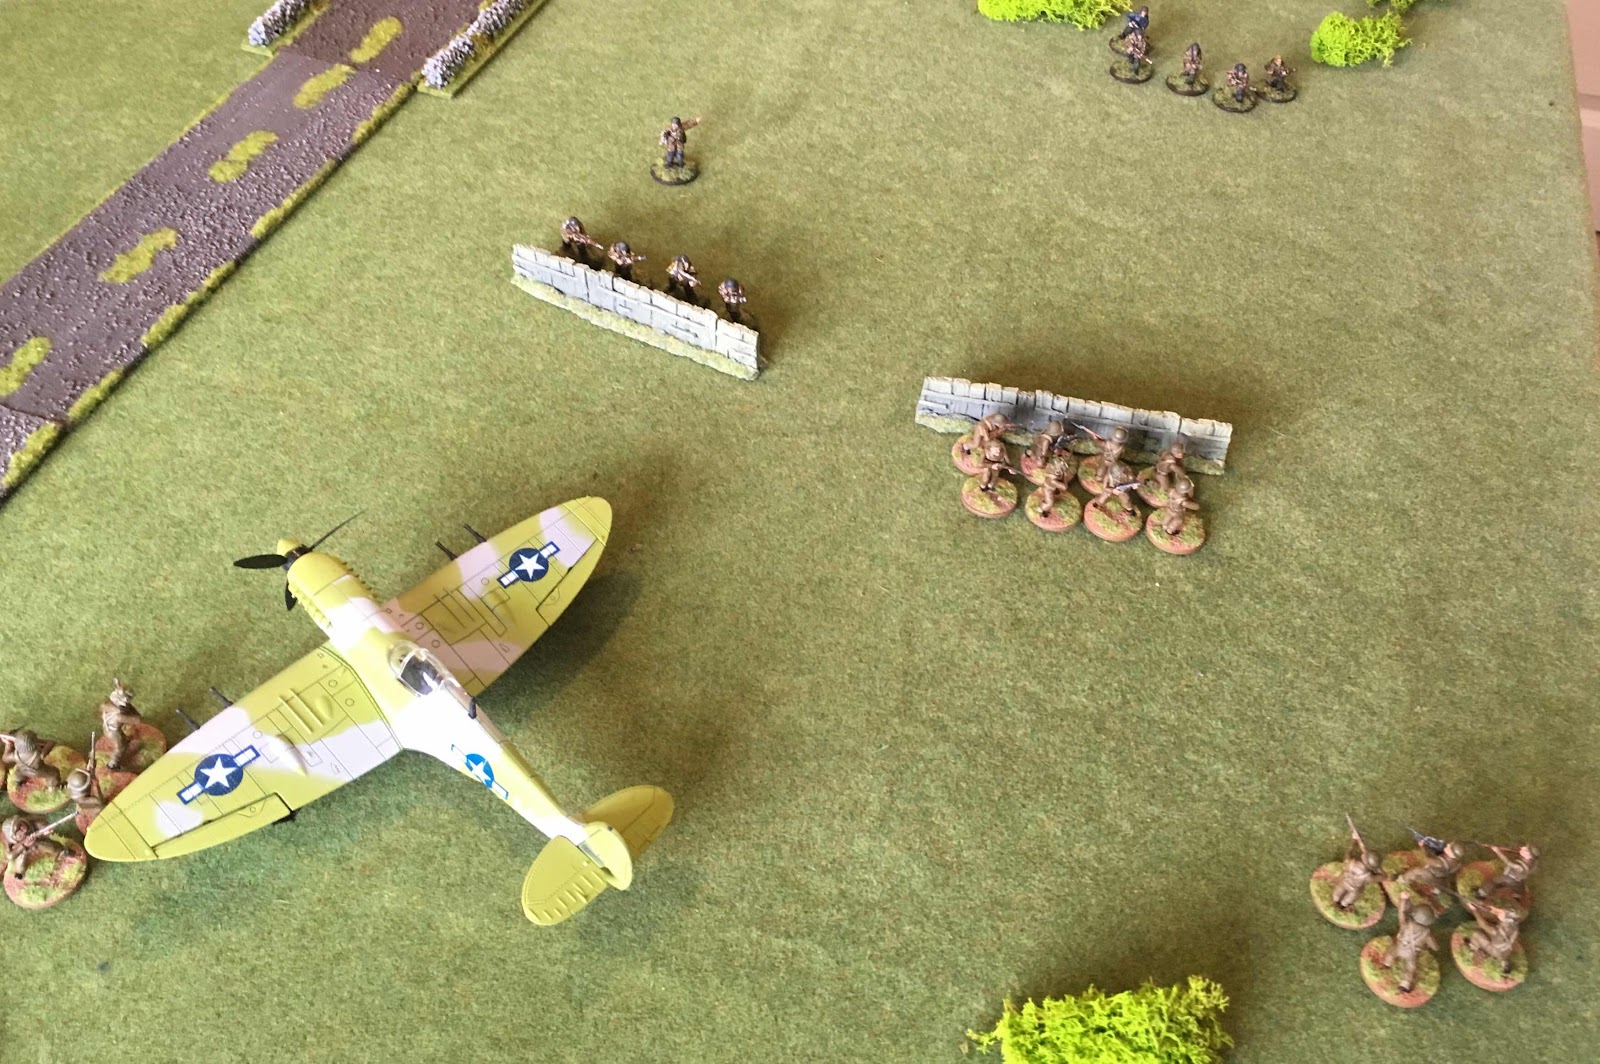
The campaign matched perfectly with me starting Fallschirmjager and Pete working on a British force. Admittedly, both our forces are technically in late war uniforms (some of mine are even armed with assault rifles...ignore them), we were using walls and fences to mark a bridge and trench lines, and the less said about the US insignia on the Spitfire the better (it was a random purchase from China, only 1 in 8 was American). However we were all set for our games that centred around Gruppe Buecke actions to take the Tavrontis Bridge and Maleme Airfield from the 22nd New Zealand battalion and RAF 33 Squadron.
Scenario 1: Attack on the RAF Camp
Gruppe Buecke drive across the Tavrontis River and towards a sparsely defended RAF camp. If successful, they would not only drive the British back, but would also capture vital plans left lying around.

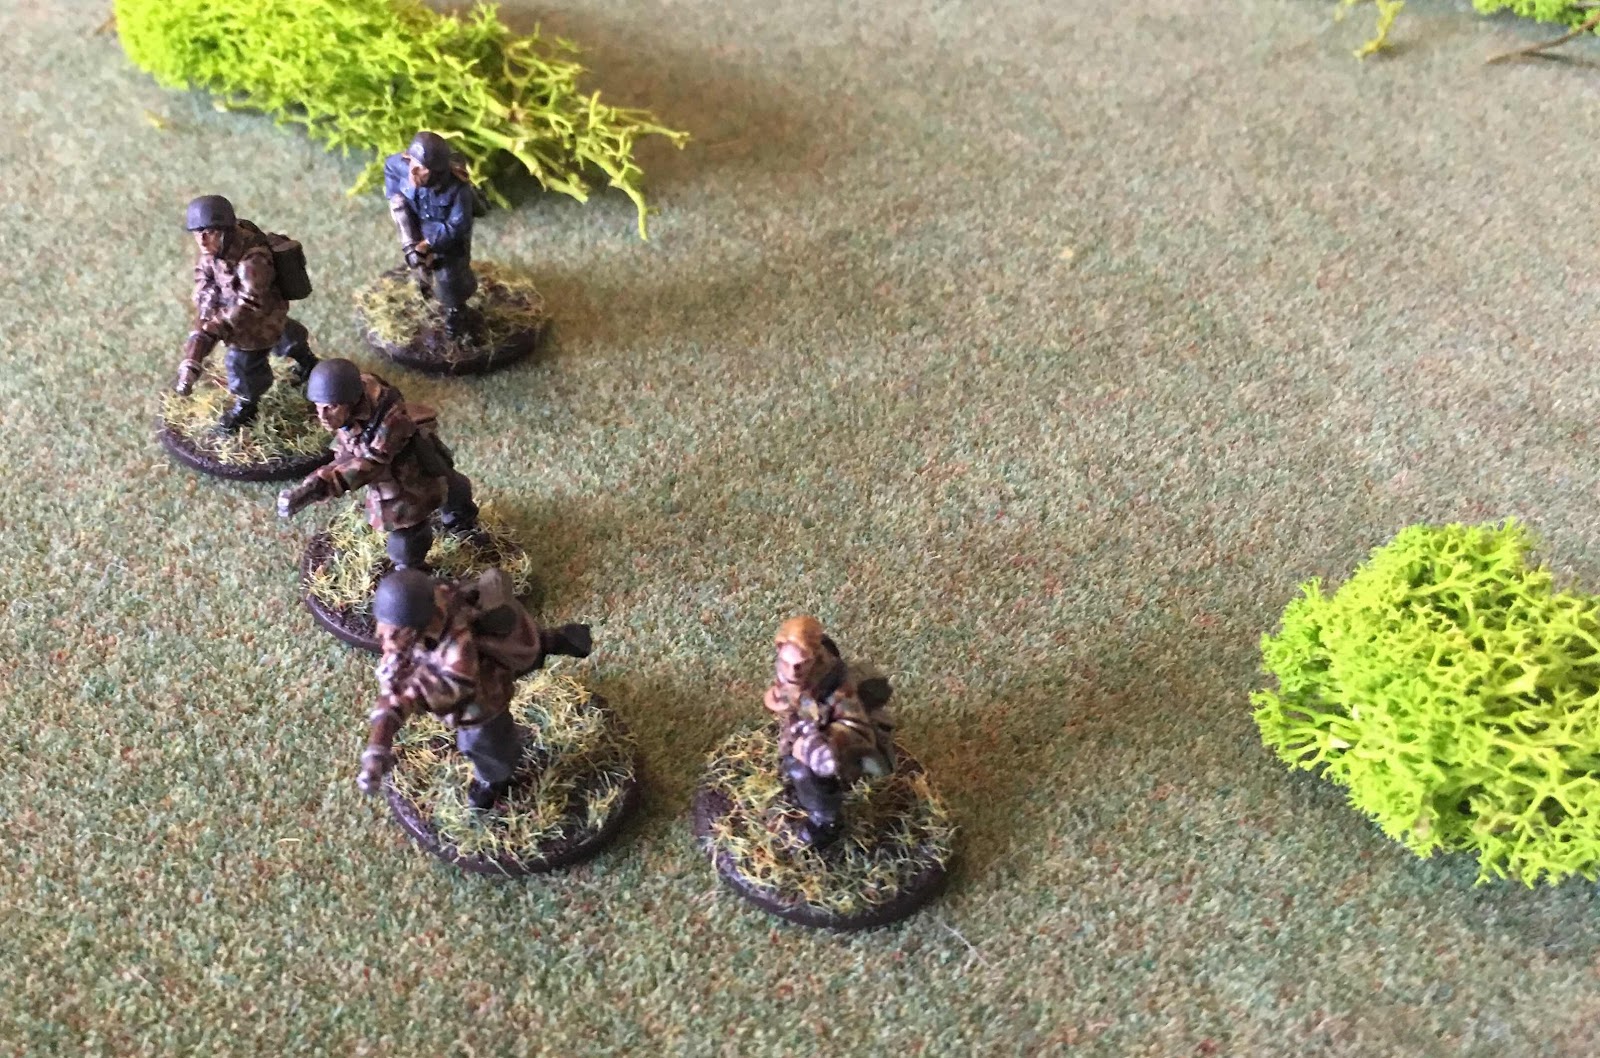
The Fallschirmjager firce featured an officer, two small squads, with a third in reserve, and an MMG team (all rated Veteran).
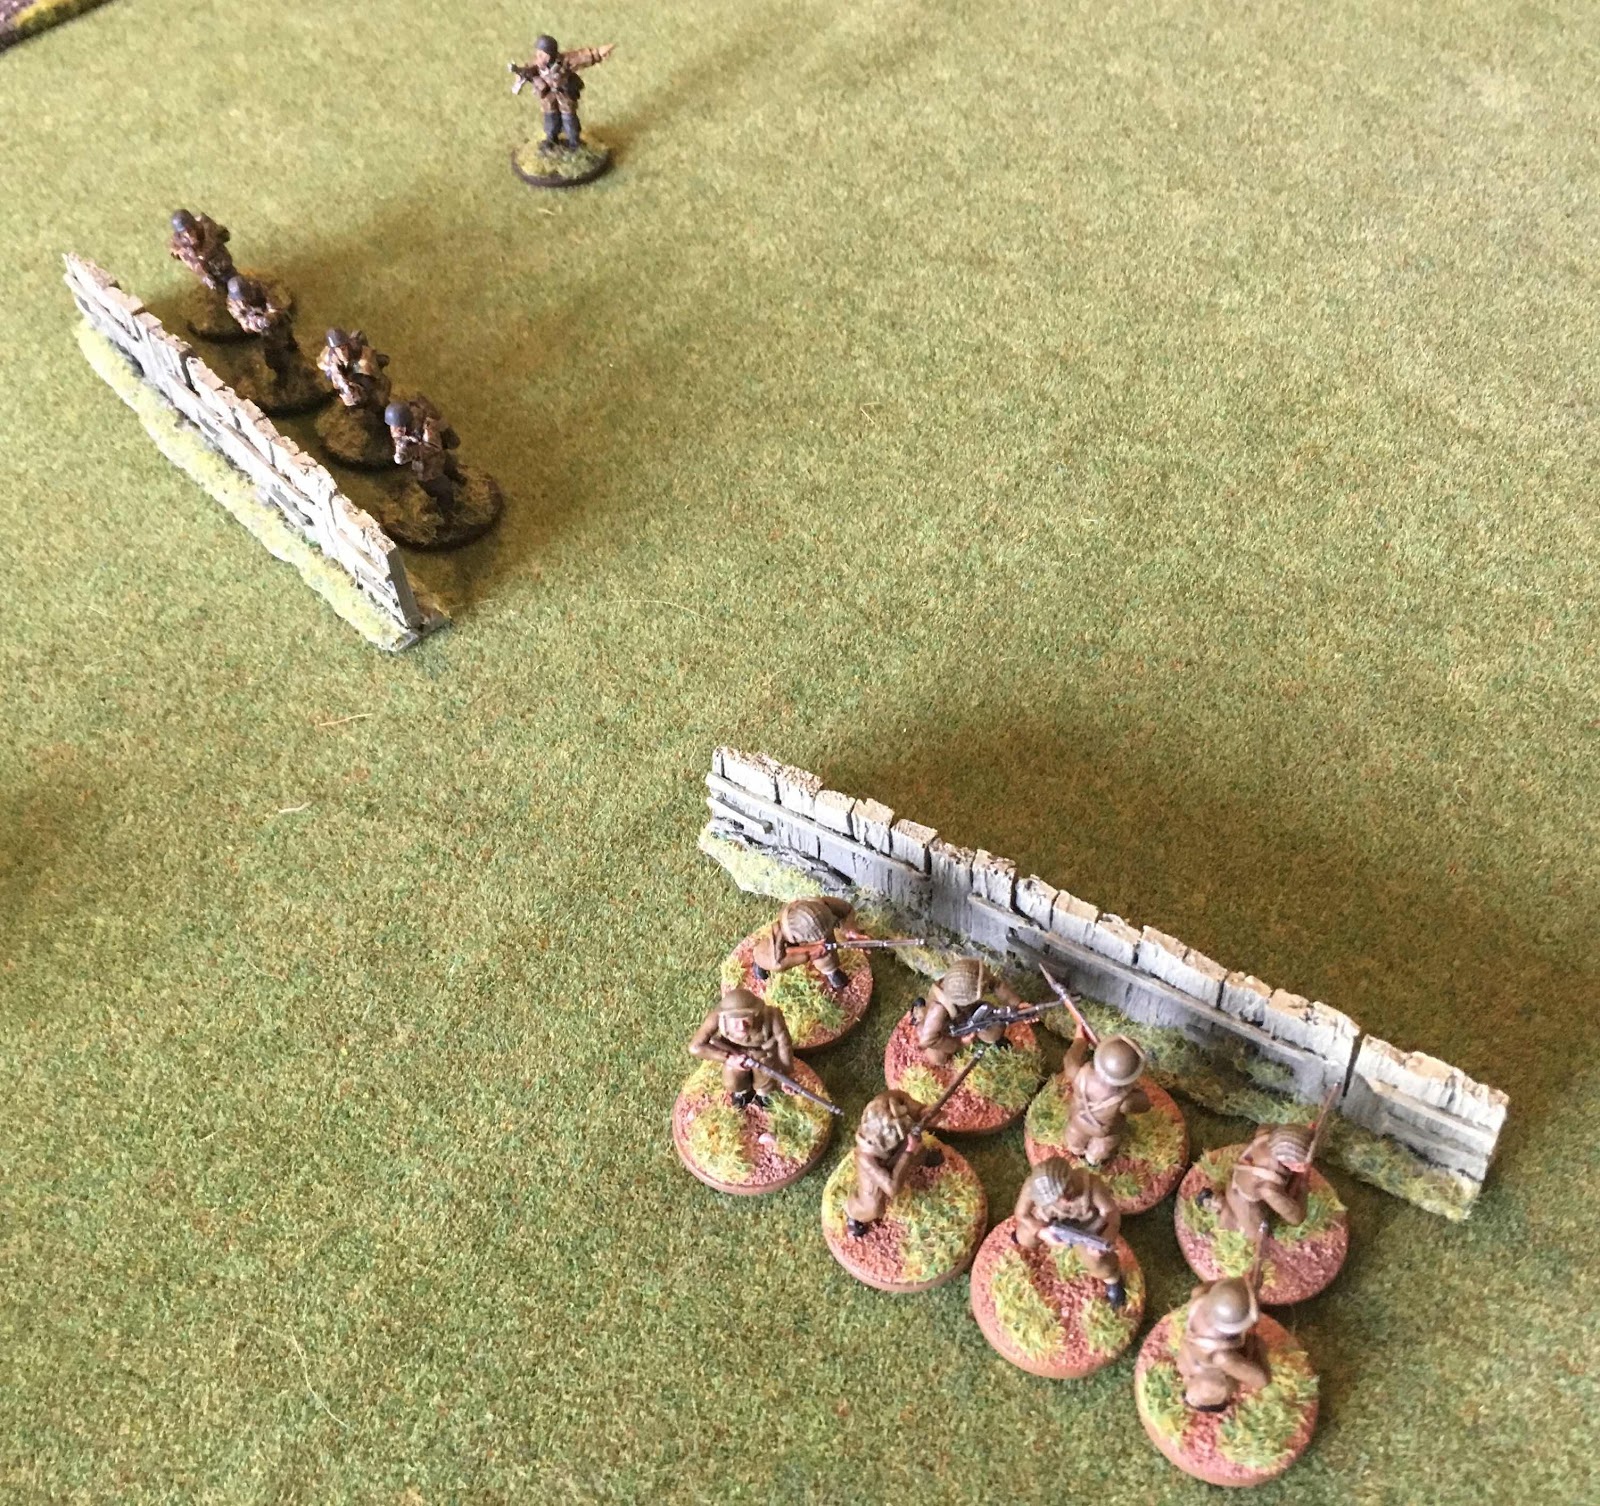
And they were ably assisted by a lone sniper.
Facing them were two squads of New Zealanders (Regular) and two ad hoc groups of RAF ground crew (Inexperienced), one of which was in reserve.
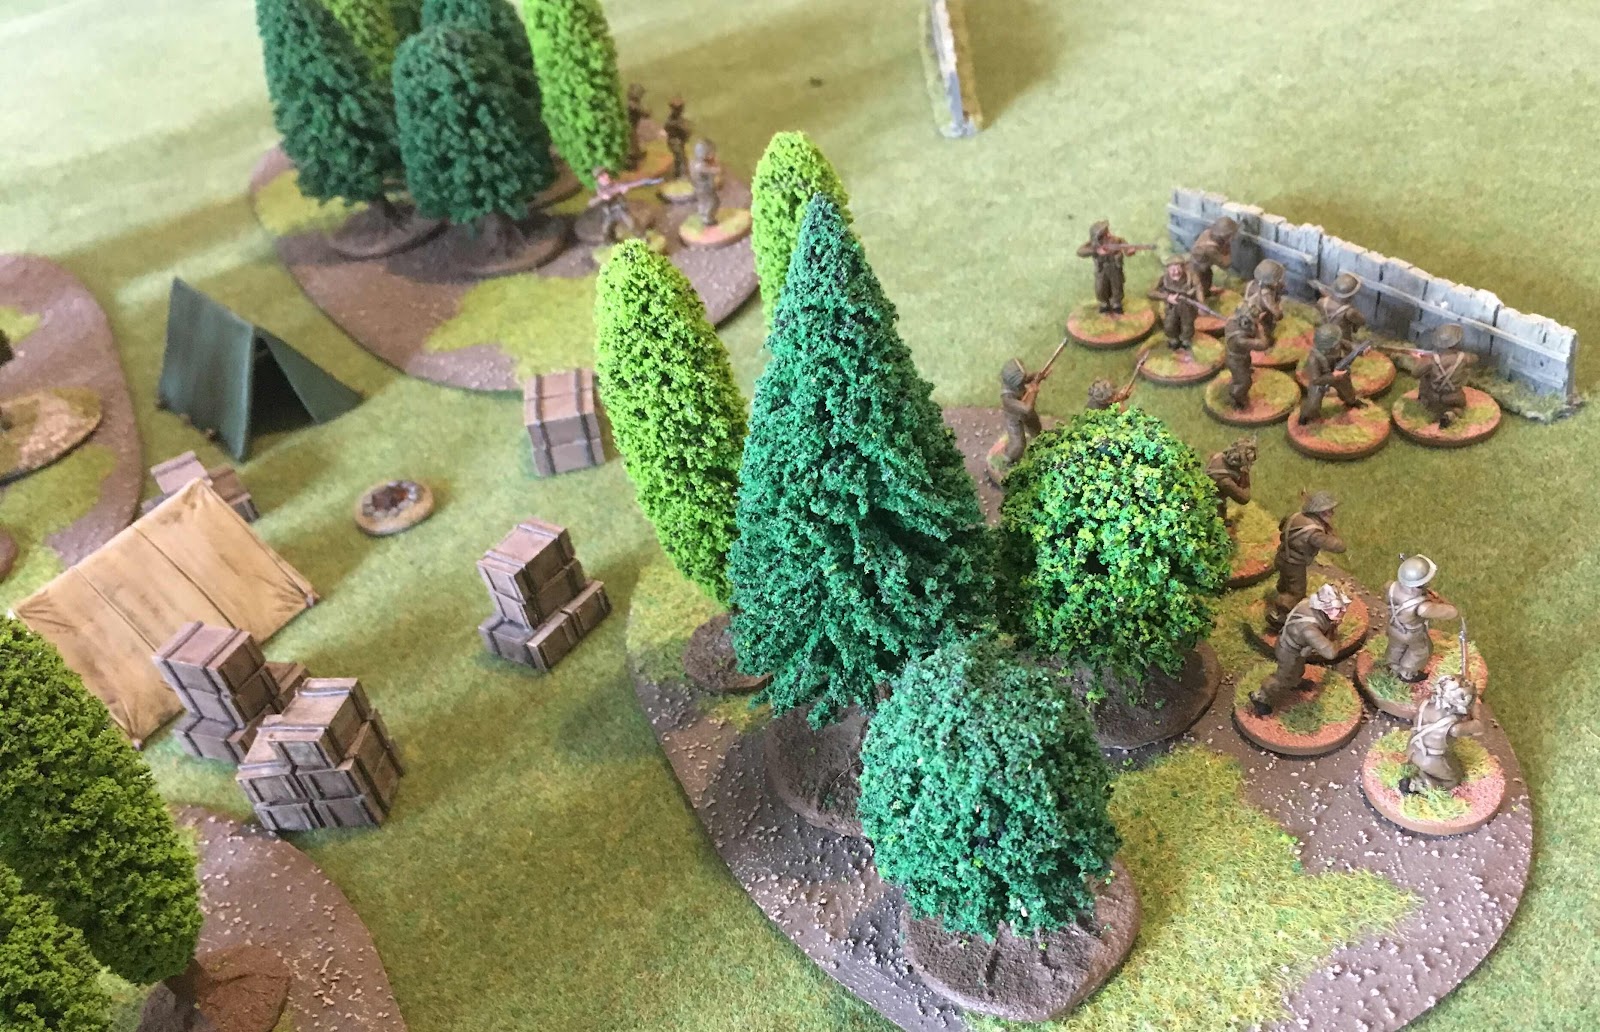
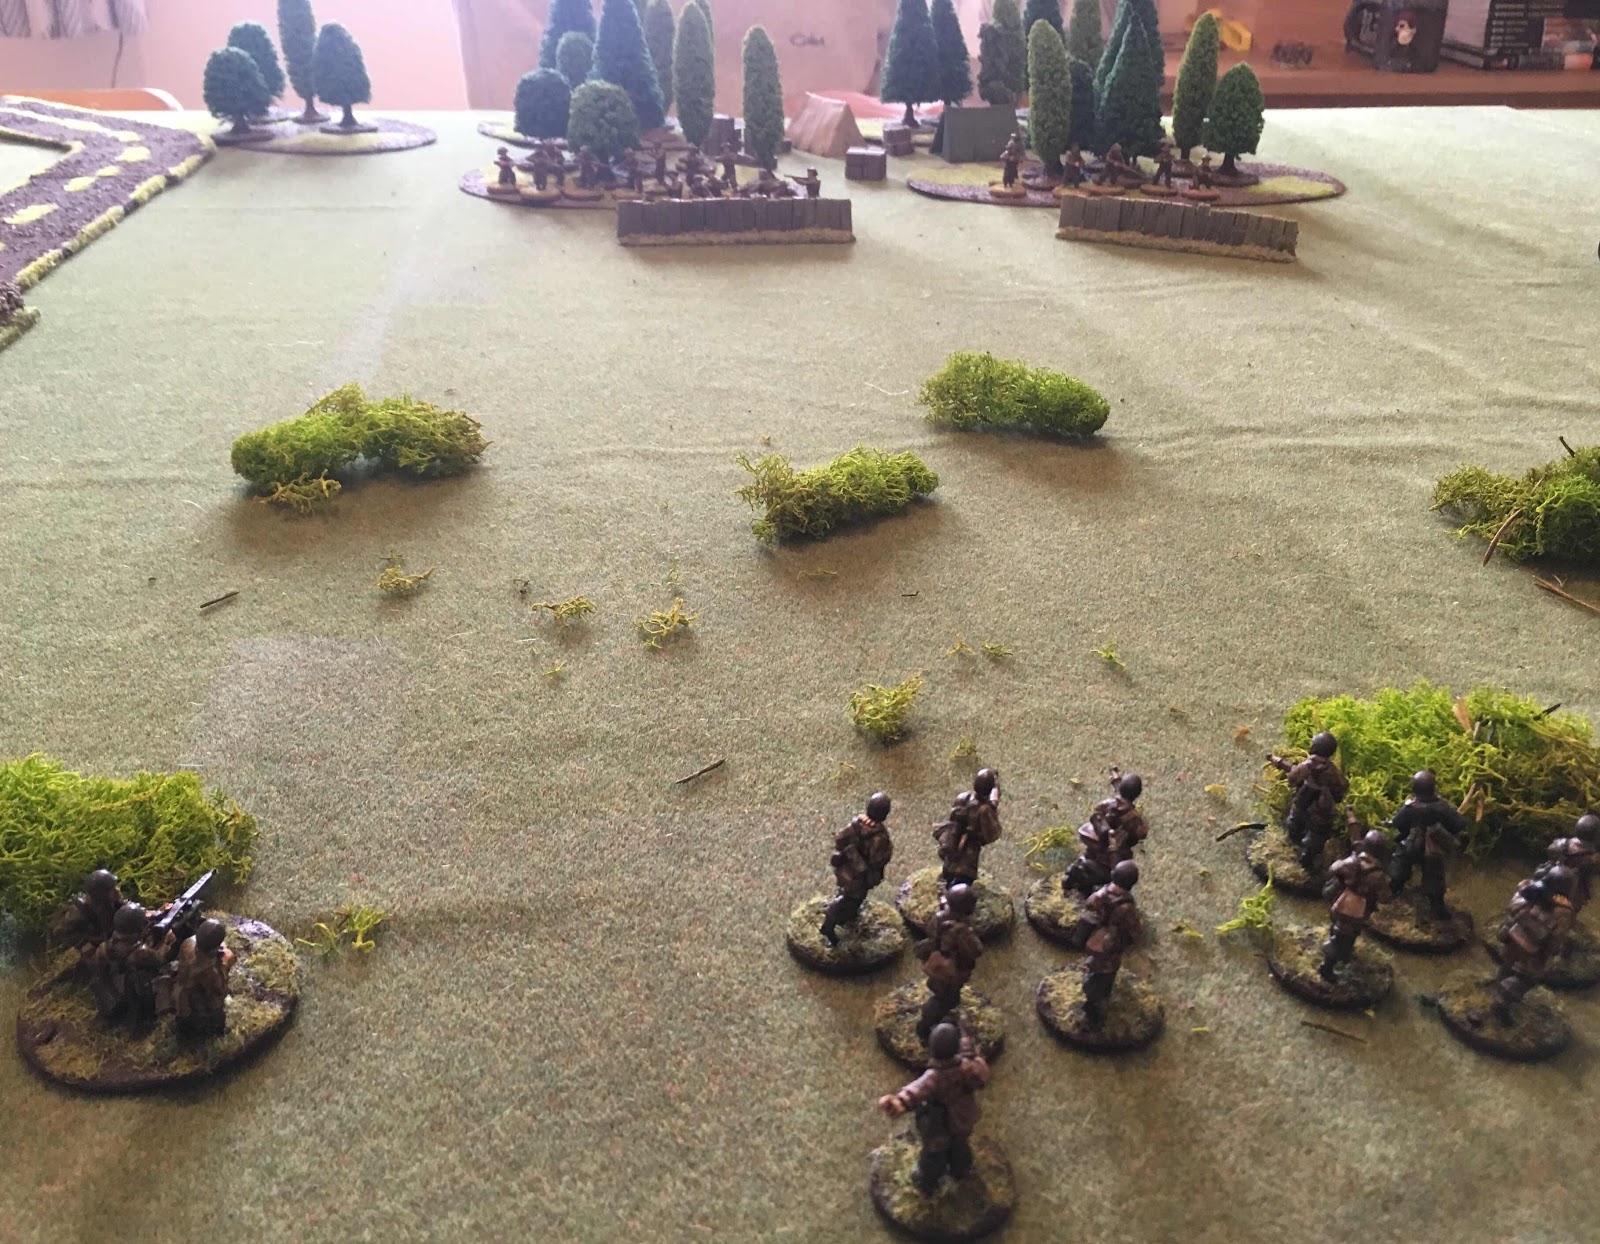
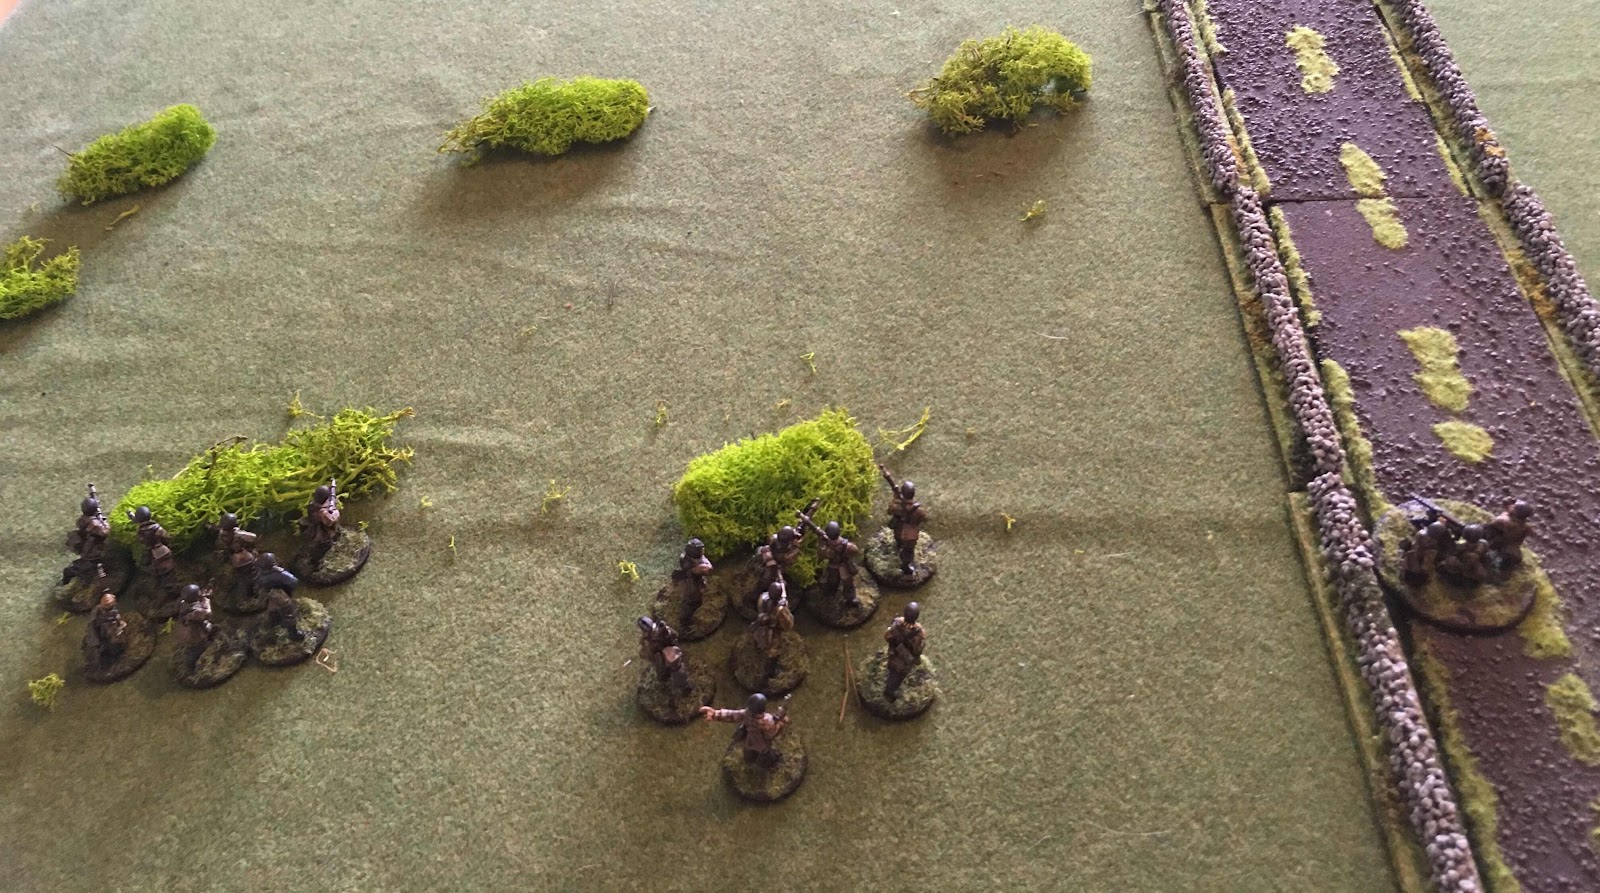
The initial advance of the Fallschirmjager was cautious but positive. A screen of fire from rifles and MGs, ably supported by a strafing run from the Luftwaffe, put numbers of pins on the British units, but didn’t succeed in killing many of them.

However, the return fire was more deadly, as the sniper was killed and both squads took casualties. To add insult to injury, one squad took fright (FUBAR) and retreated to the rear for a time to regroup.
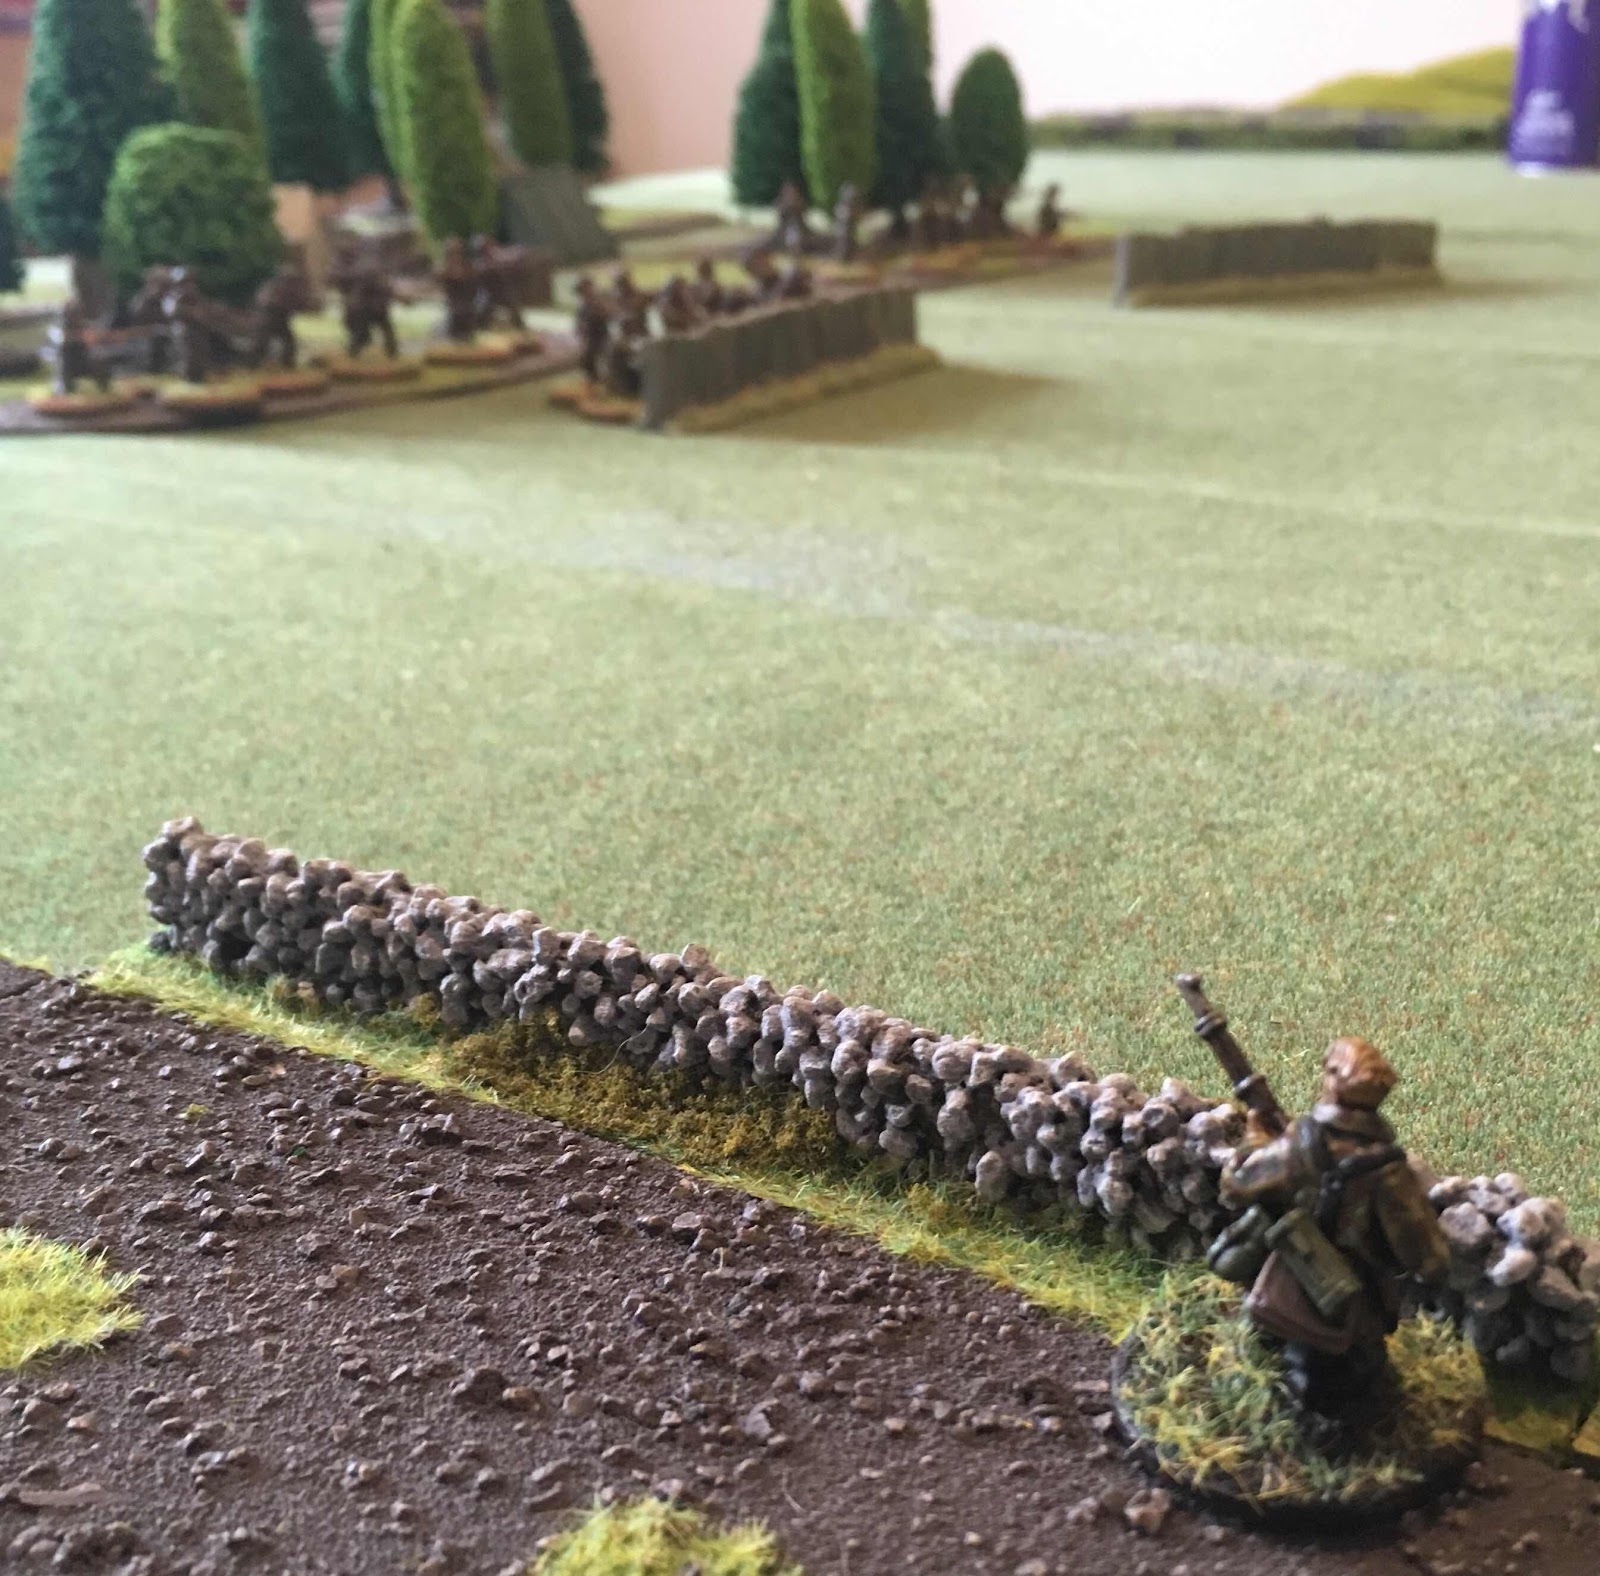
Meanwhile, the Kiwis bolstered their defensive position, whilst RAF crew moved up through the camp in support.

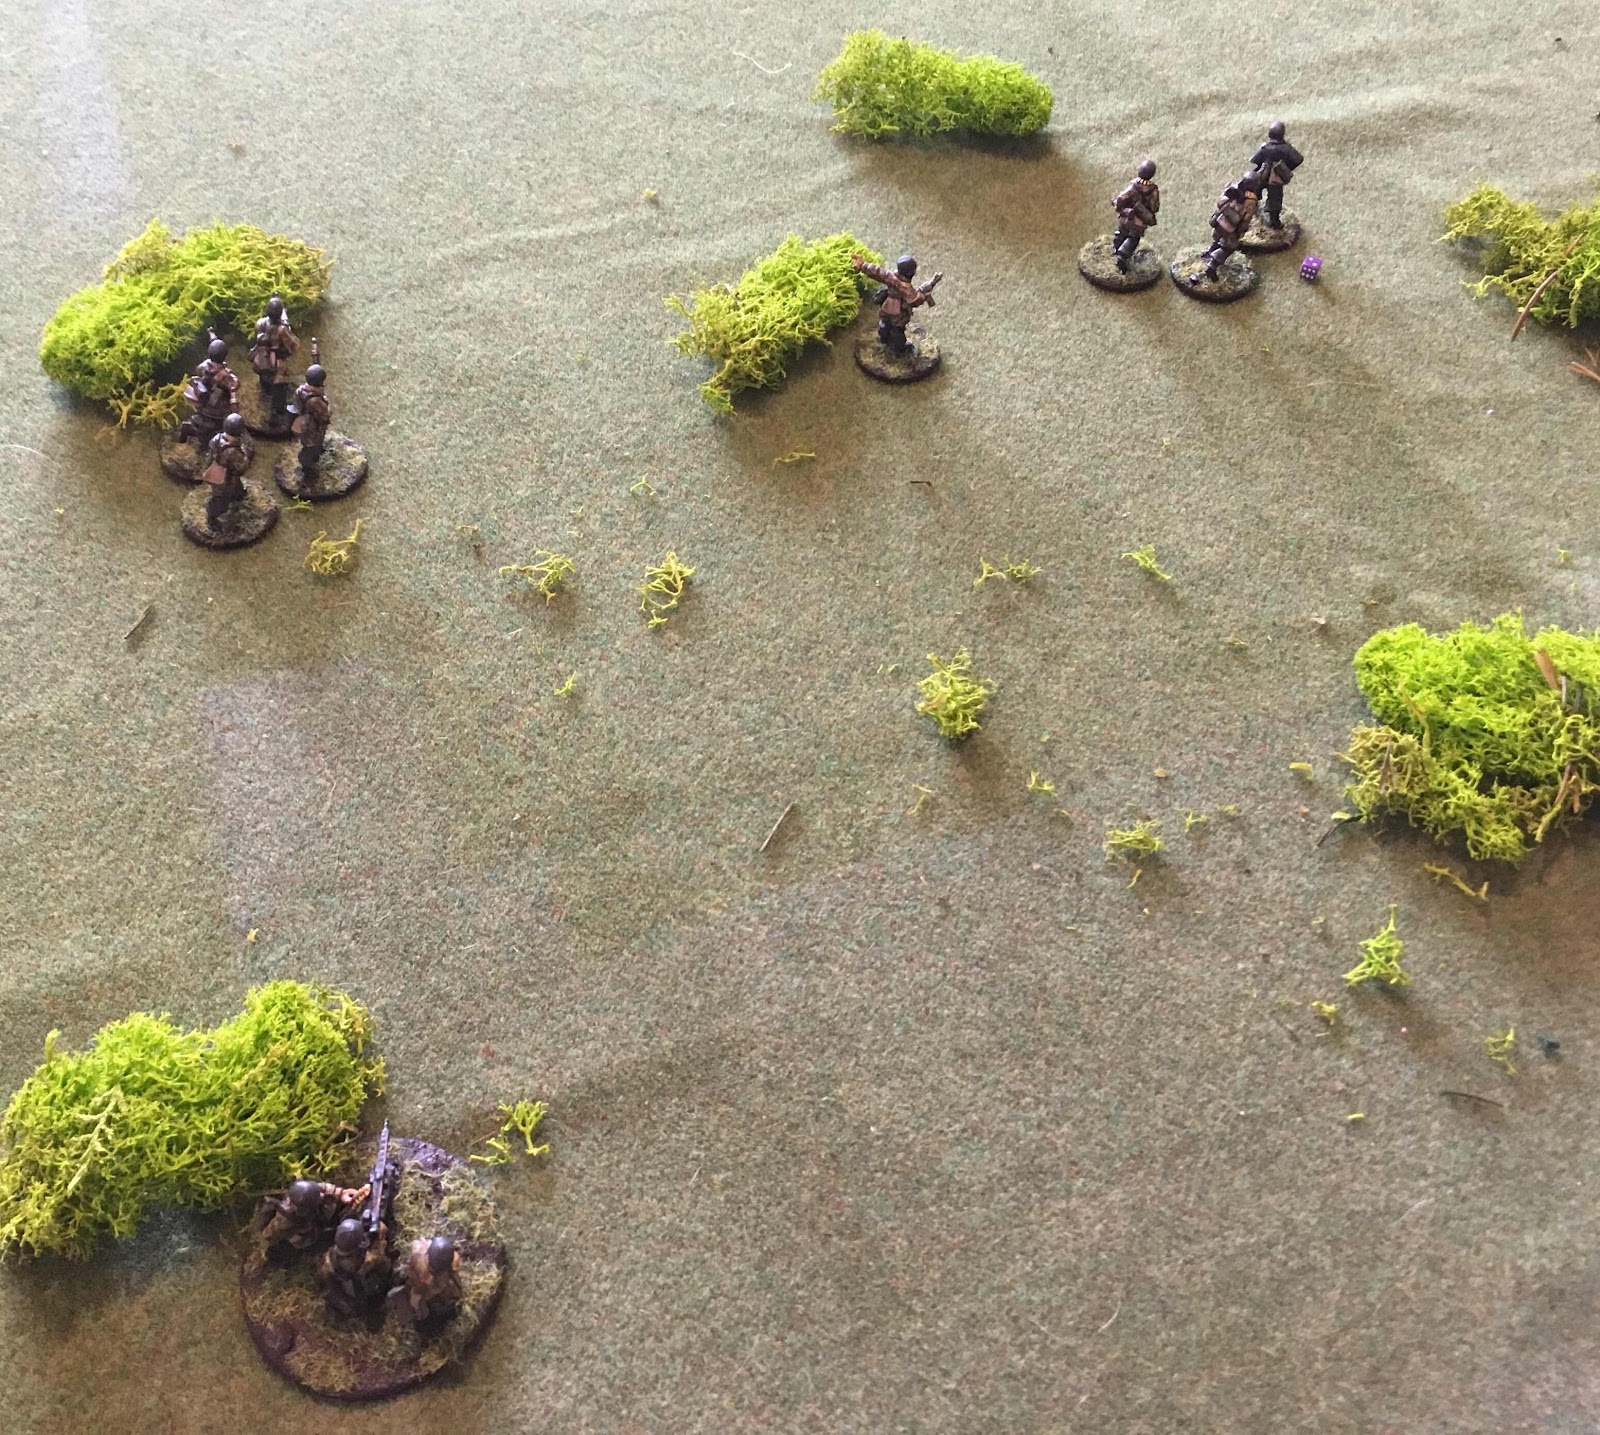
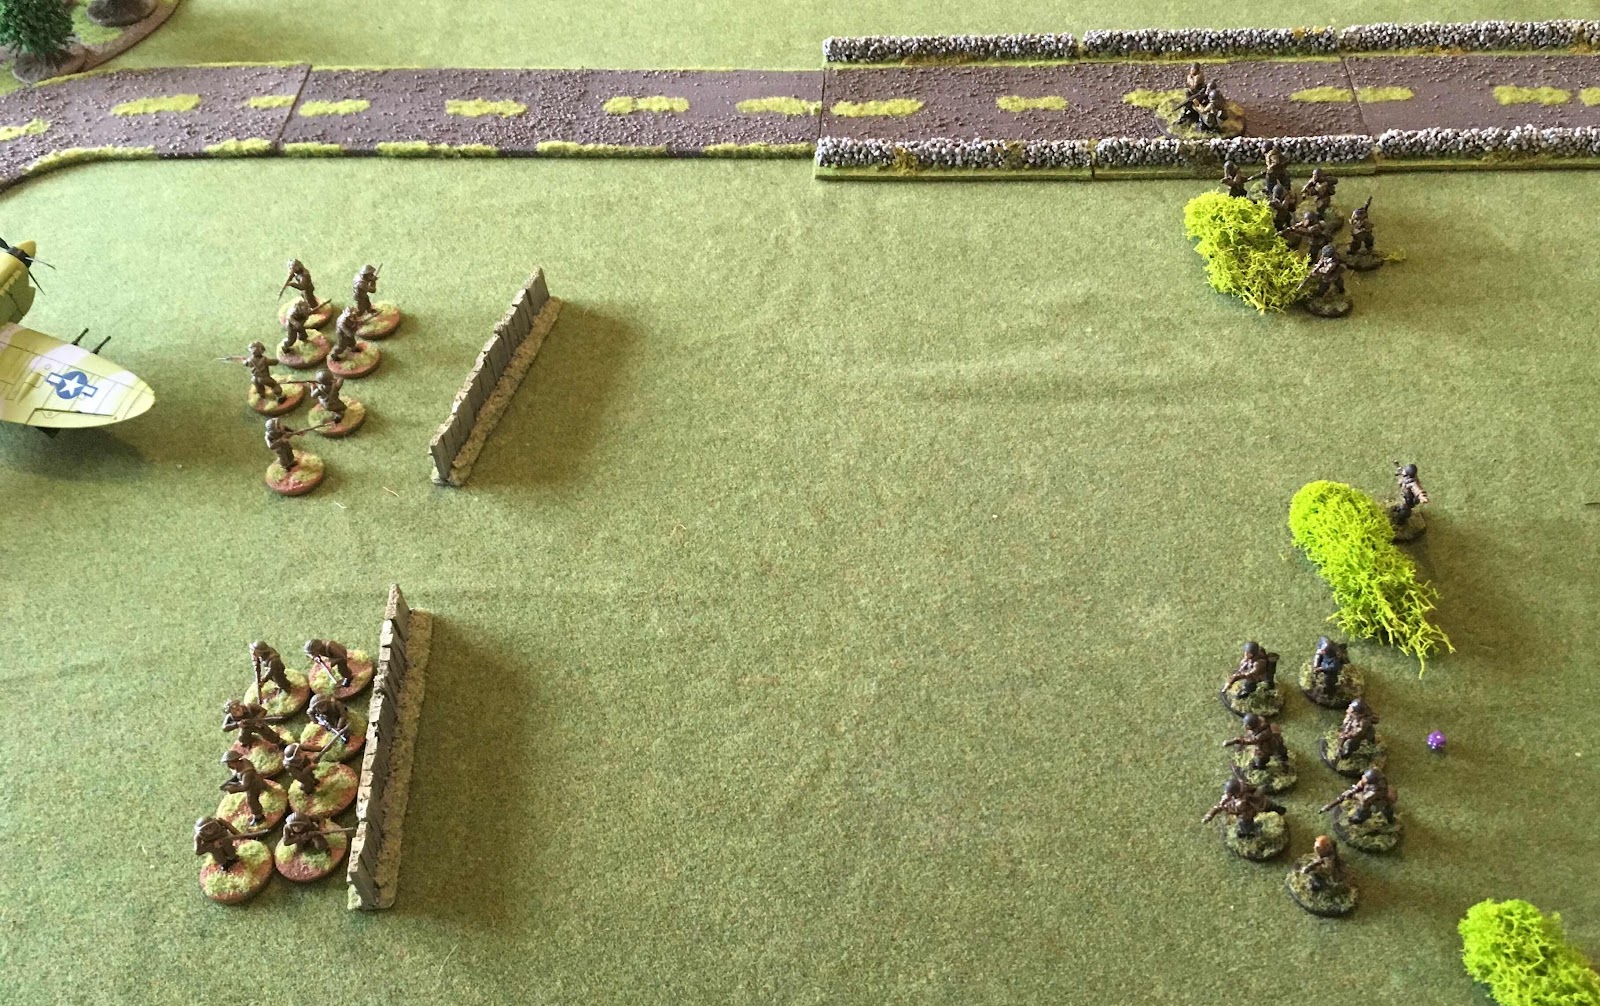
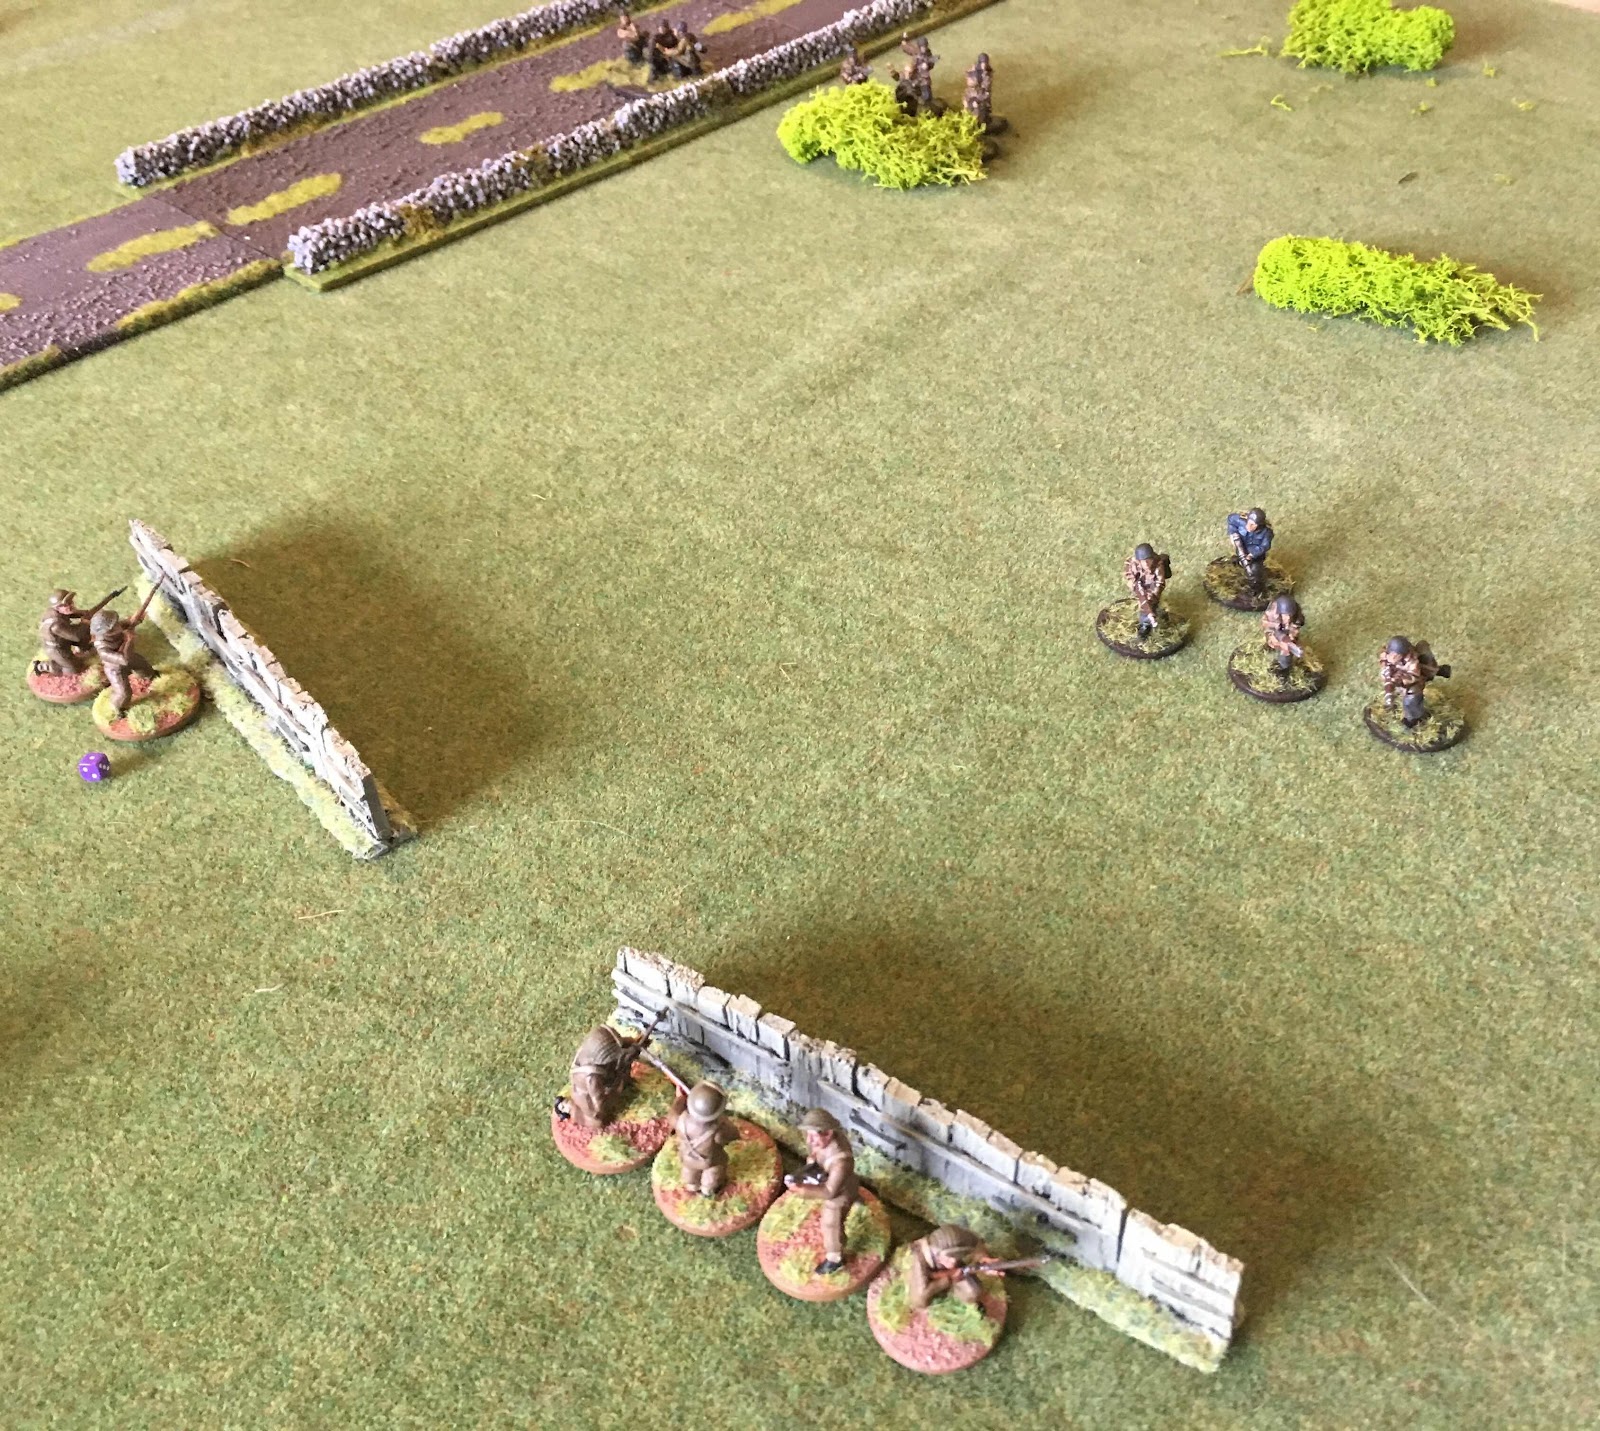
Even with reserves arriving from the rear, the thin German line looked extremely vulnerable as it had no choice but to advance across open ground into the teeth of the enemy, where they took more casualties.

With time running short, and the most advanced squad refusing to move, only the officer and a solitary NCO were in a position to even try to achieve the mission objective, and so a mad dash down the centre was launched.
Unfortunately (or inevitably), both men were killed. This meant that although there were enough Fallschirmjager left to assault the trenches, neither squad would be able to get to the camp.

Simply as a matter of honour, the reserve squad charged and drove an RAF group out of a trench, regaining a modicum of dignity for the misfortune-stricken force. However, they could only look in as the British managed to retrieve the plans before retreating.
We worked out a rudimentary scoring system for the campaign to keep things interesting, and my failure to get close to the camp meant that Pete was now leading 2-0.
In retrospect, I could blame bad luck for the lack of casualties I inflicted, the number of failed orders tests I experienced with veterans, or even the FUBAR that saw one squad run back to the table edge.
However, in reality, I didn’t get moving quickly enough, I was too cautious and gave Pete too much time to organise his defence. By the time they’d got into assault range, my squads had been shot and pinned to the point of uselessness.
In the next game I’d have to fight my natural instincts and go he’ll for leather towards the enemy.
Scenario 2: Attack on C Company
Meanwhile, on the other side of the Tavrontis Bridge, Gruppe Buecke was also assaulting the Maleme Airfield. C Company of the 22nd Battalion was tasked with holding the trenches against all comers.

The New Zealanders (all Regular) had four squads of varying sizes, with one of the smaller squads held in reserve.
Meanwhile, the Fallschirmjager (Veteran again) had an officer, two larger squads and an MMG team. A smaller squad was also in reserve.
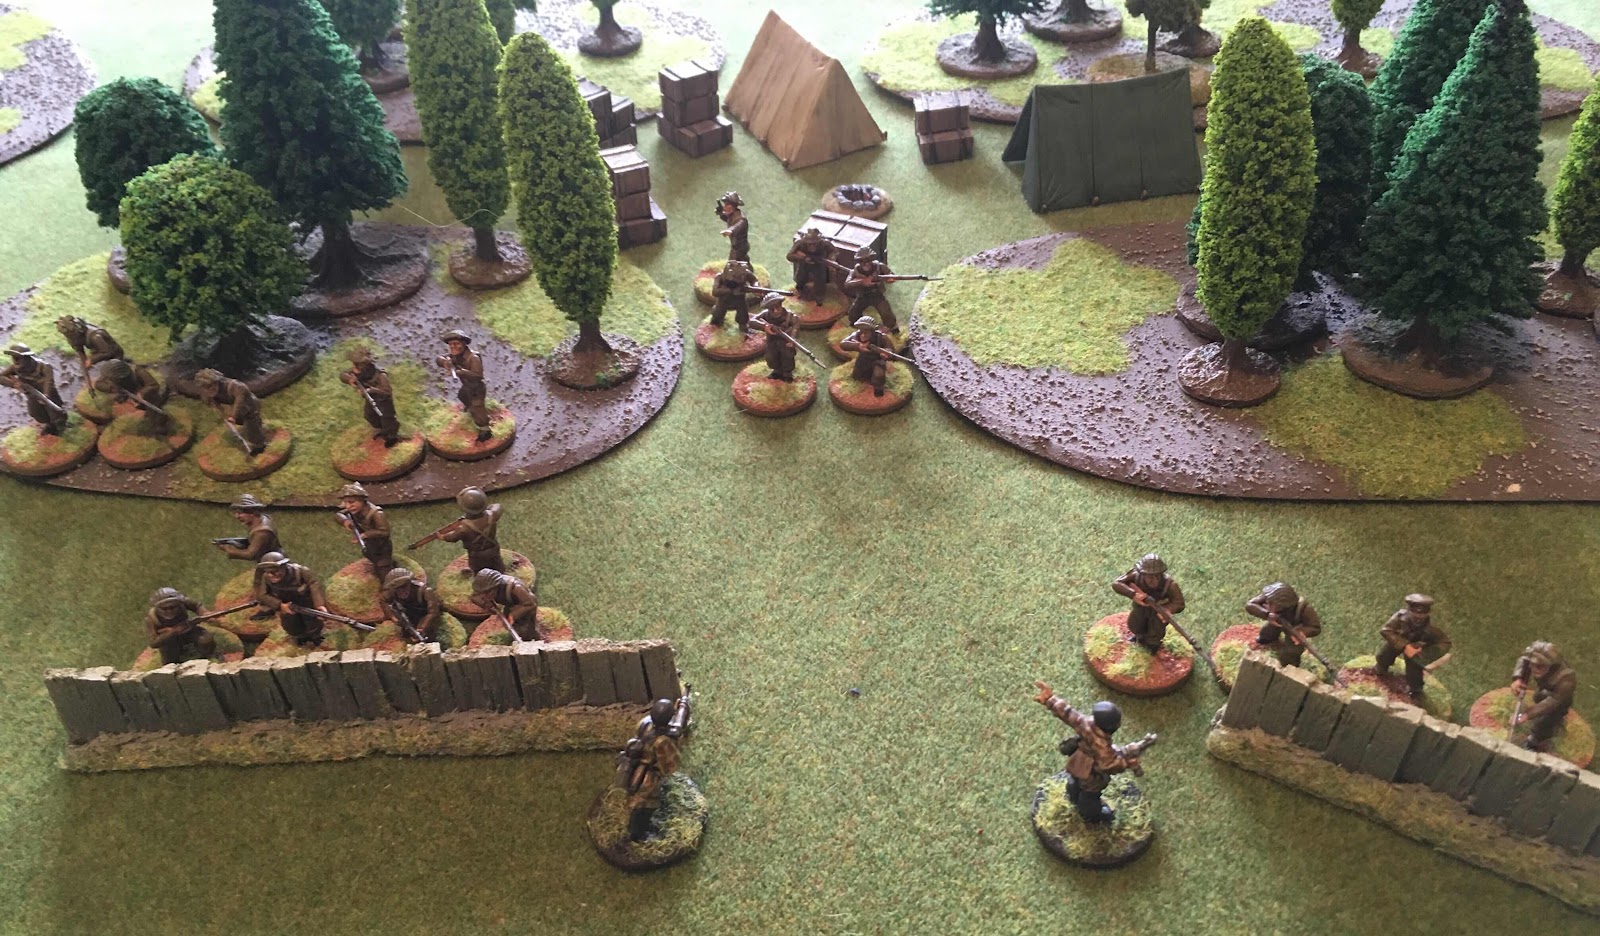
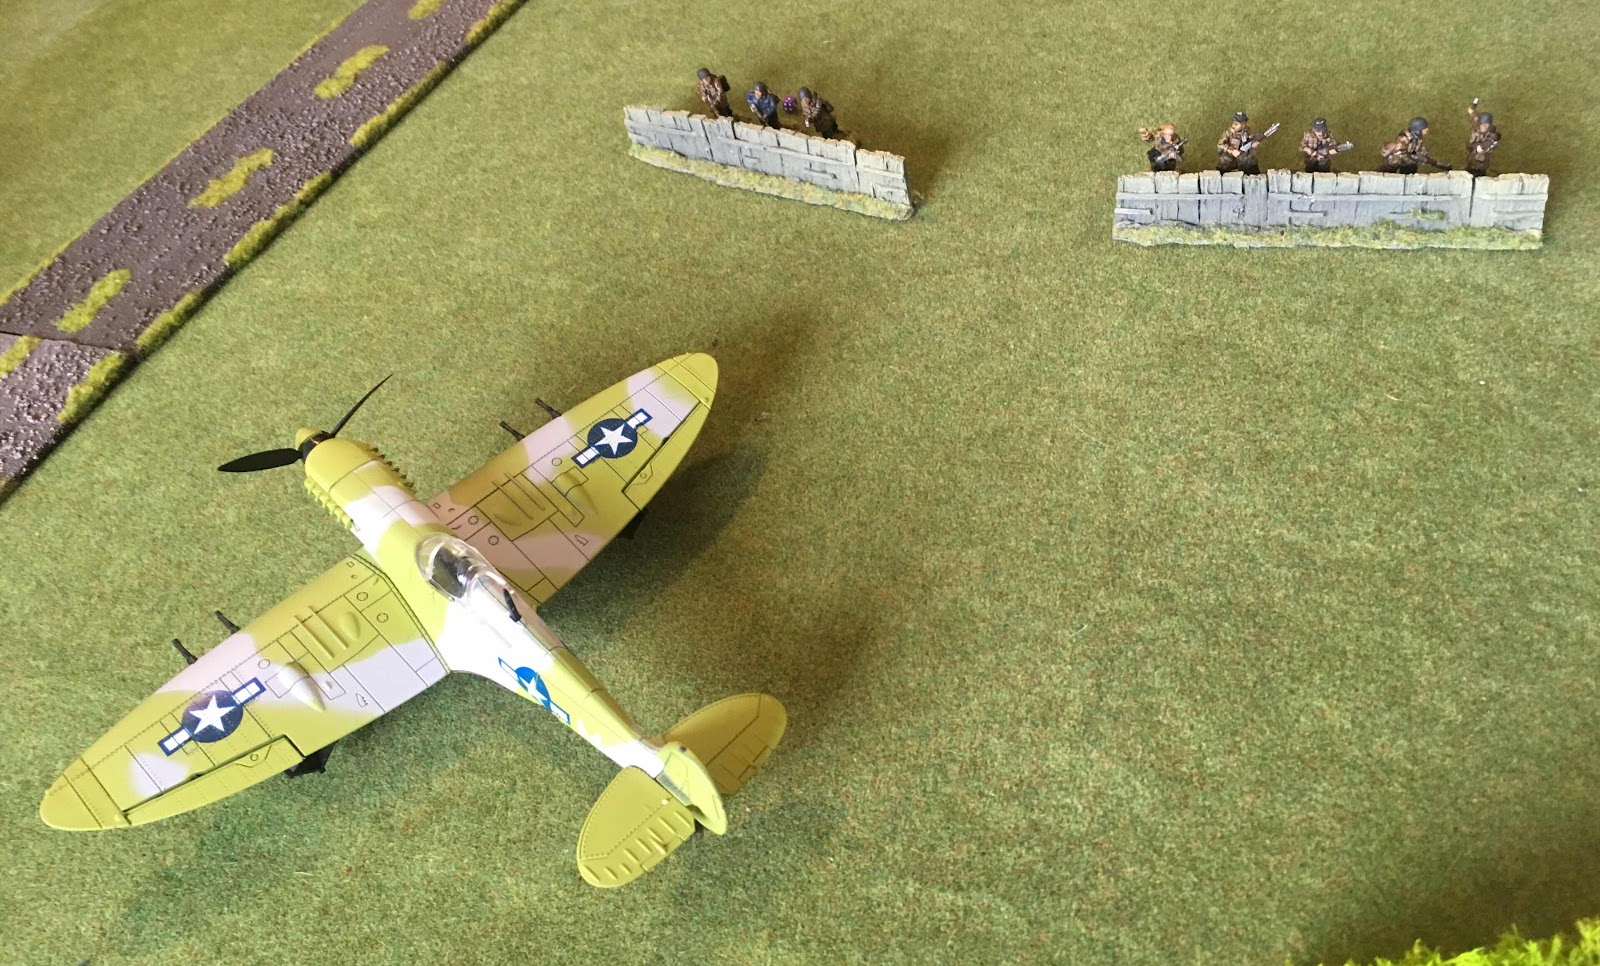
Aware that they needed to get moving, the entire German force move quickly towards the trenches. They took fire, but were aided by another attack from the Luftwaffe that pinned a group of the enemy before they could occupy one of the trenches.

However, the Kiwis were able to point a large number rifles in their direction, but mthe experience of the veteran troops at finding conversion where there was none prevented them taking too many casualties. However, in the chaos, the squad mistakenly opened fire at their own officer (FUBAR, again!), but he wasn’t hurt.
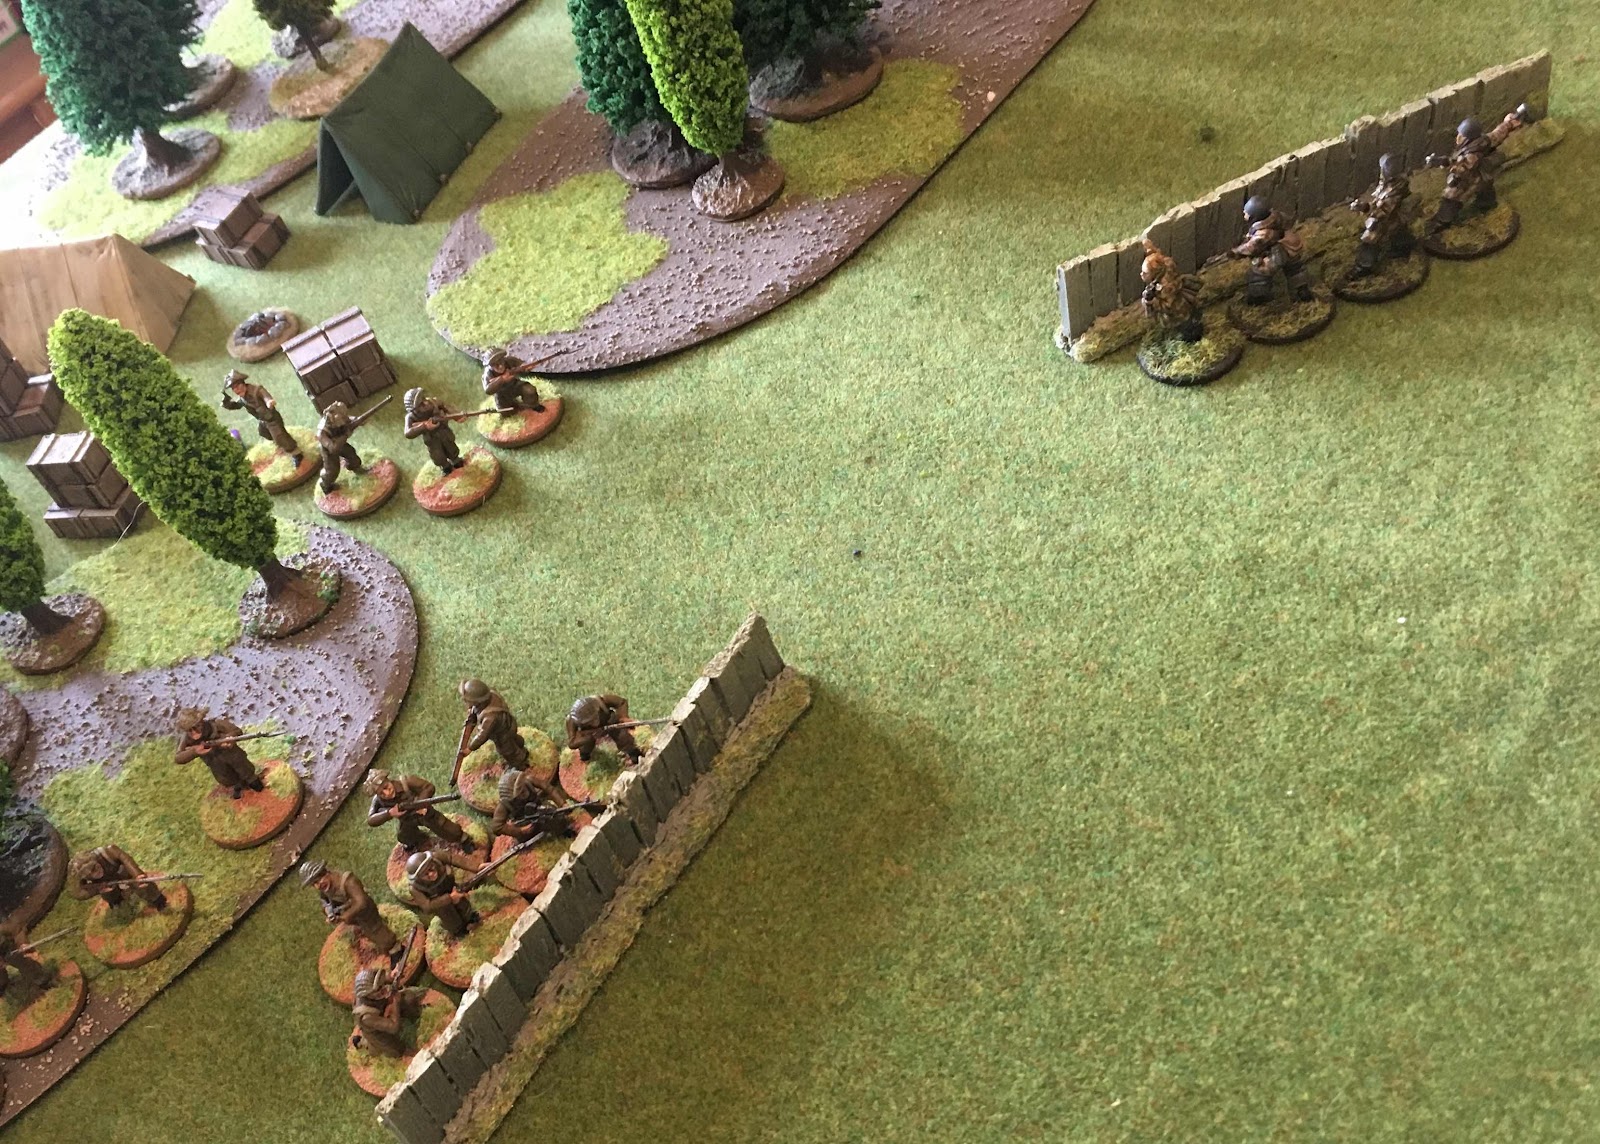
With numbers still intact, a spray of MMG fire kept the heads of the pinned squad down, and left them vulnerable to a surprise attack.
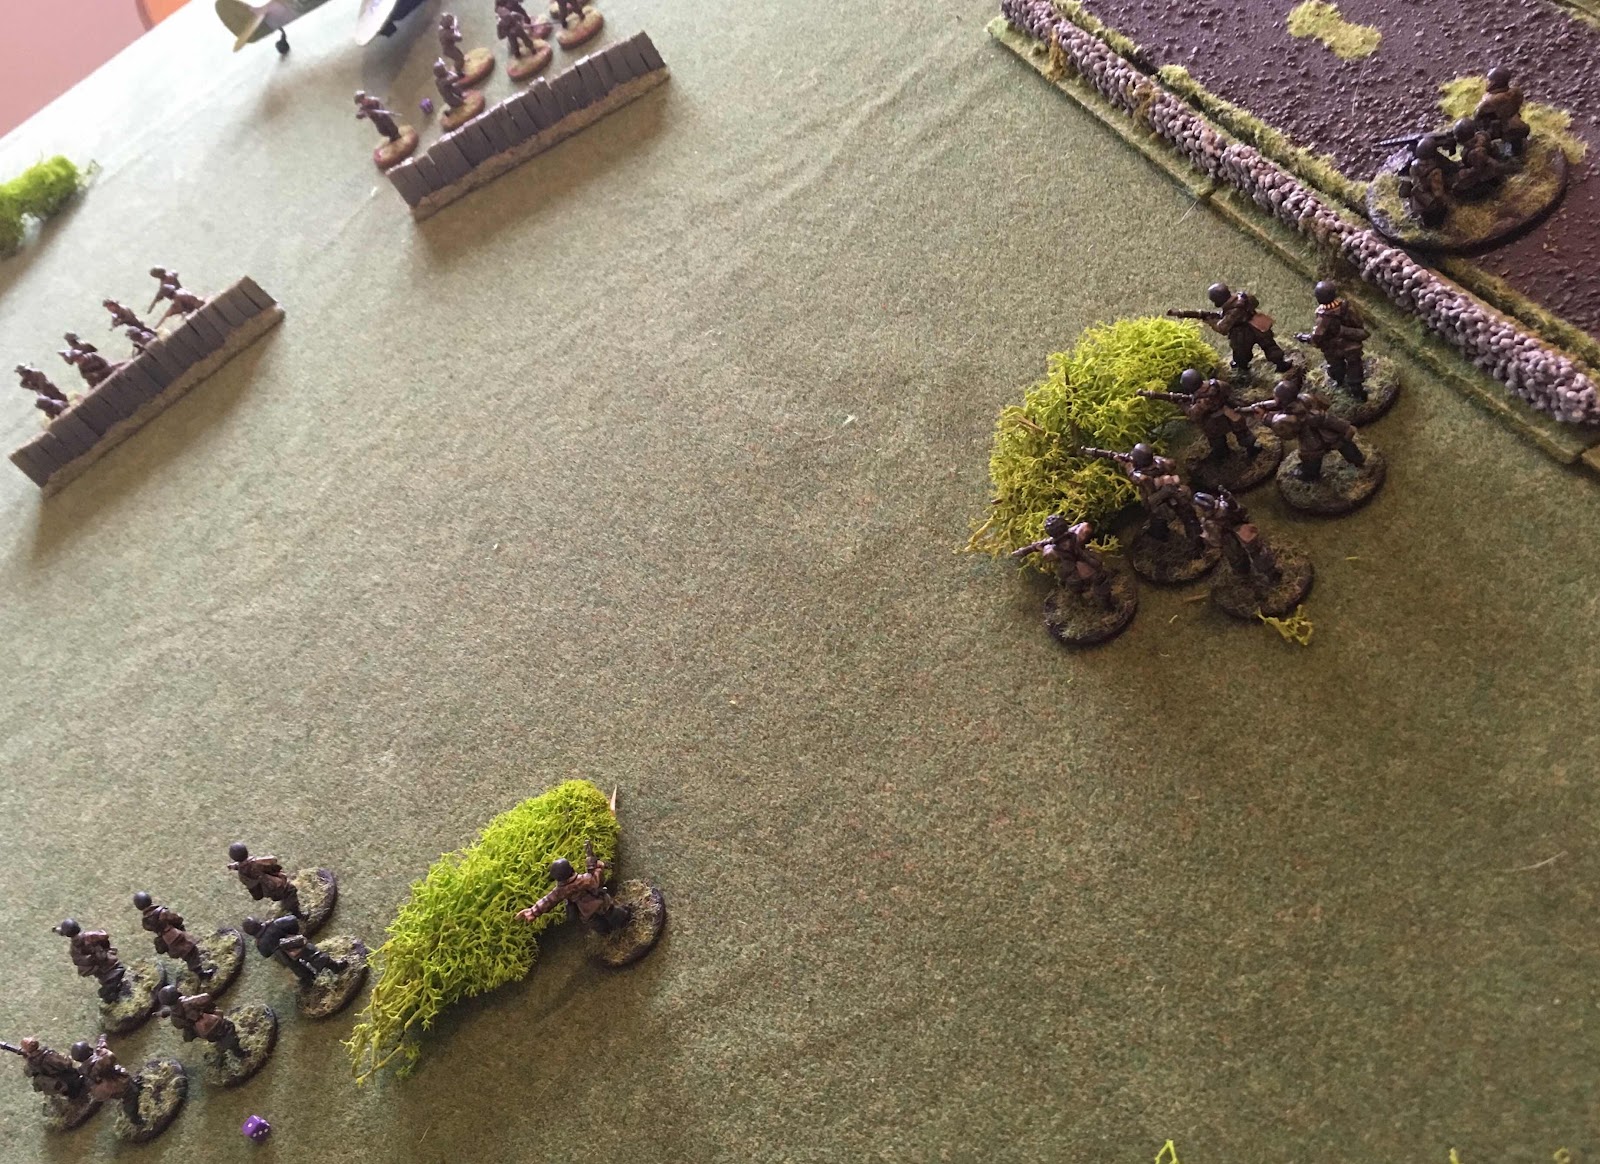
The assault caught the Kiwis flat-footed and saw them wiped out. The successful Germans then consolidated to the safety of the unoccupied trench.
However, the New Zealander’s still had numbers on their side and prepared to launch a series of counter assaults.
The assaults went in, leaving the German officer and one of his squads dead, the Kiwis reduced to two men, but crucially, the British in control of both trenches, with limited time remaining.
However, fate now smiled on the Fallschirmjager. Not only did orders tests get passed and the trench get retaken with minimal casualties, but another attack run from the Luftwaffe wiped out the smaller squads that had been harassing the German flank.

Things looked bleak for the Kiwis. Only four of them remains to hold the last trench. However, pinned by MMG fire, they were unable to resist the assault when it came, and the defensive positions surrounding the Maleme Airfield fell into enemy hands.
For this scenario we’d worked out that each trench was worth one campaign point. This left the score finely poised at 2-2.
I was much happier with my tactics this time, and although I was saved on numbers of occasions (even from my own men) by the extra difficulty of killing veterans, the Fallschirmjager really proved their worth in assault. I was also helped by being able to pass orders tests this time.
The final scenario is worth up to four campaign points and so there’s still all to play for. However, I’m really enjoying these smaller games with specific objectives. We both still need to add a couple of things to our forces before the final game, so it might be a week or two before it happens.
Hard fought draw then! Looks great dude
ReplyDeleteThanks, the open ground detracts from the pictures though.
DeleteVery nicely poised, looking forward to what happens next.
ReplyDeleteHopefully shouldn’t be too long. I need to track down a single lmg team and Pete needs a Matilda...although that may end up being a Cromwell as a proxy.
DeleteFantastic introduction to the campaign! Shame it will already end next time 🙂.
ReplyDeleteThanks. It’s served its purpose though, to get our armies painted.
DeleteThere are pros and cons to having games either in smaller sizes or long-drawn affairs. I guess it all boils down to the time you have available at a given time. Nice post.
ReplyDeleteThanks. The biggest benefit of the size of these scenarios is that they gave us reasonable targets to aim for with our initial forces. They’re also a bit more interesting than standard fight to the death games.
DeleteIn time things will get bigger.