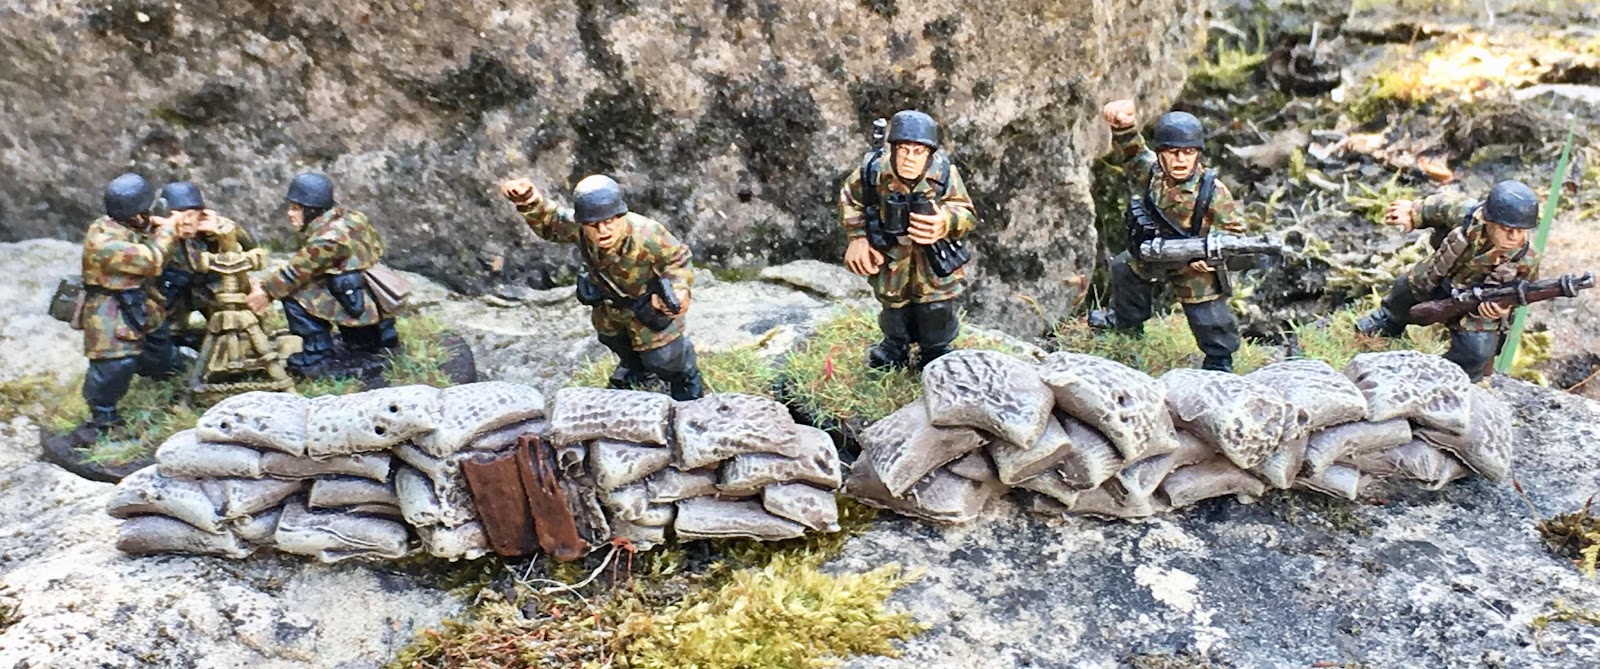
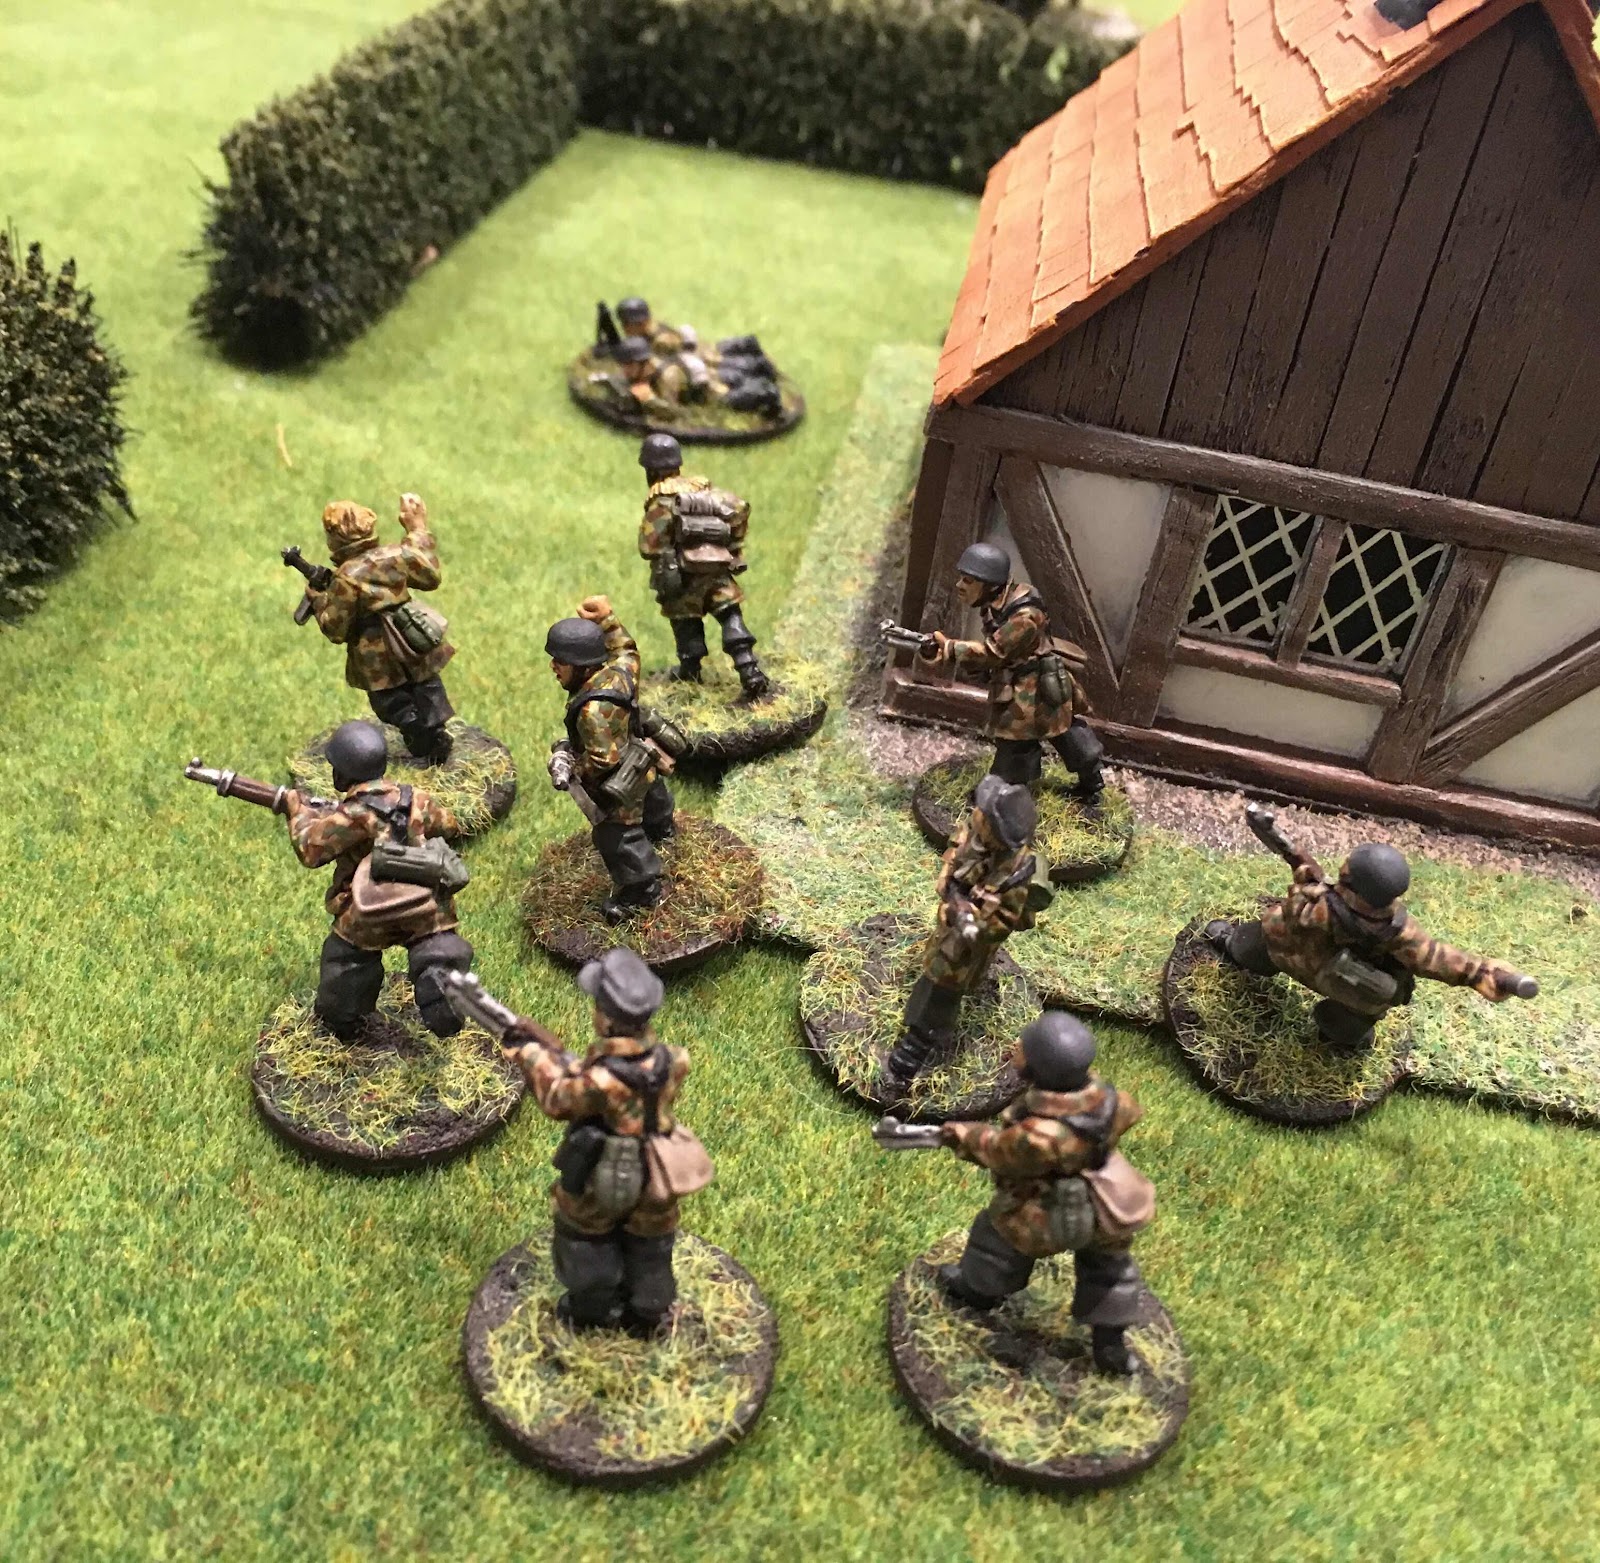
Yes, I’ve done more Fallschirmjager.
These are actually the last few that I’d bought in the build up towards the Crete campaign, and so this was simply a case of clearing the decks before starting to actually choose what to add to my army.
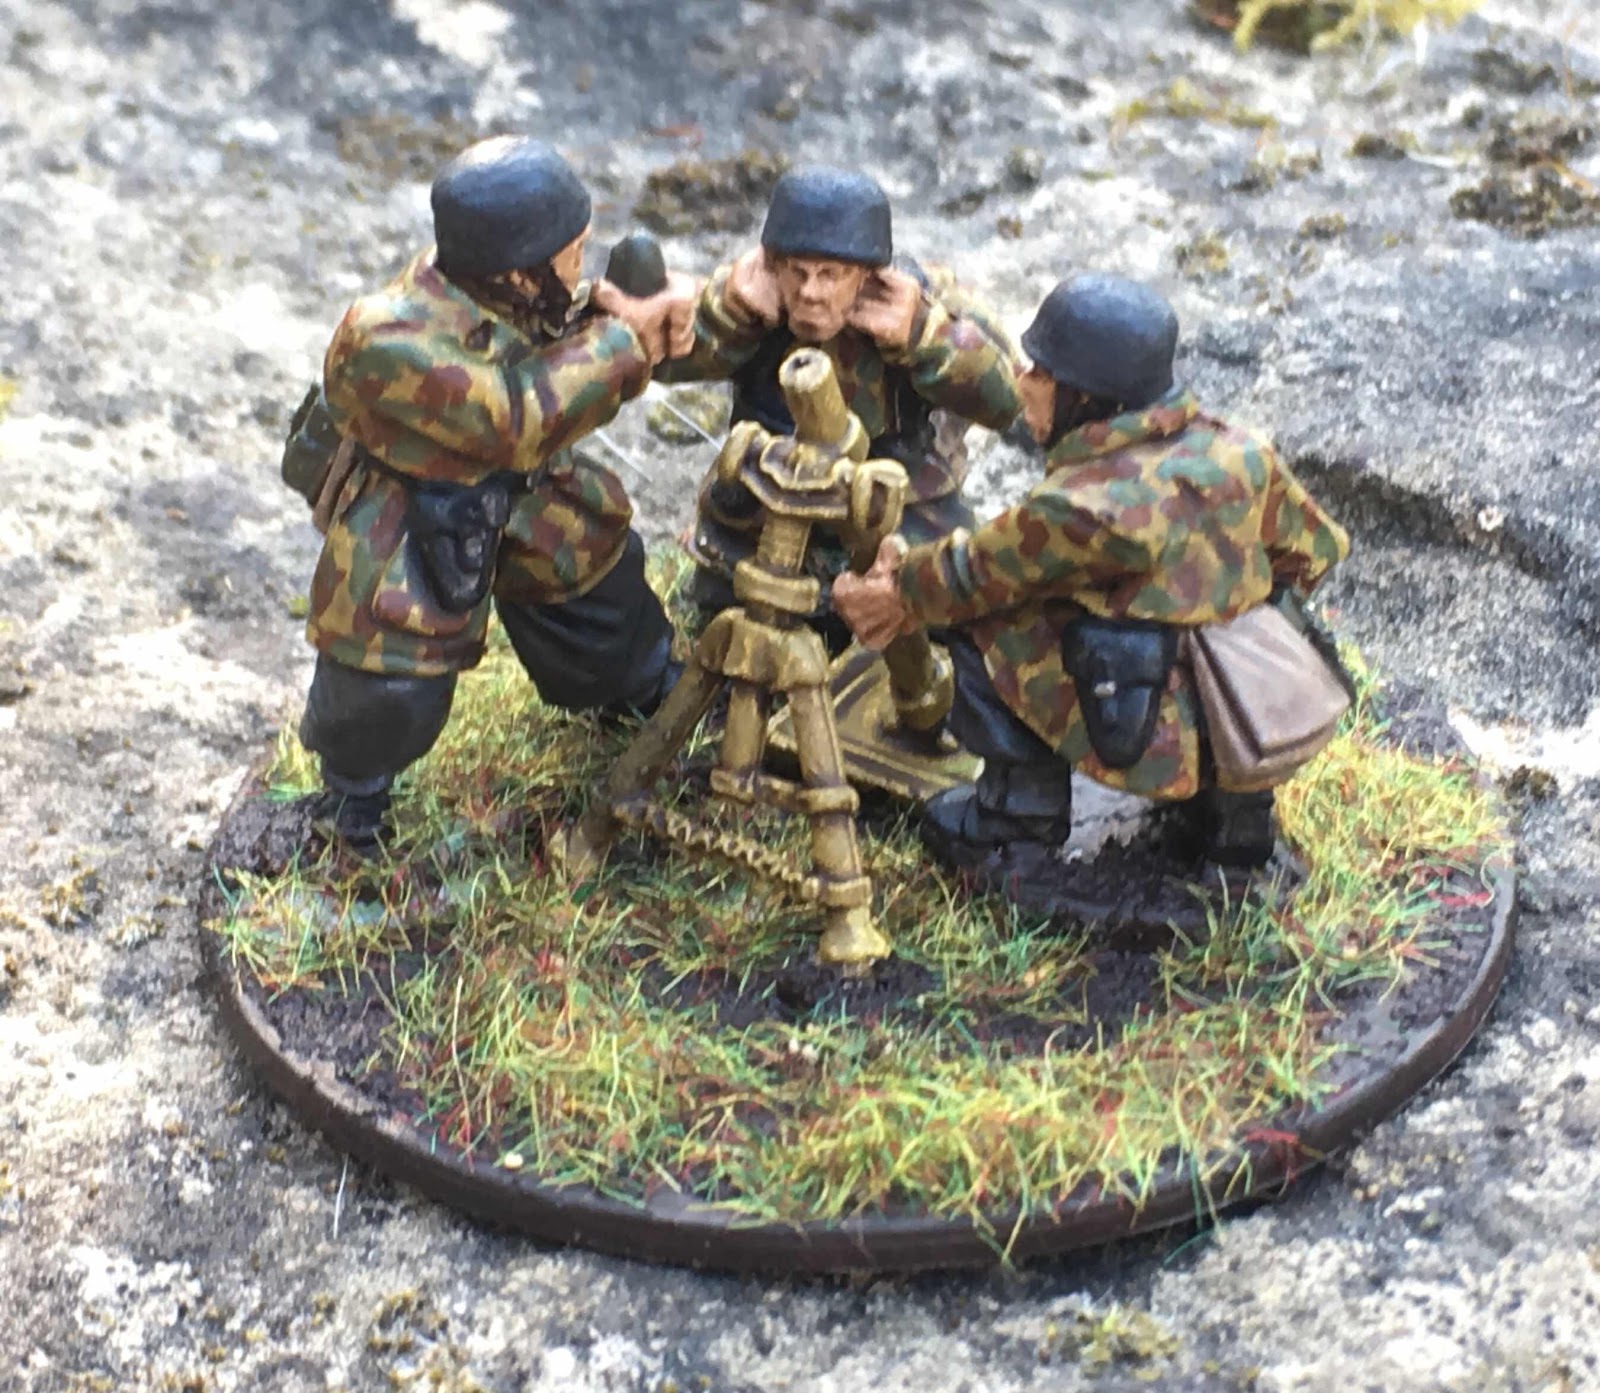
This medium Mortar team is from Artizan Designs like most of my army, but doesn’t actually feature in the Crete campaign. I bought it when I did my big order from Artizan as I knew I’d want one eventually, mainly because this is one of the few artillery options the Fallschirmjager get, and I knew my paratroopers would need support.
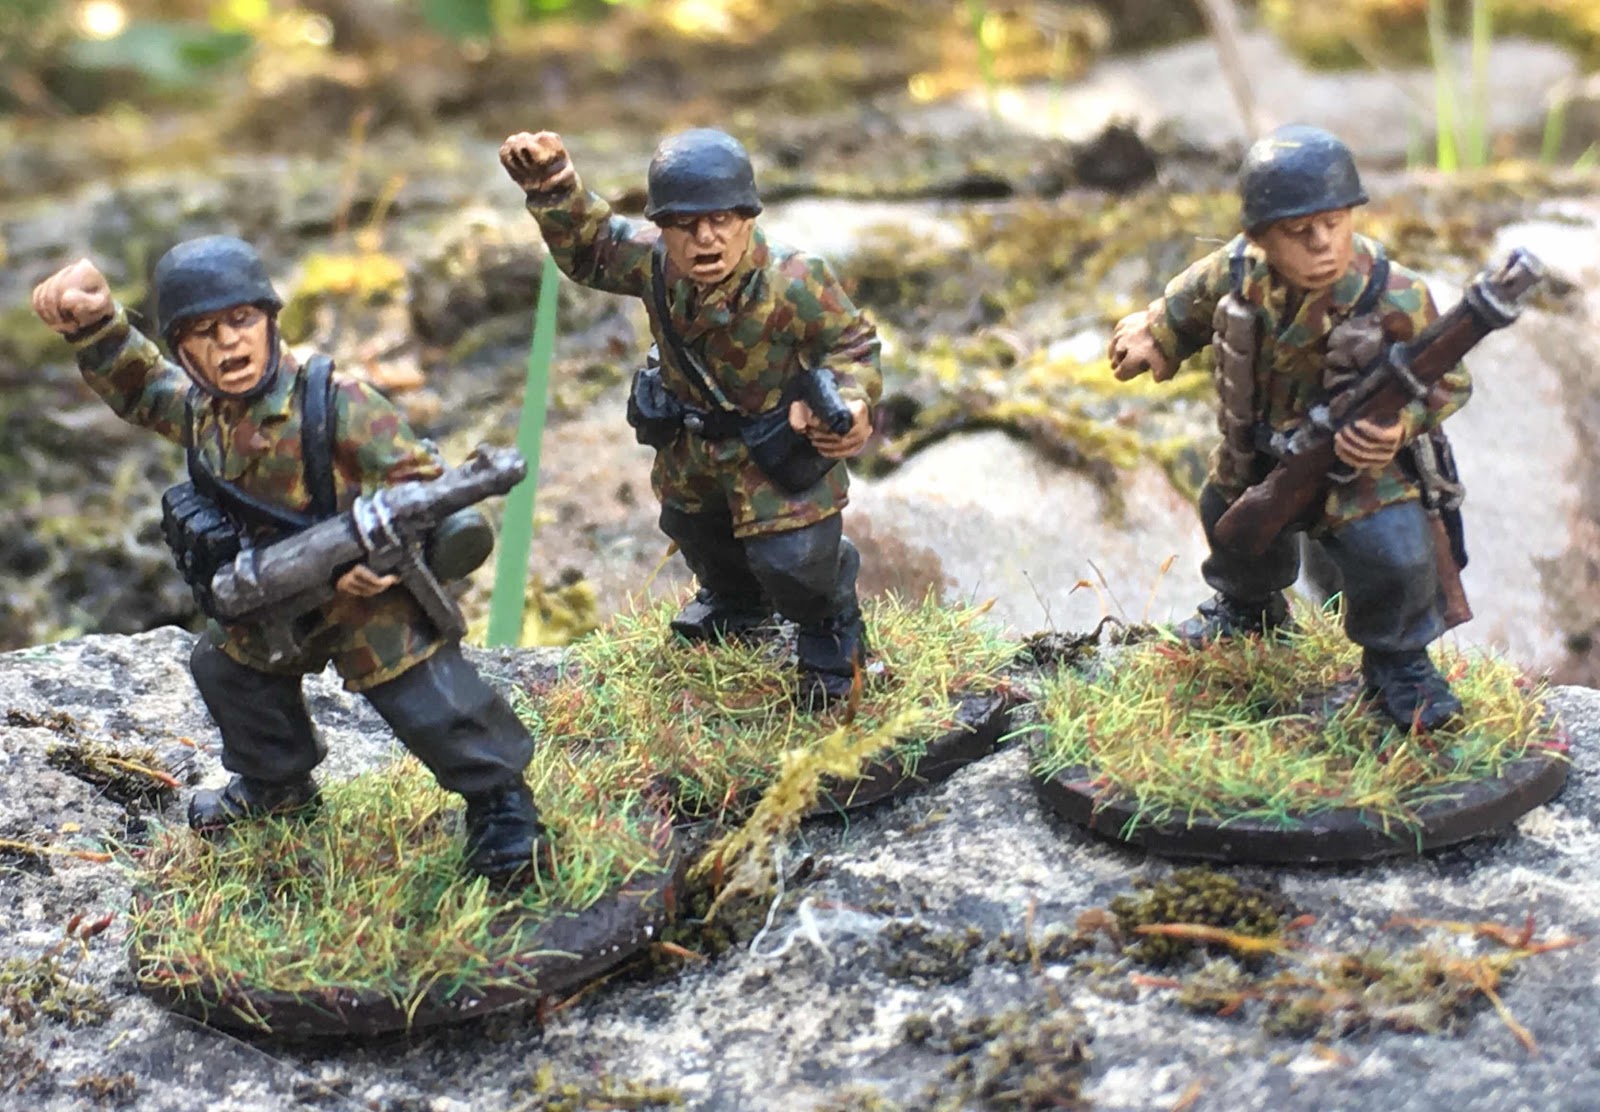
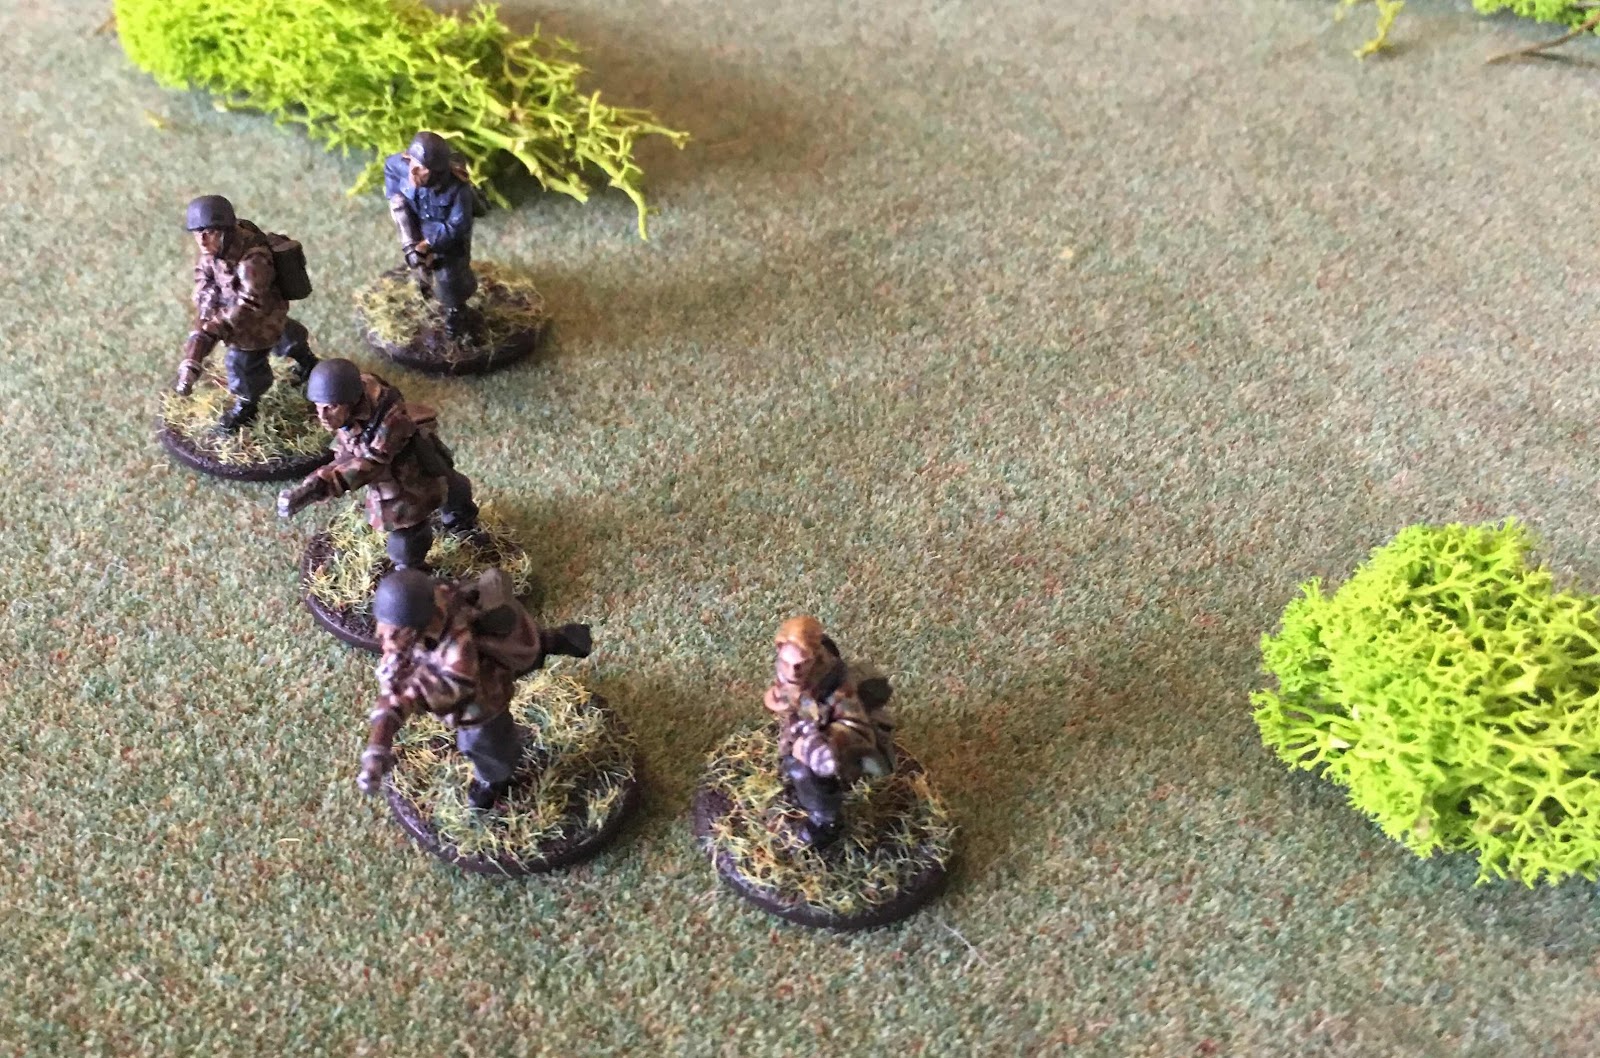
These chaps are the last three Crusader models I bought at Chillcon. I have to say that they did not have any of the casting issues I encountered with the Light Mortar and Anti-Tank Rifle teams. This may mean that I just got a bad pack, of it’s an issue specific to the prone models. Either way, I’m less averse to buying more of them now.
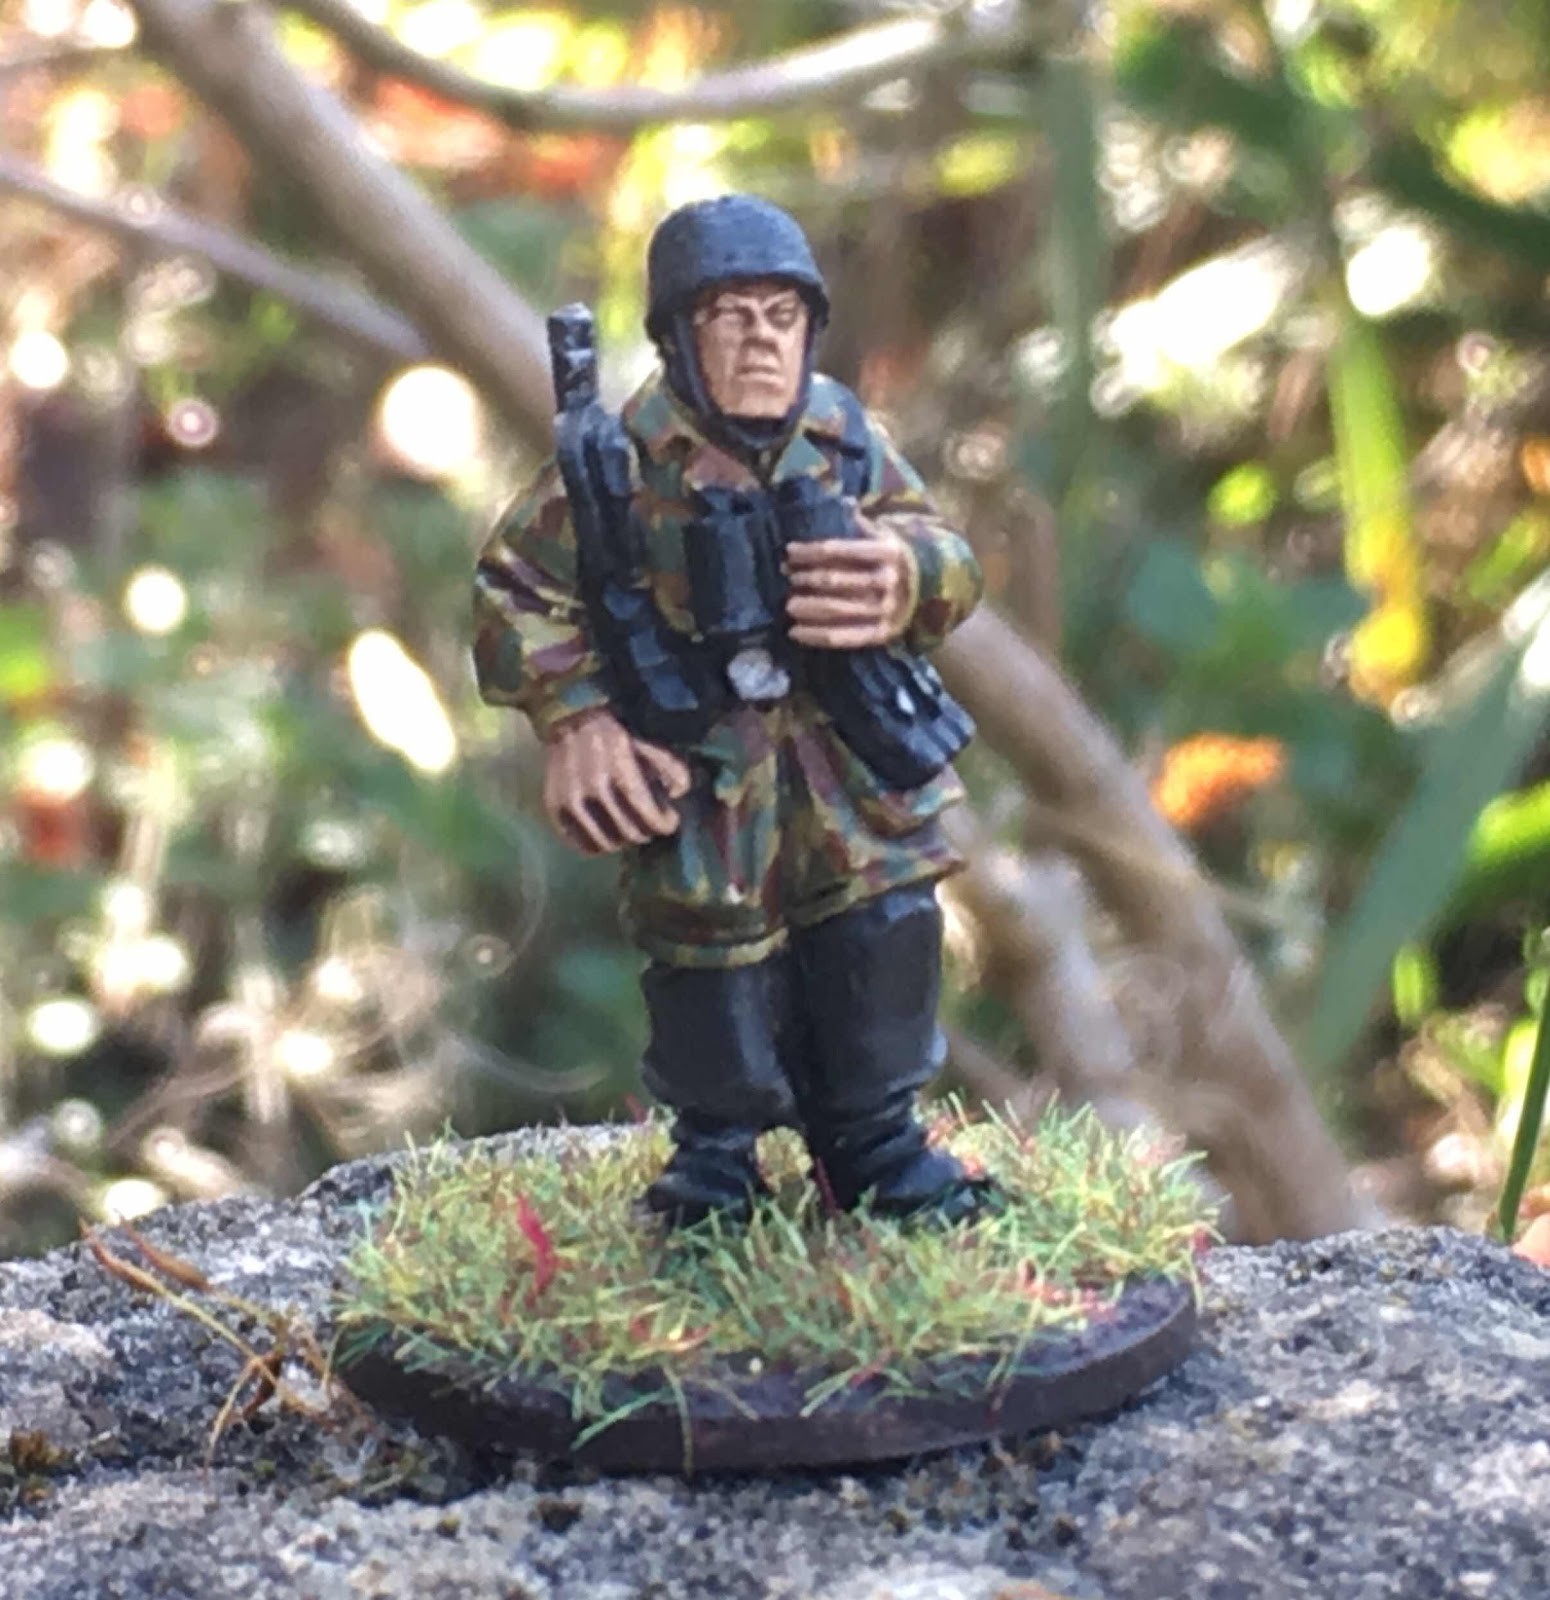
The last model is a bit of an odd fish. It’s also from Artizan, and adds another SMG to my army, which is never a bad thing. However the pose is a bit odd, due to the binoculars. The SMG means that he won’t suit being a spotter or observer, and the passive stance makes him not really fit in with the regular squads.
I think this chap is destined to always be in the commanding officer’s squad, as he doesn’t really look like he’s the one in charge.
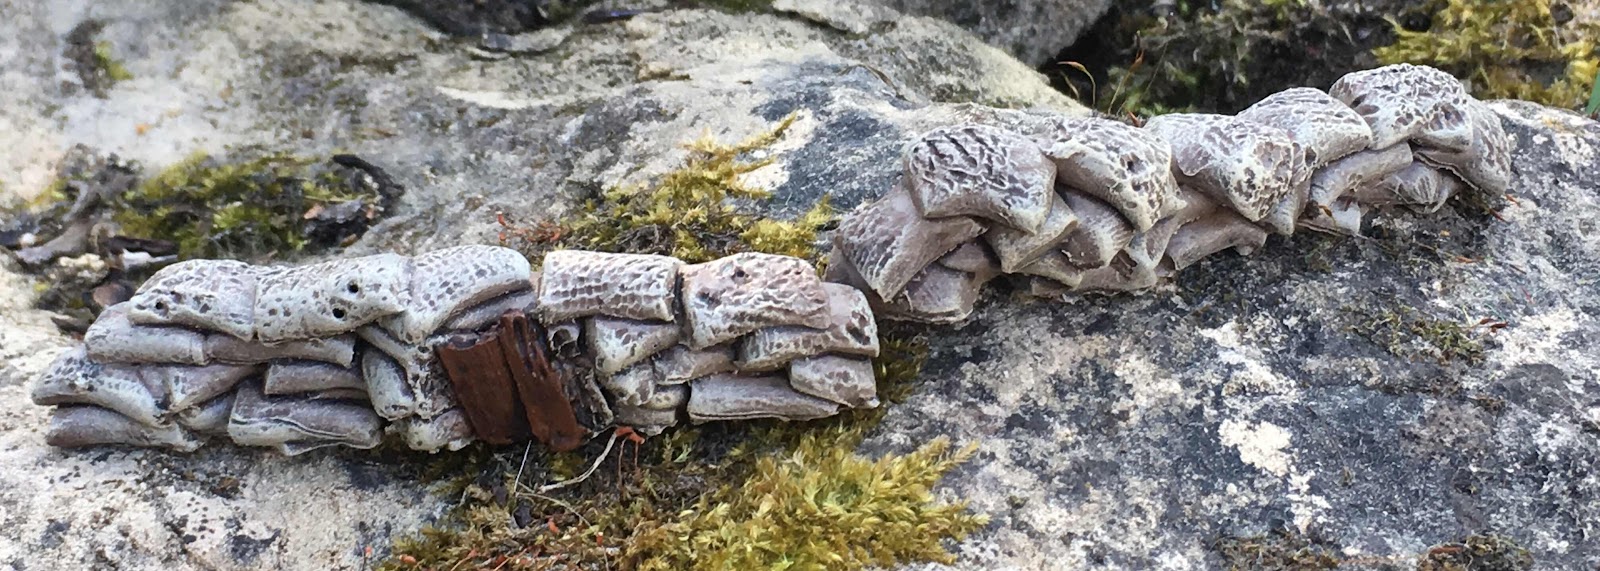
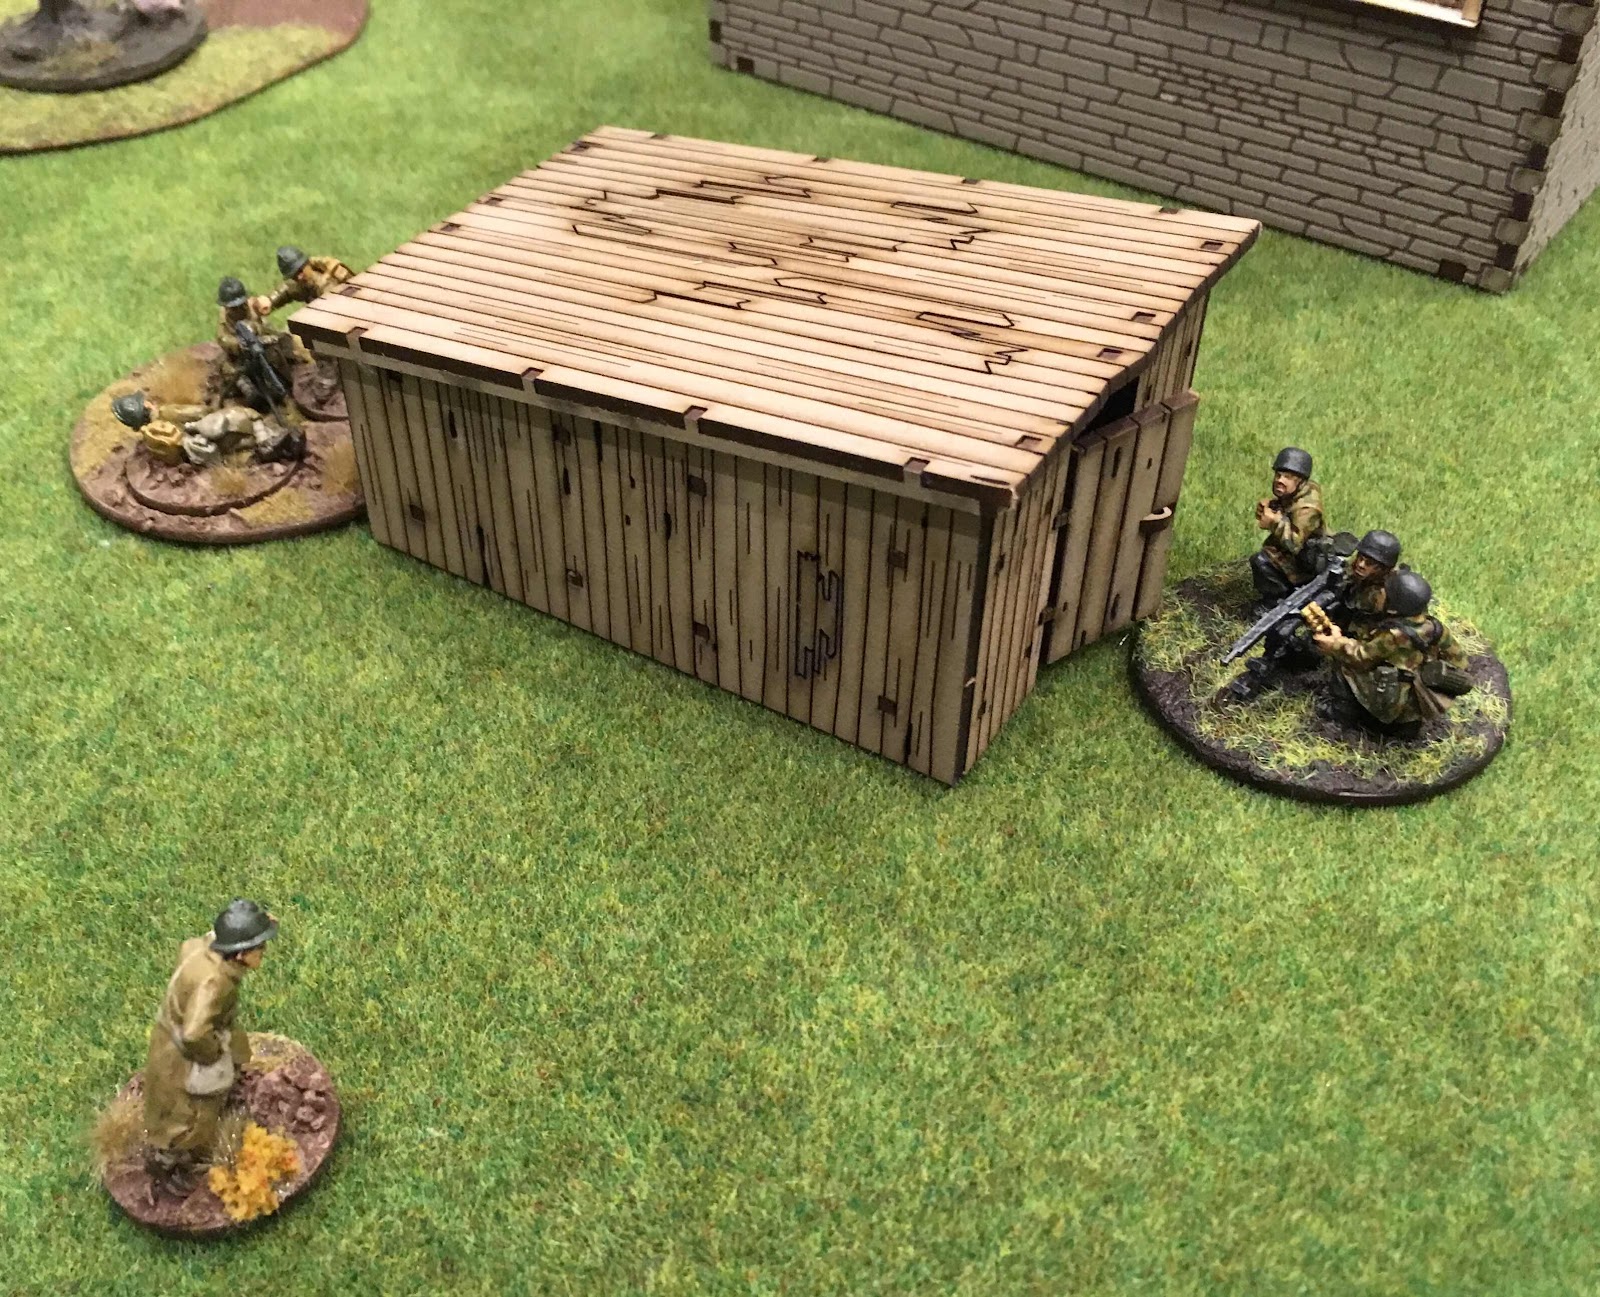
I also took the opportunity to paint up a couple of sandbag defences as terrain. The fact that they are in two sections makes them really quite versatile.
I picked them up a long time ago from a model railway shop which has long since closed. They didn’t take much to do, just a base coat, wash and dry brush. However it all adds to the tallies - I’m counting this as ten as, in my rules I’ve just made up, both sets of sandbags and the actual mortar count as separate models.
Acquired: 98
Painted: 55
I also managed to give my full force of Fallschirmjager a run out against Matt’s French. Even though I could only muster a stretched 1000 points, it was a big improvement on finding spurious reasons for the Frenchbto be fighting the Soviets.
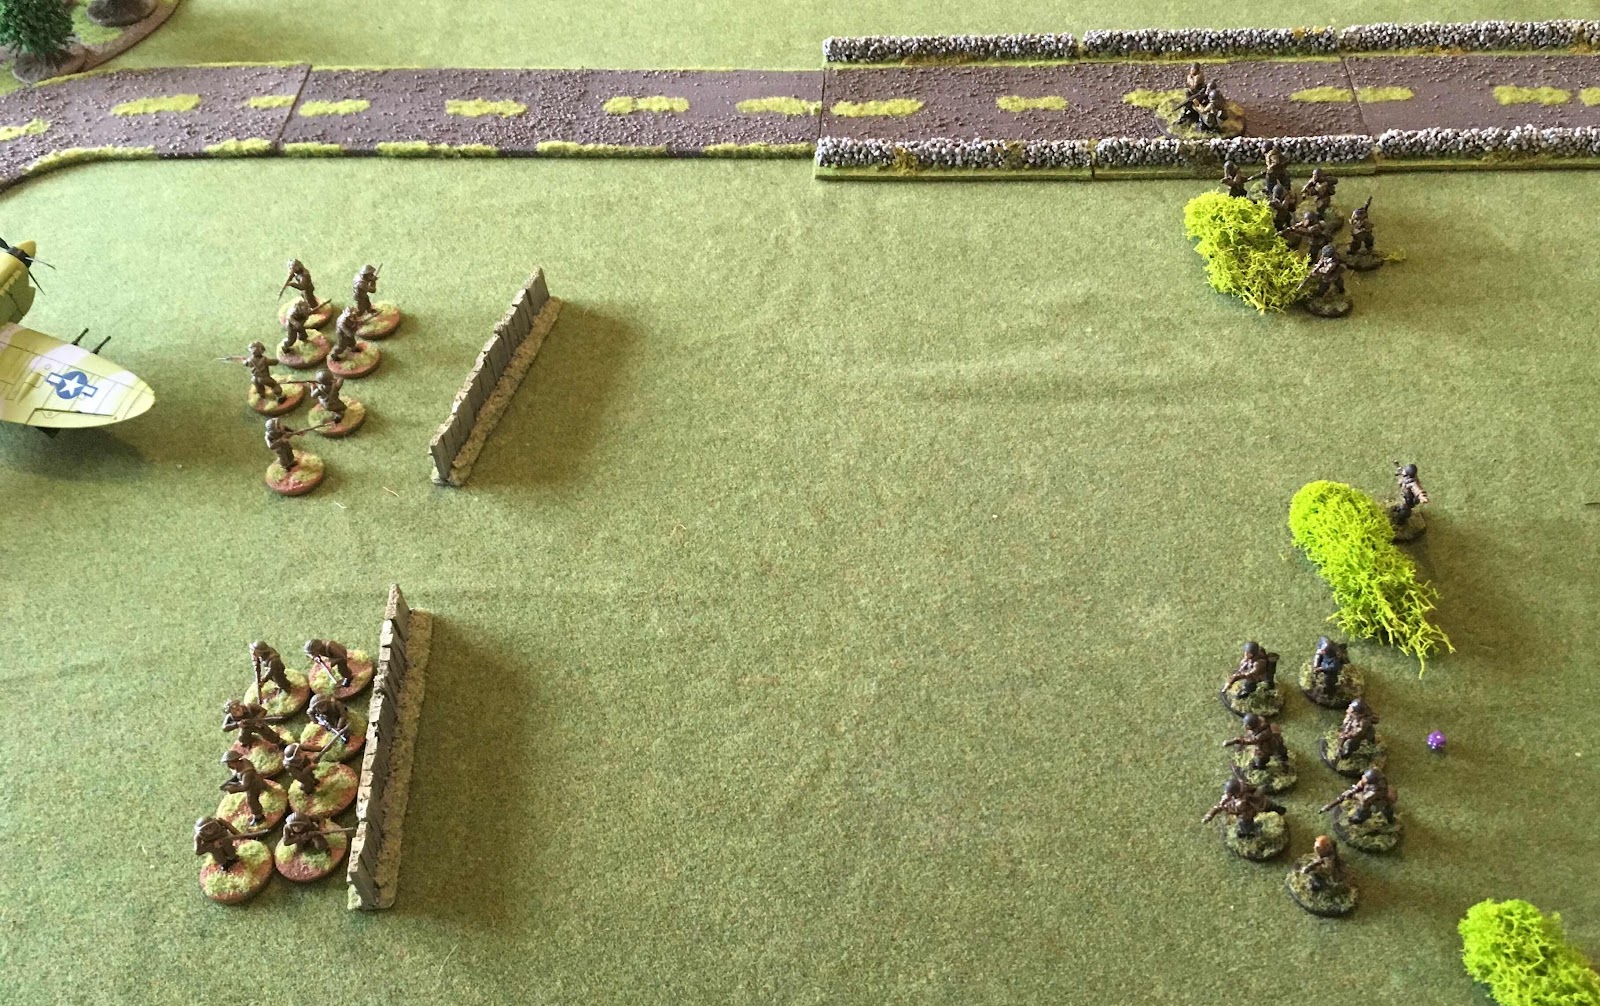
The scenario was double envelopment, where we were both aiming to get units off the other side, but only half our forces began on the table.
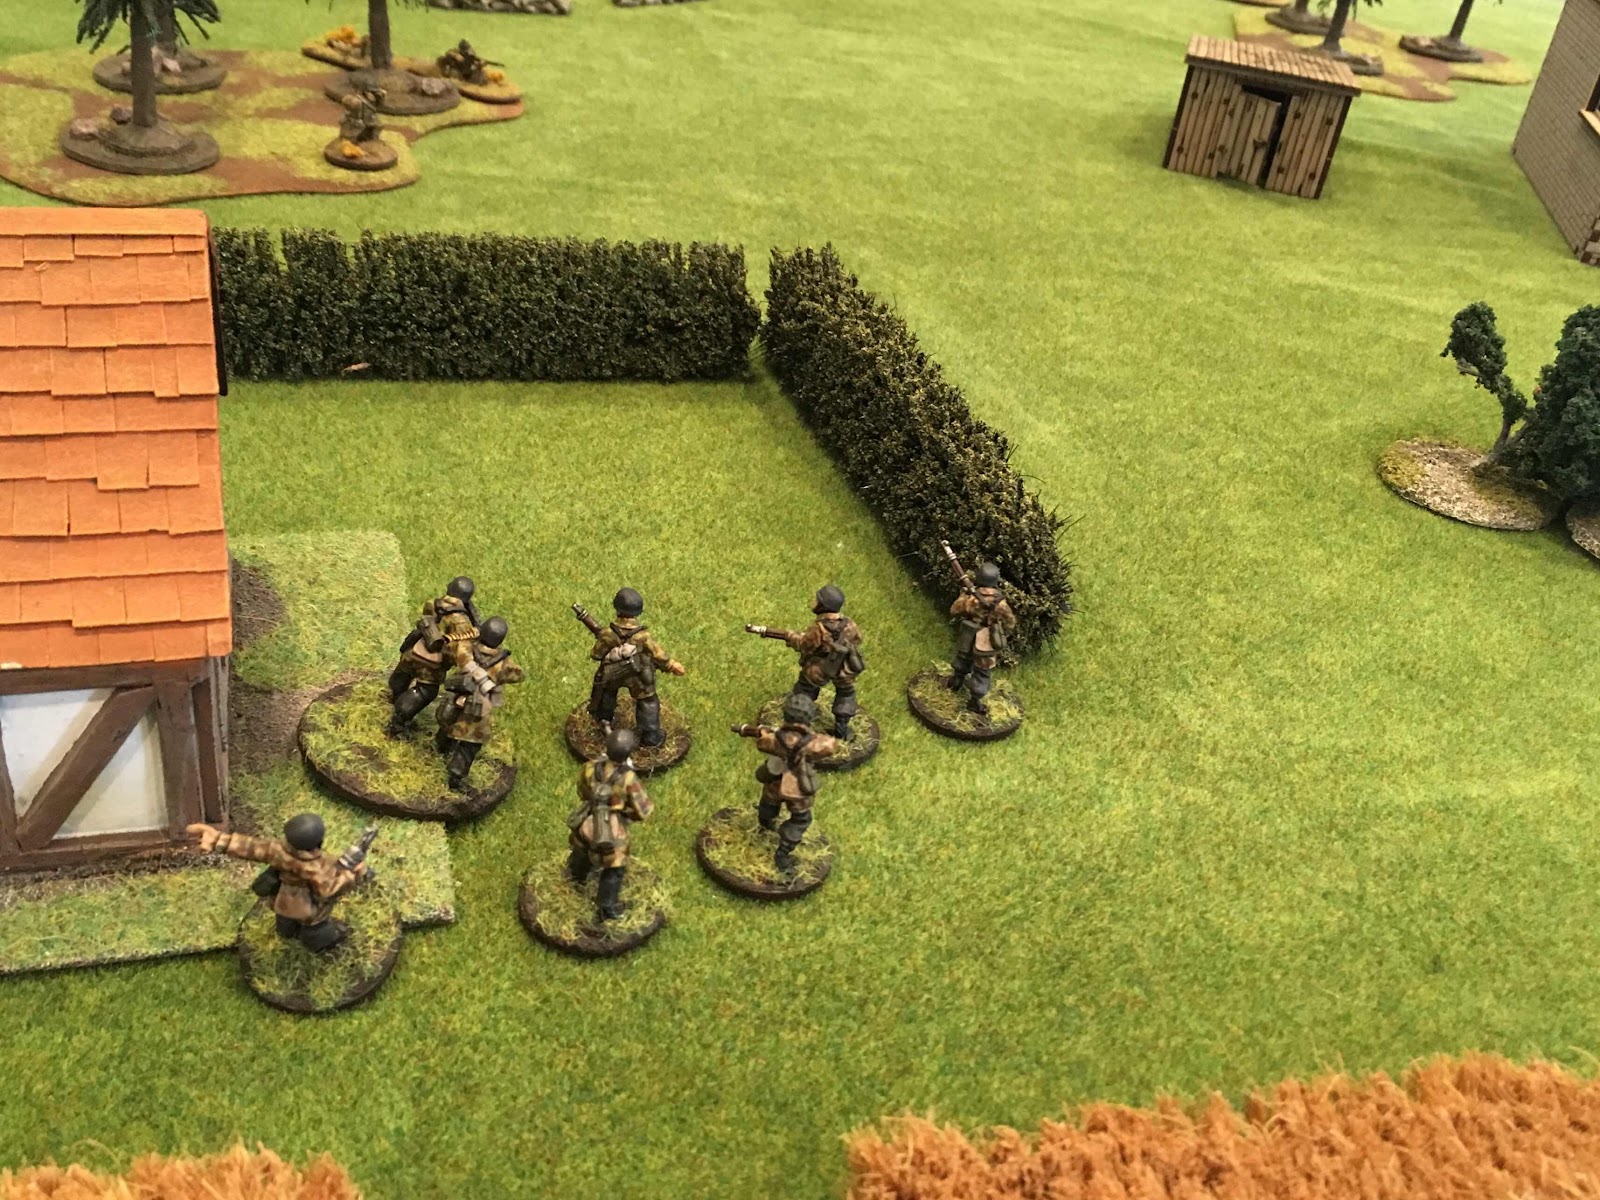
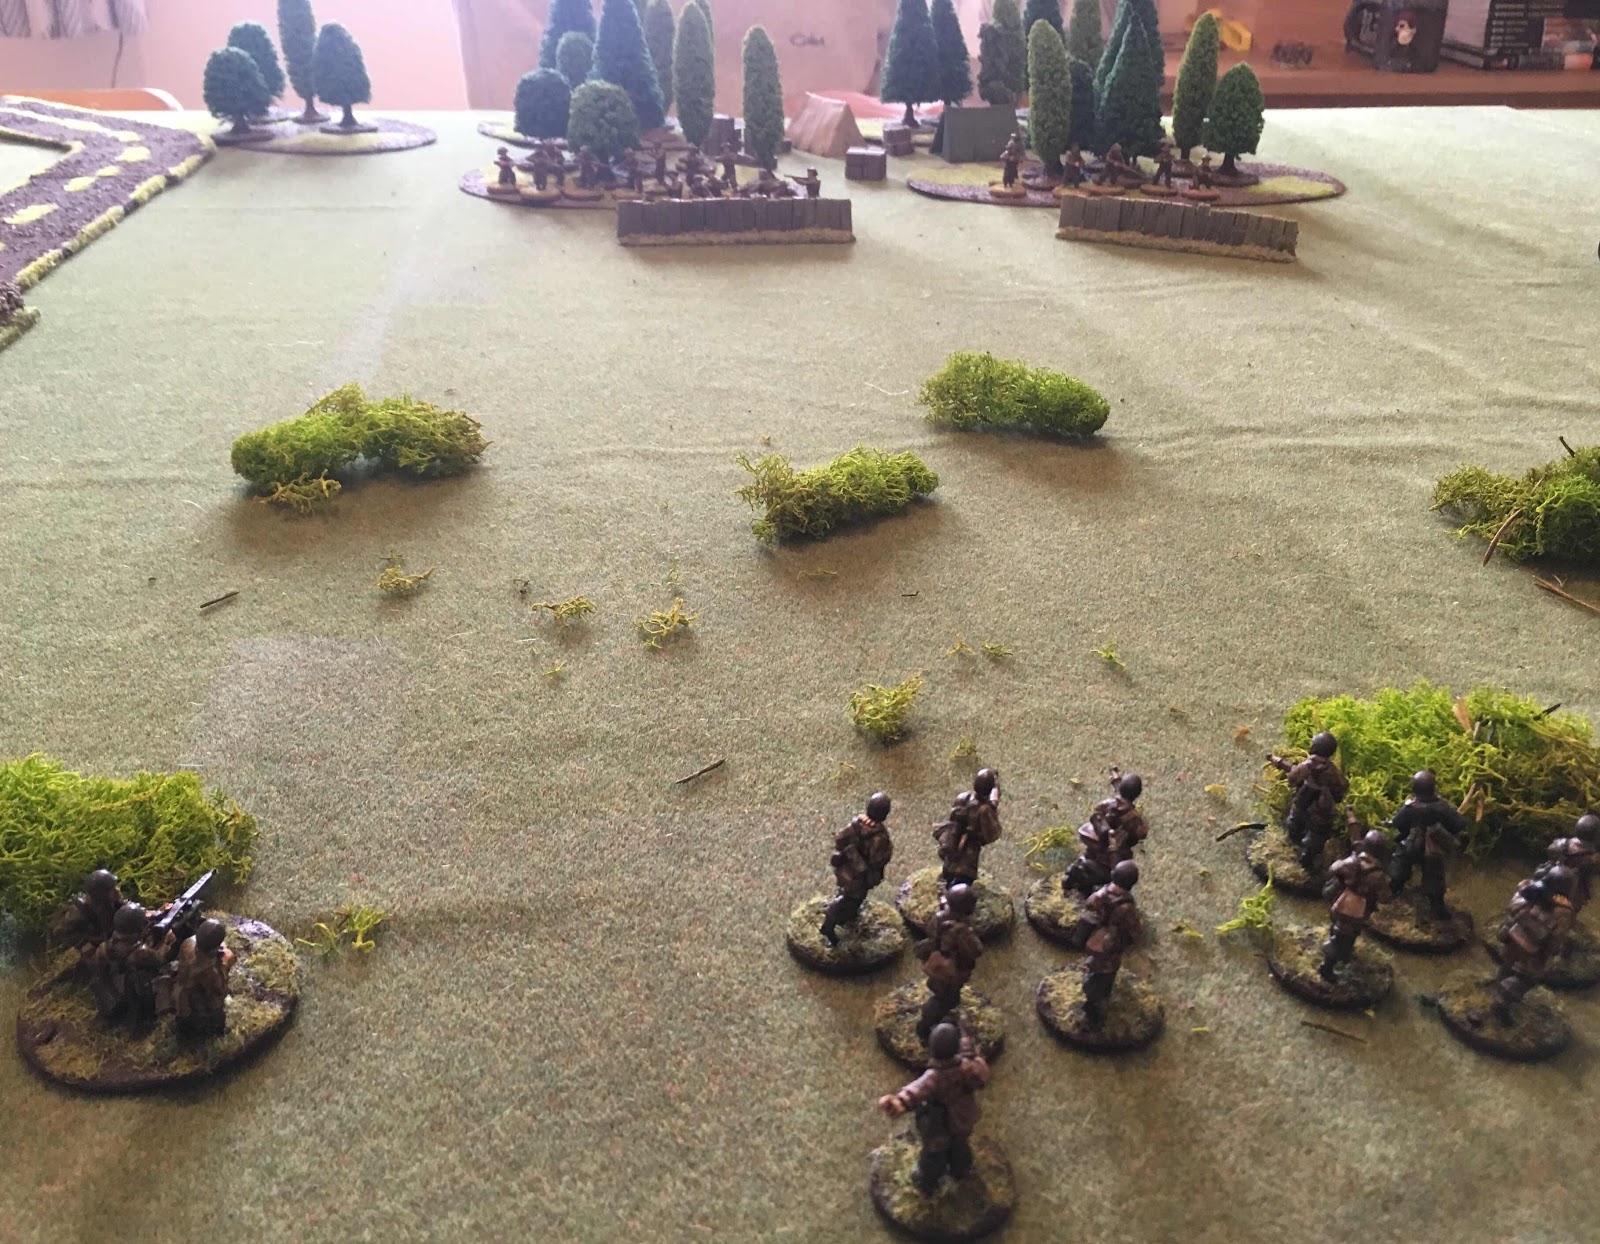
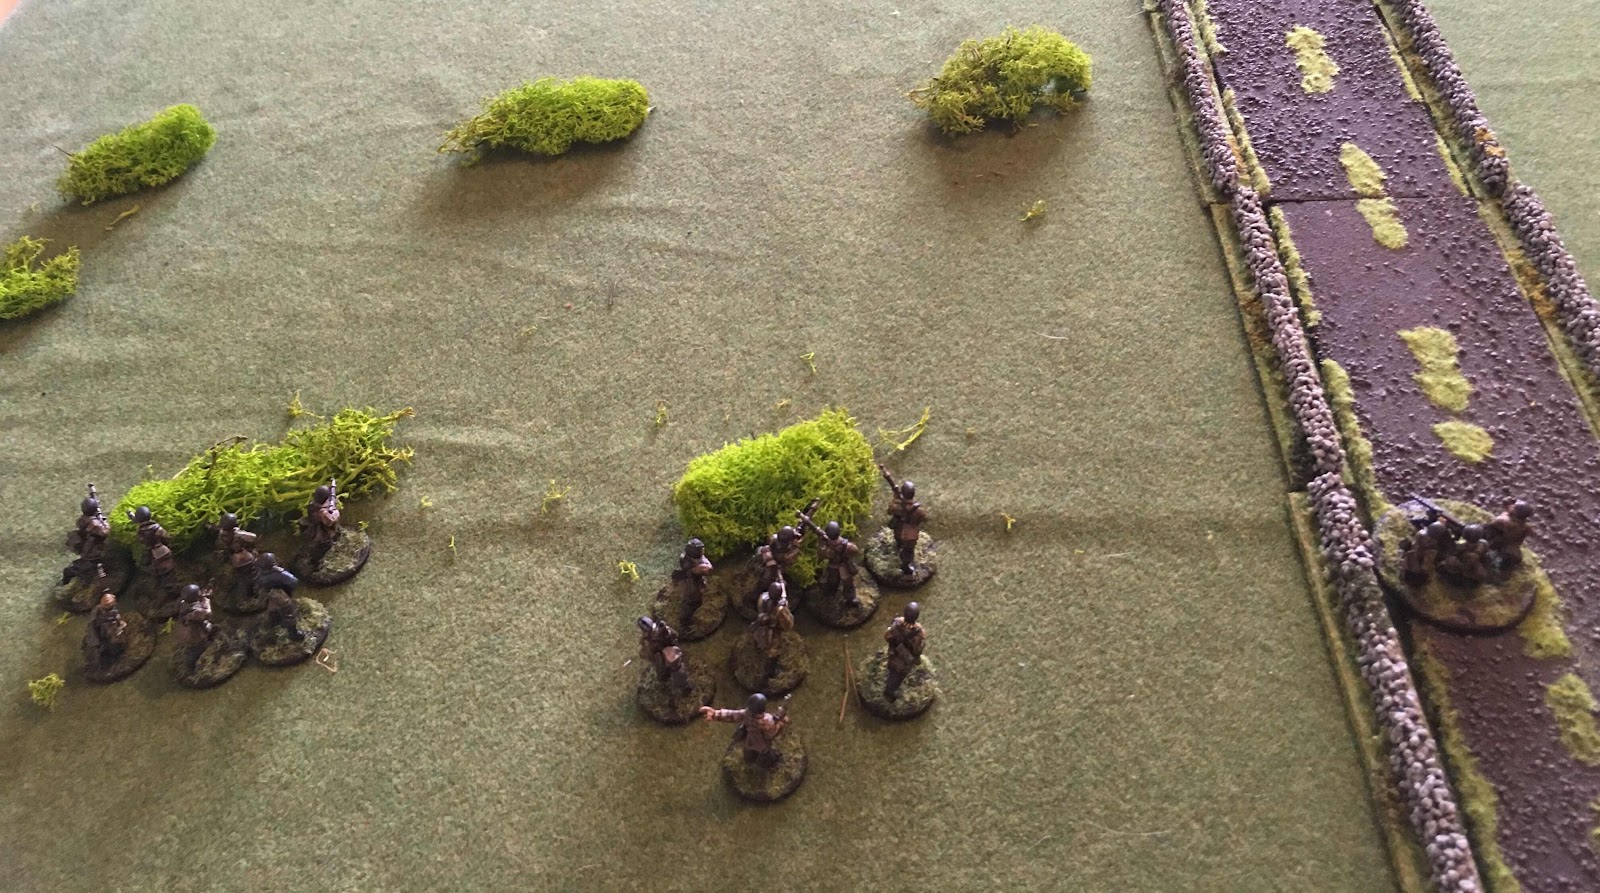
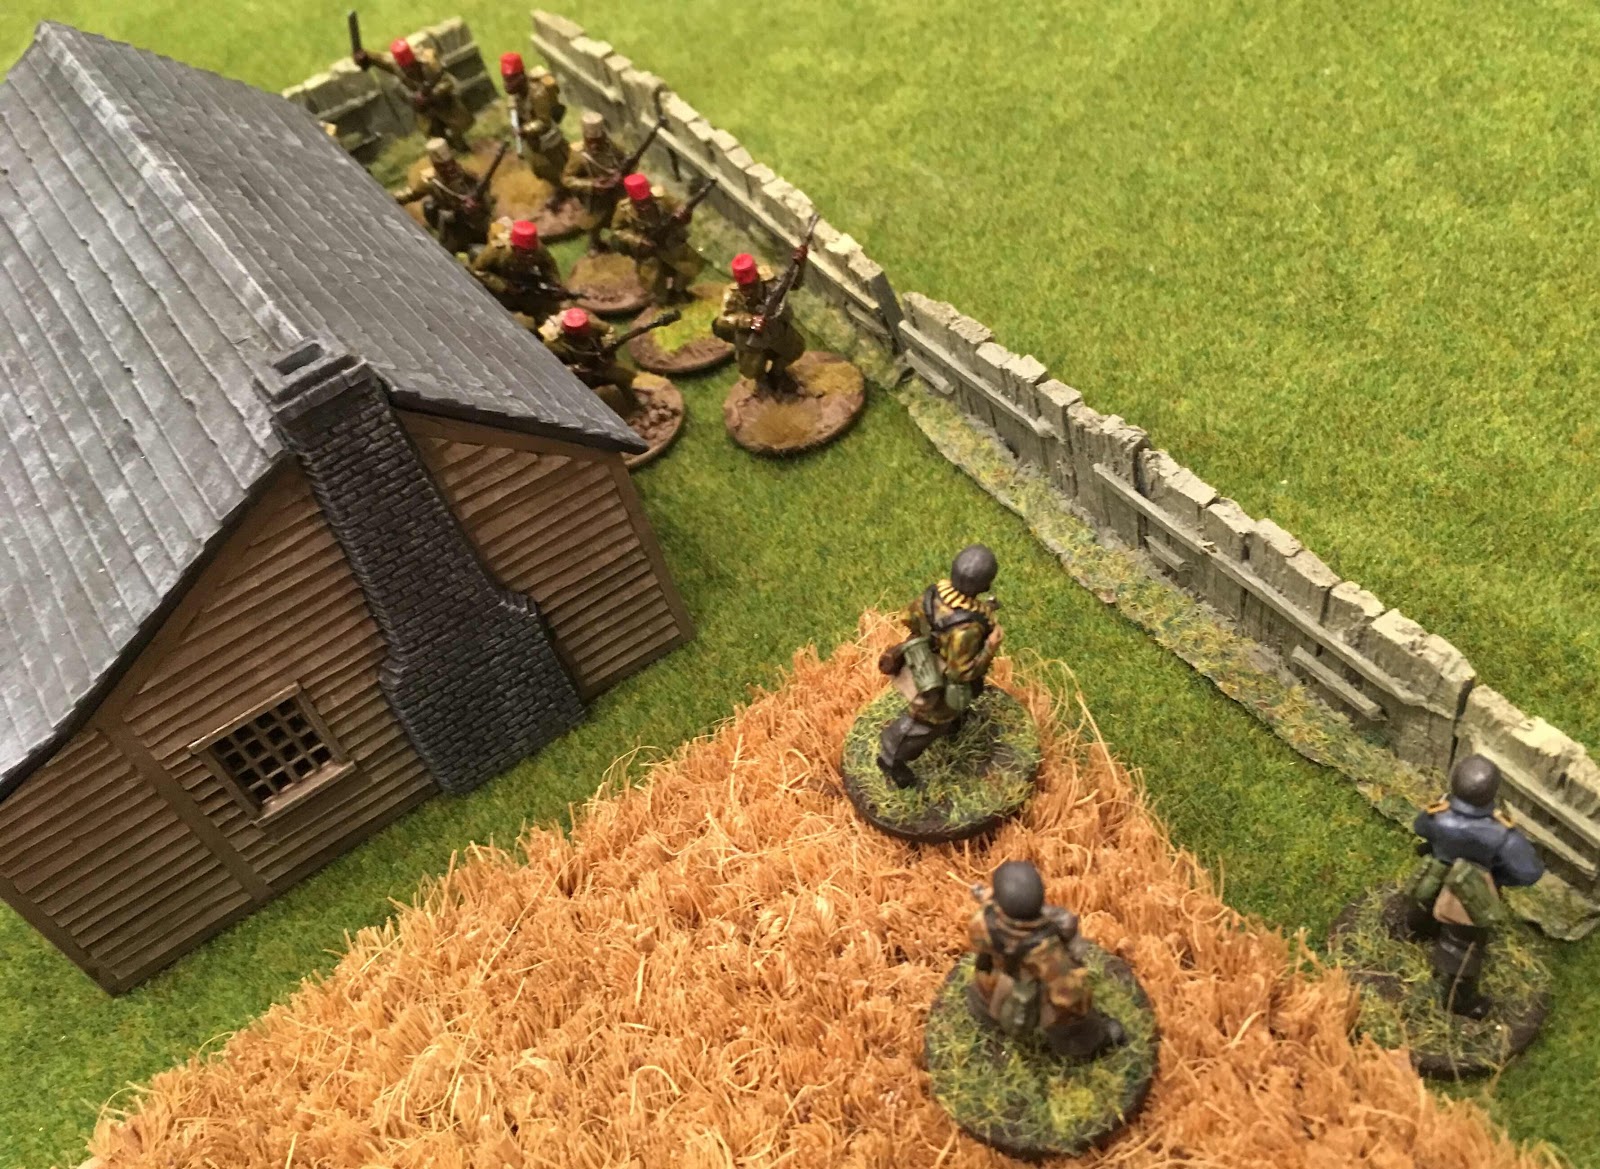
I had one squad on my left flank...

...and another squad on the right, backed up by my Mortar team (the spotter was on the left) and a Forward Air Observer. The centre of the table was dominated by a large hotel in which my sniper was secreted. I also had positions an MMG team badly behind the hotel.

Matt’s right was occupied by his frankly terrifying medium howitzer.
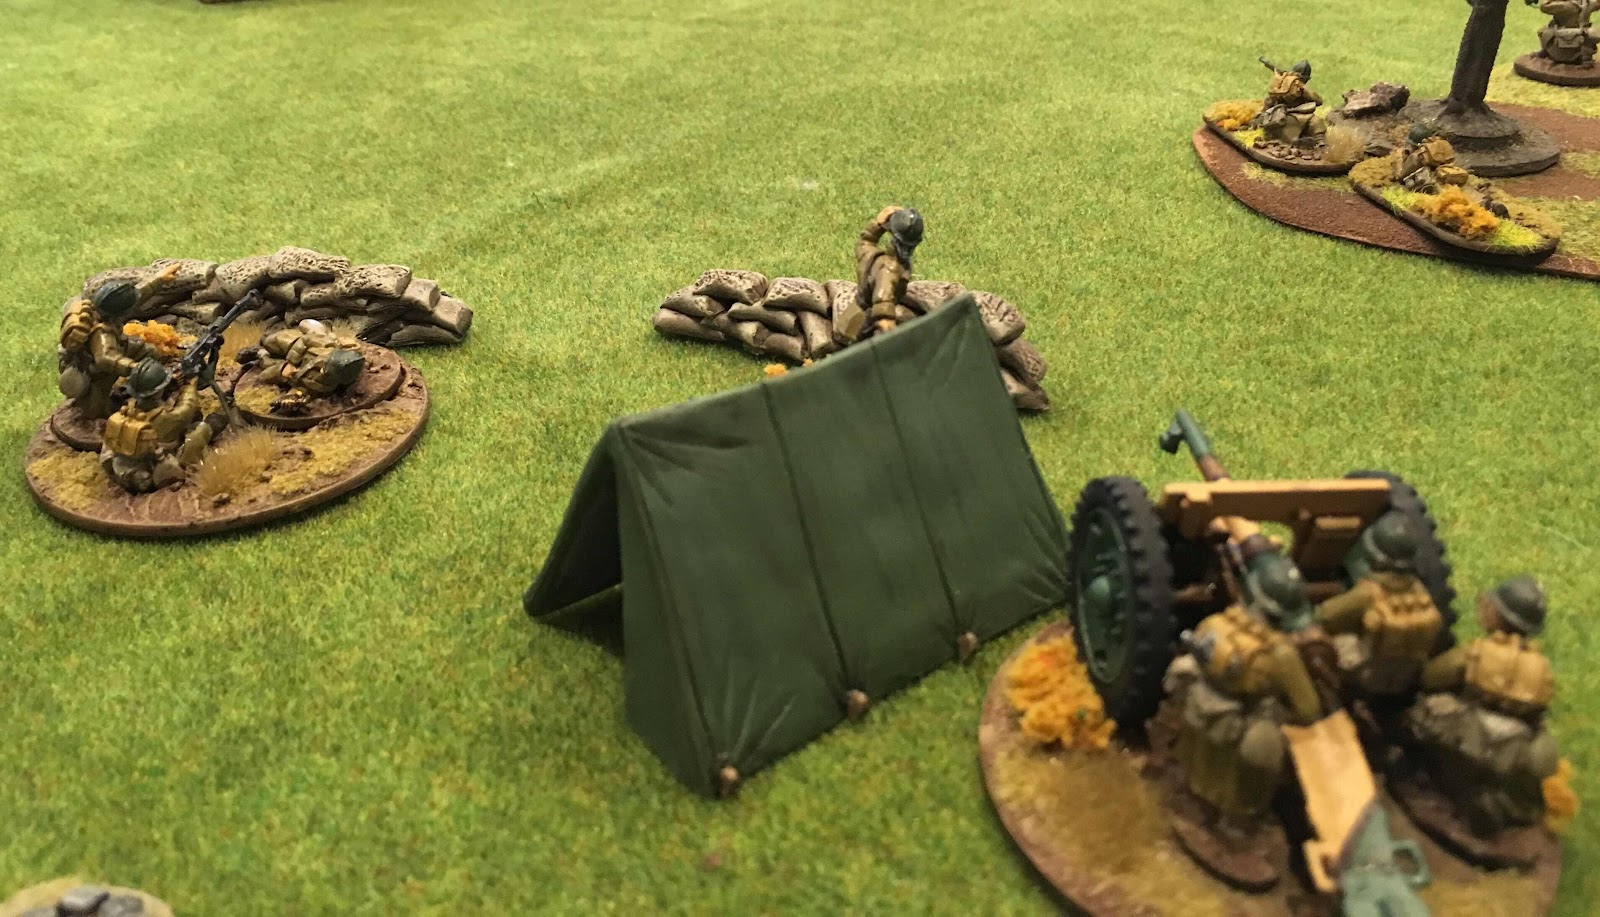
Matt’s right was held by an array of armaments. A light howitzer, an MMG team and a sniper were all poised to unleash death on whatever presented itself. He also had a Mortar team behind the hotel, you can see the spotter in front of the tent.

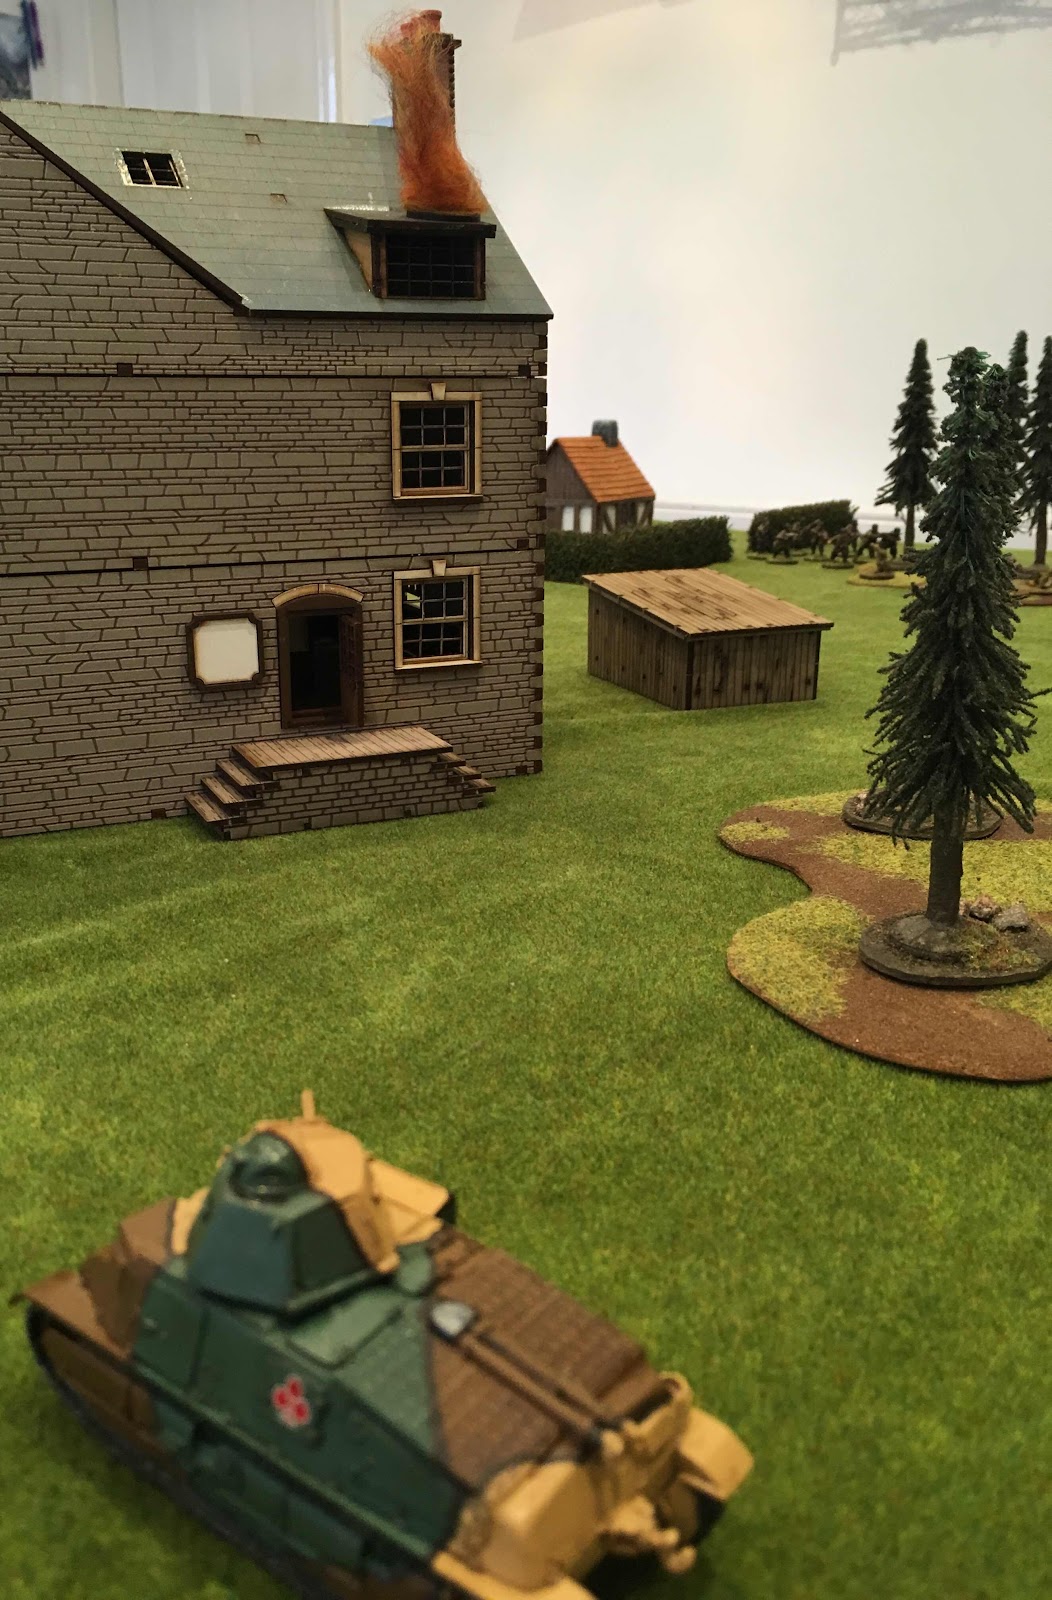
Finally Matt had a Somua 35 tank. Aware that I had very little in the way of anti-tank capability (an AT Rifle and some grenades), Matt had sportingly left his Panhard armours car and bigger tanks at home. This had the potential to cause me real headaches, however, the French special rules about needing to pass an orders test to move and fire in the same turn was probably my biggest protection from being steamrollered.
The first action of the game saw the turret of the Somua rotate towards my sniper and obliterate him before he got a shot off. First blood to the French.

Outgunned and outnumbered, I had no option but to advance. I knew a shooting match wouldn’t end well, however, Fallschirmjager are all veterans and do my best defence probably lay in getting stuck into assaults. This strategy also had the advantage of getting my troops across the board.
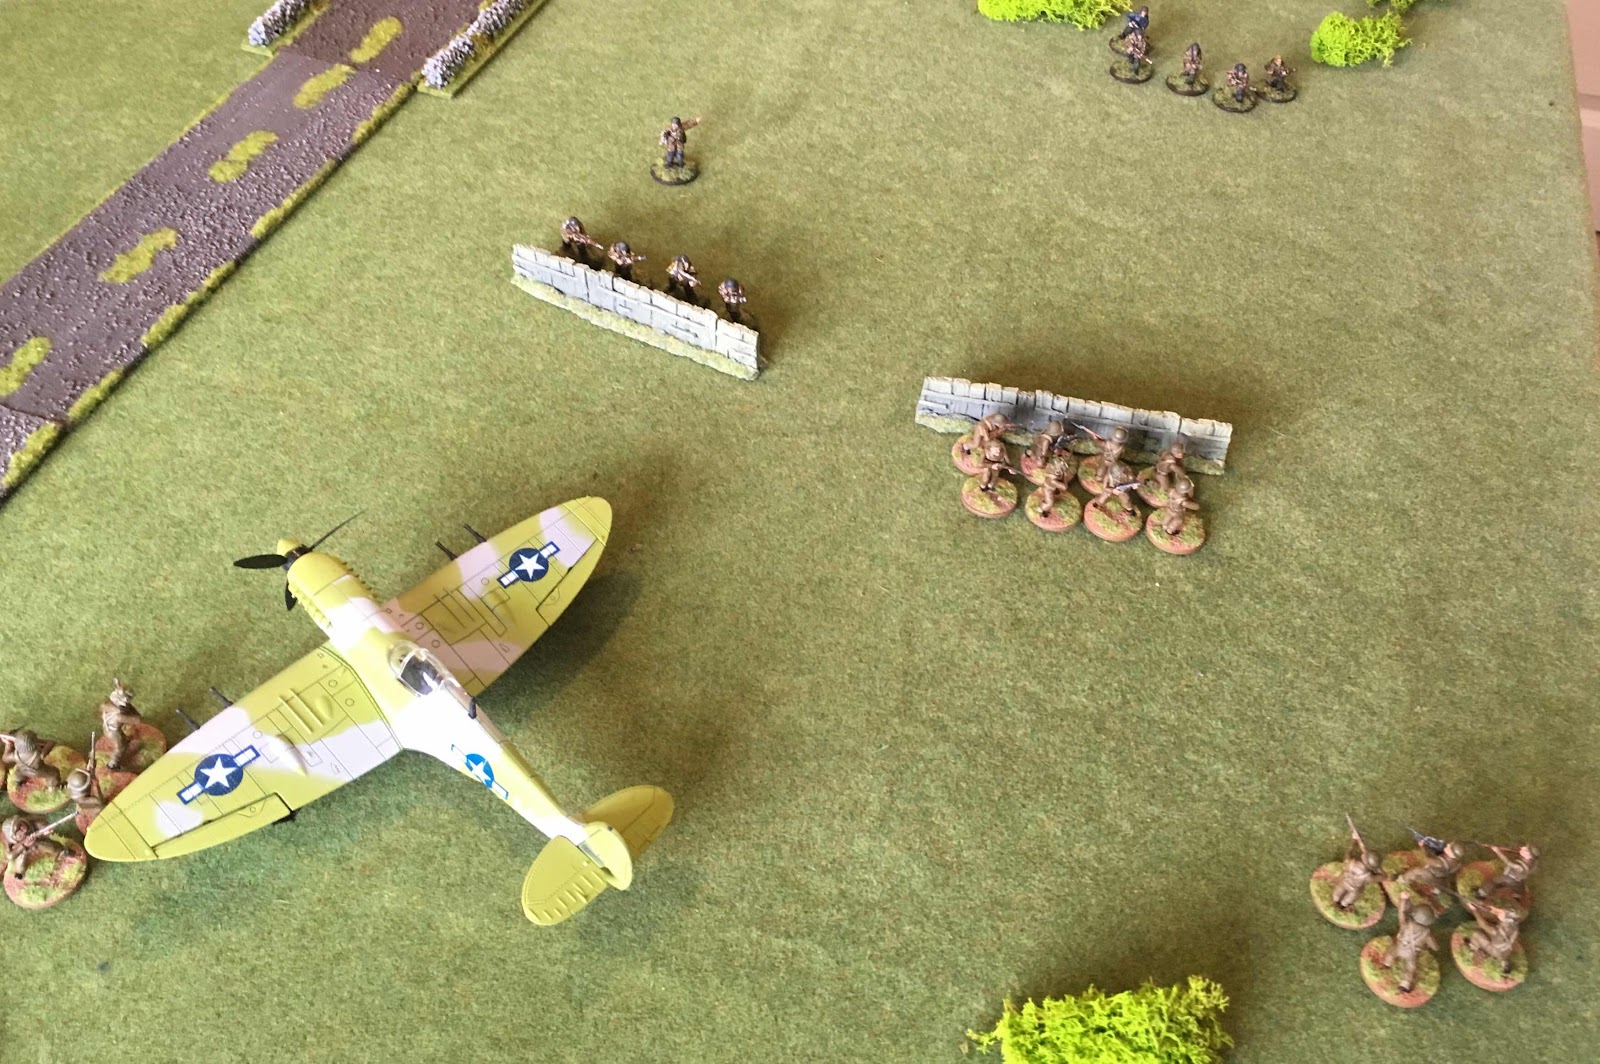
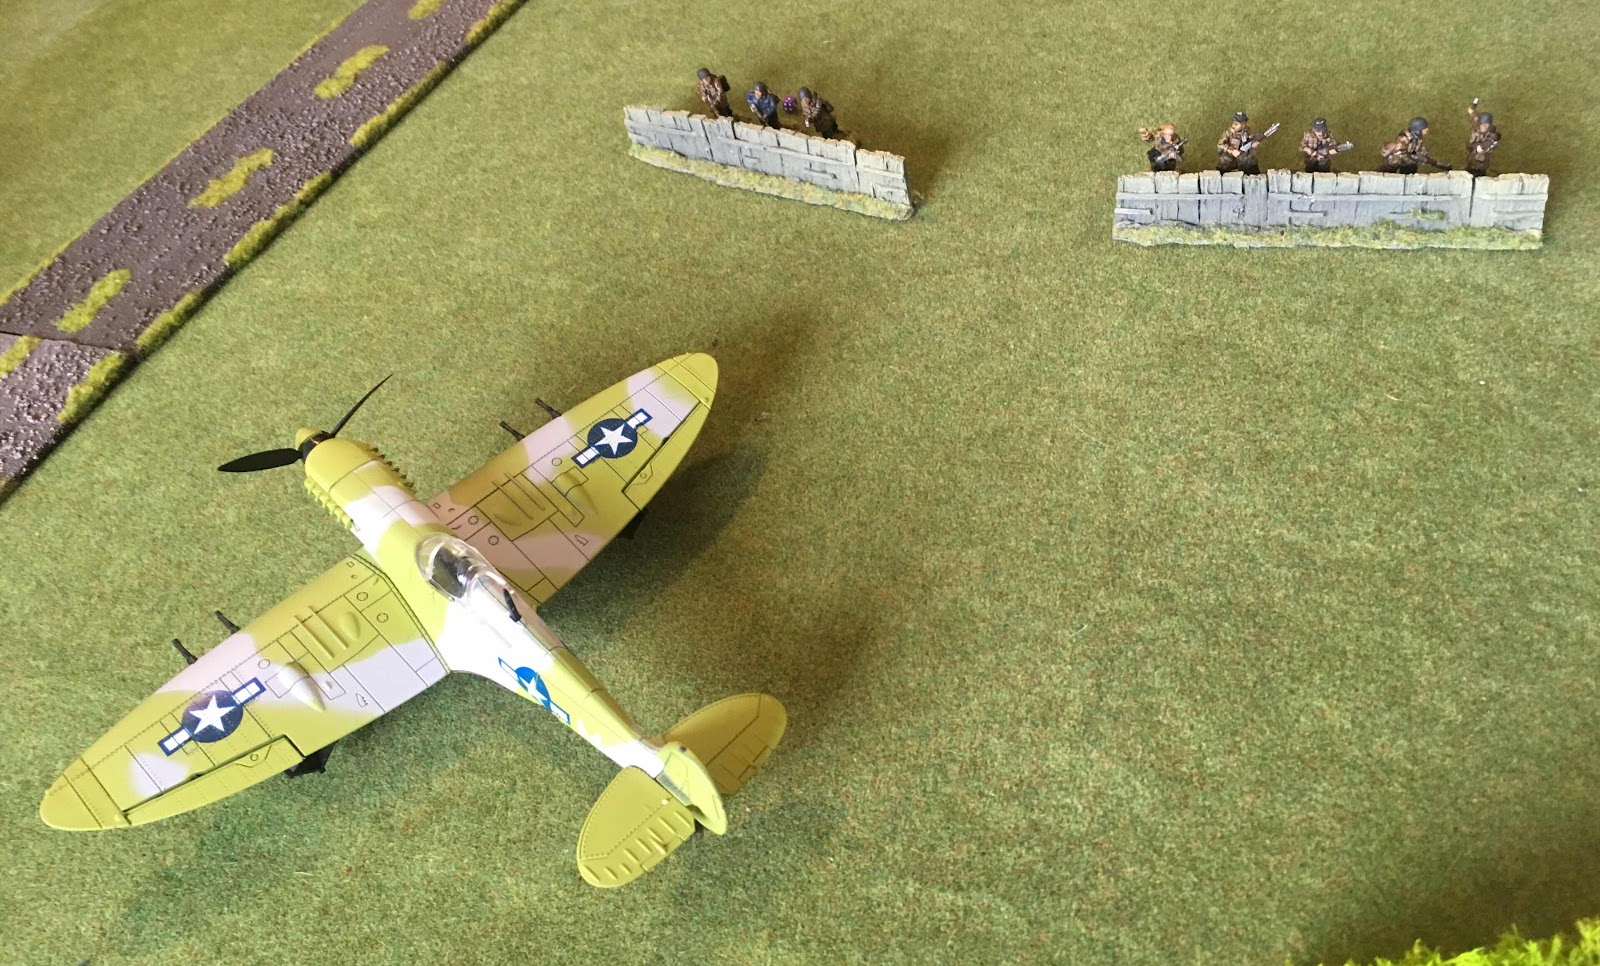
My Air Observer called in an air strike on the medium howitzer, which arrived on time, weakening killing two crew. The rest were finished off by a spray of rifle and LMG fire before it managed to have an impact on the game.
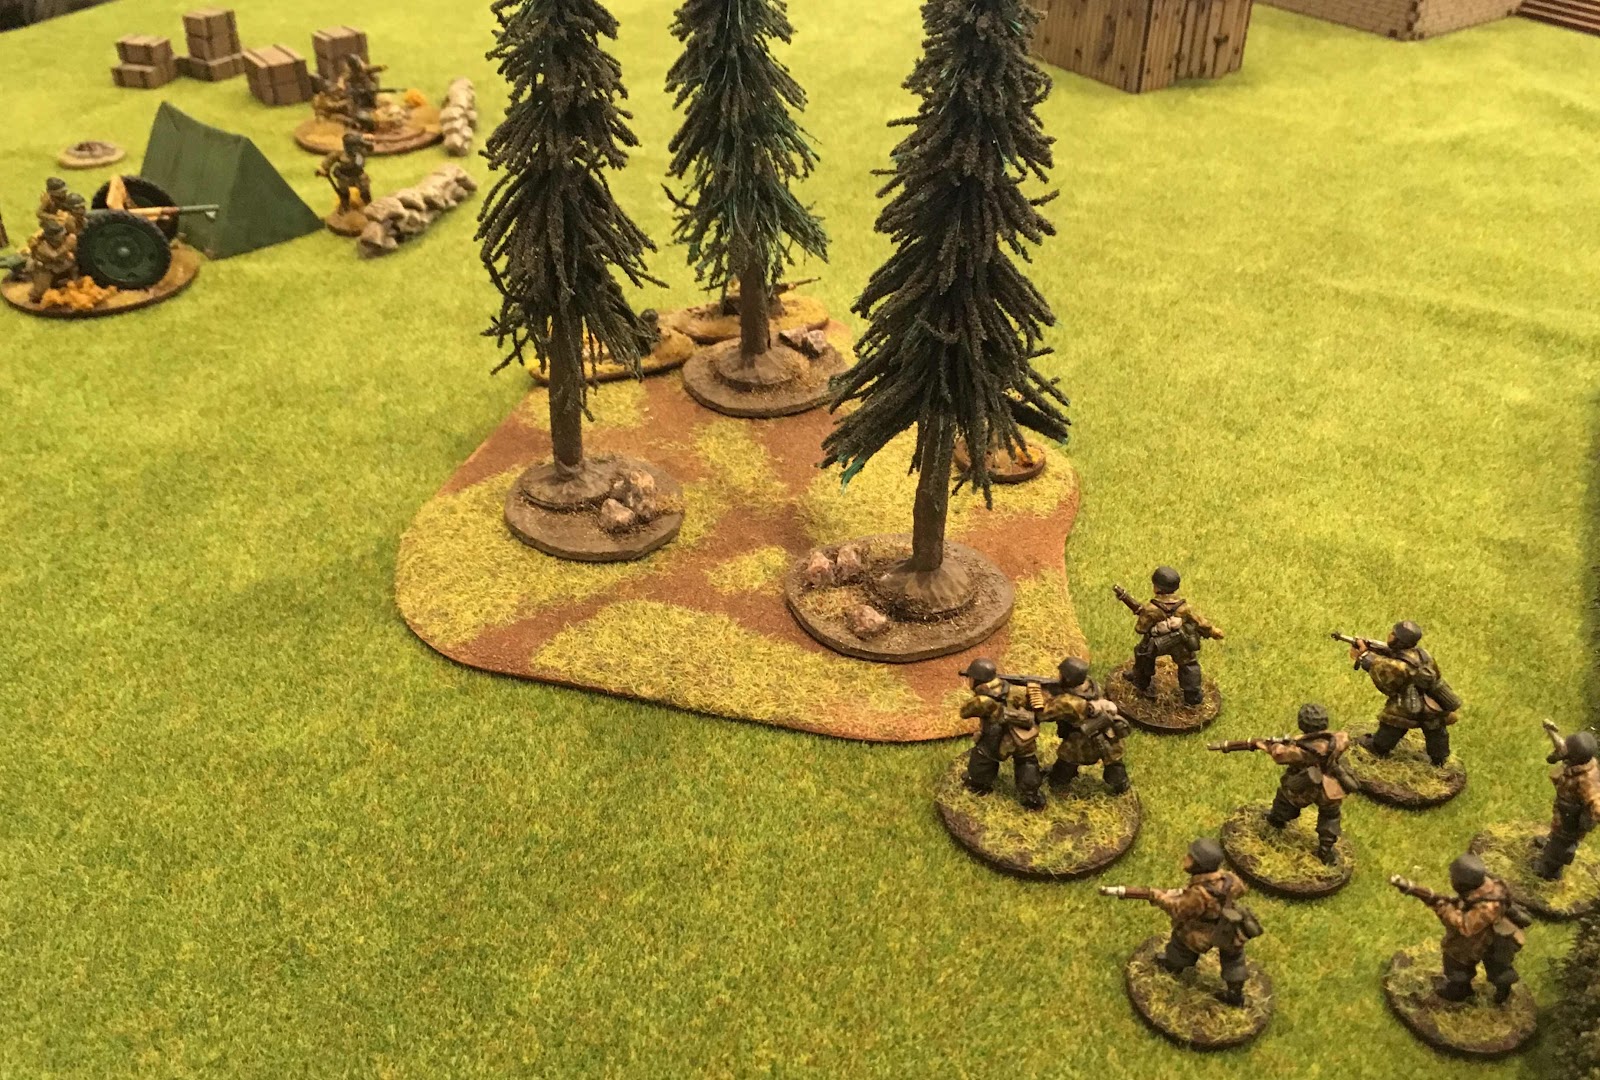
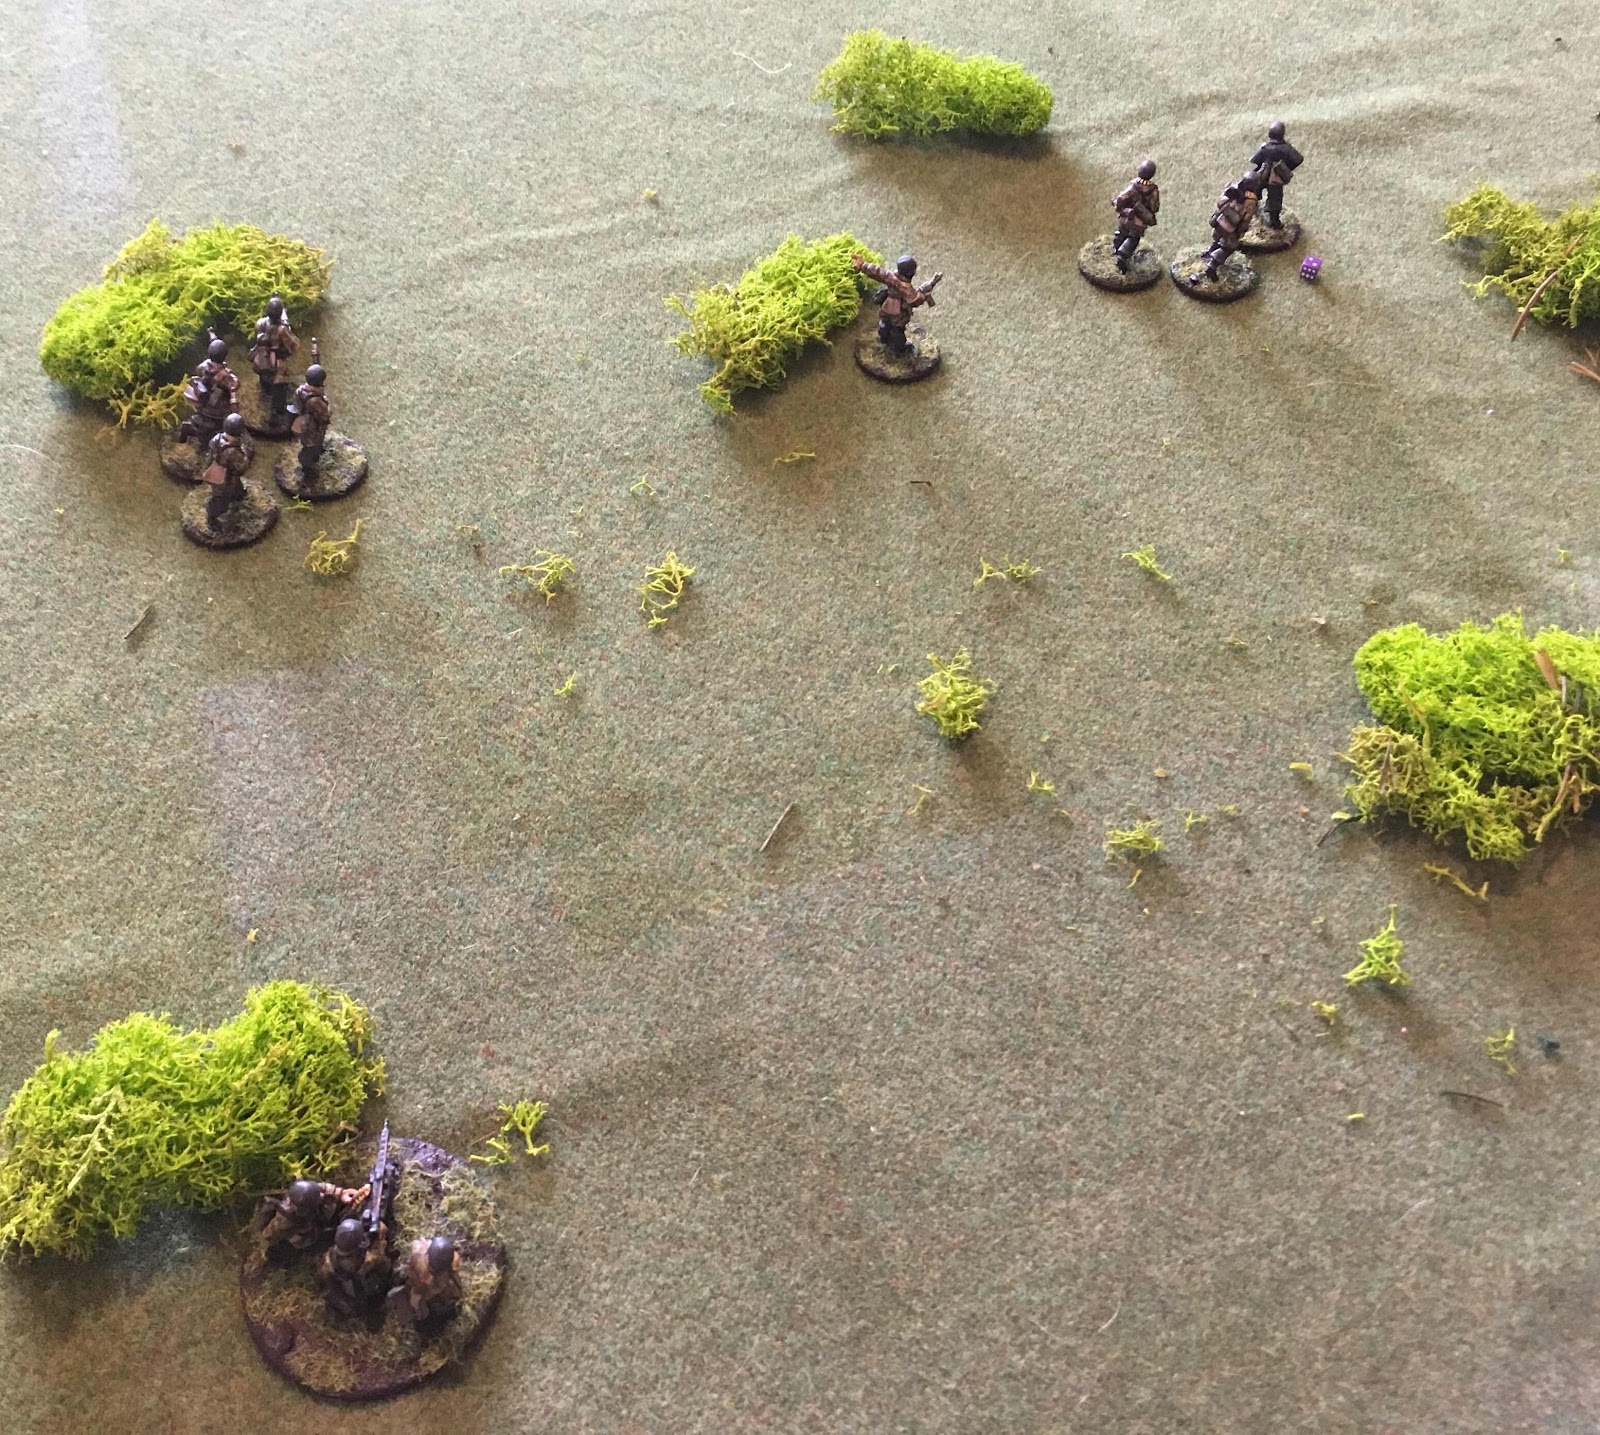
On the other flank, my squad advanced whilst my Mortar team tried to range in on the other gun team. In return, with nothing else in view, Matt took aim at the Mortar spotter, who would prove to be incredibly hard to kill. A combination of being a small team, in cover, at long range, a veteran, and really bad dice from Matt would see him survive th game with 4 pins, despite being shot at numerous times, most notably by the worst sniper in the world.
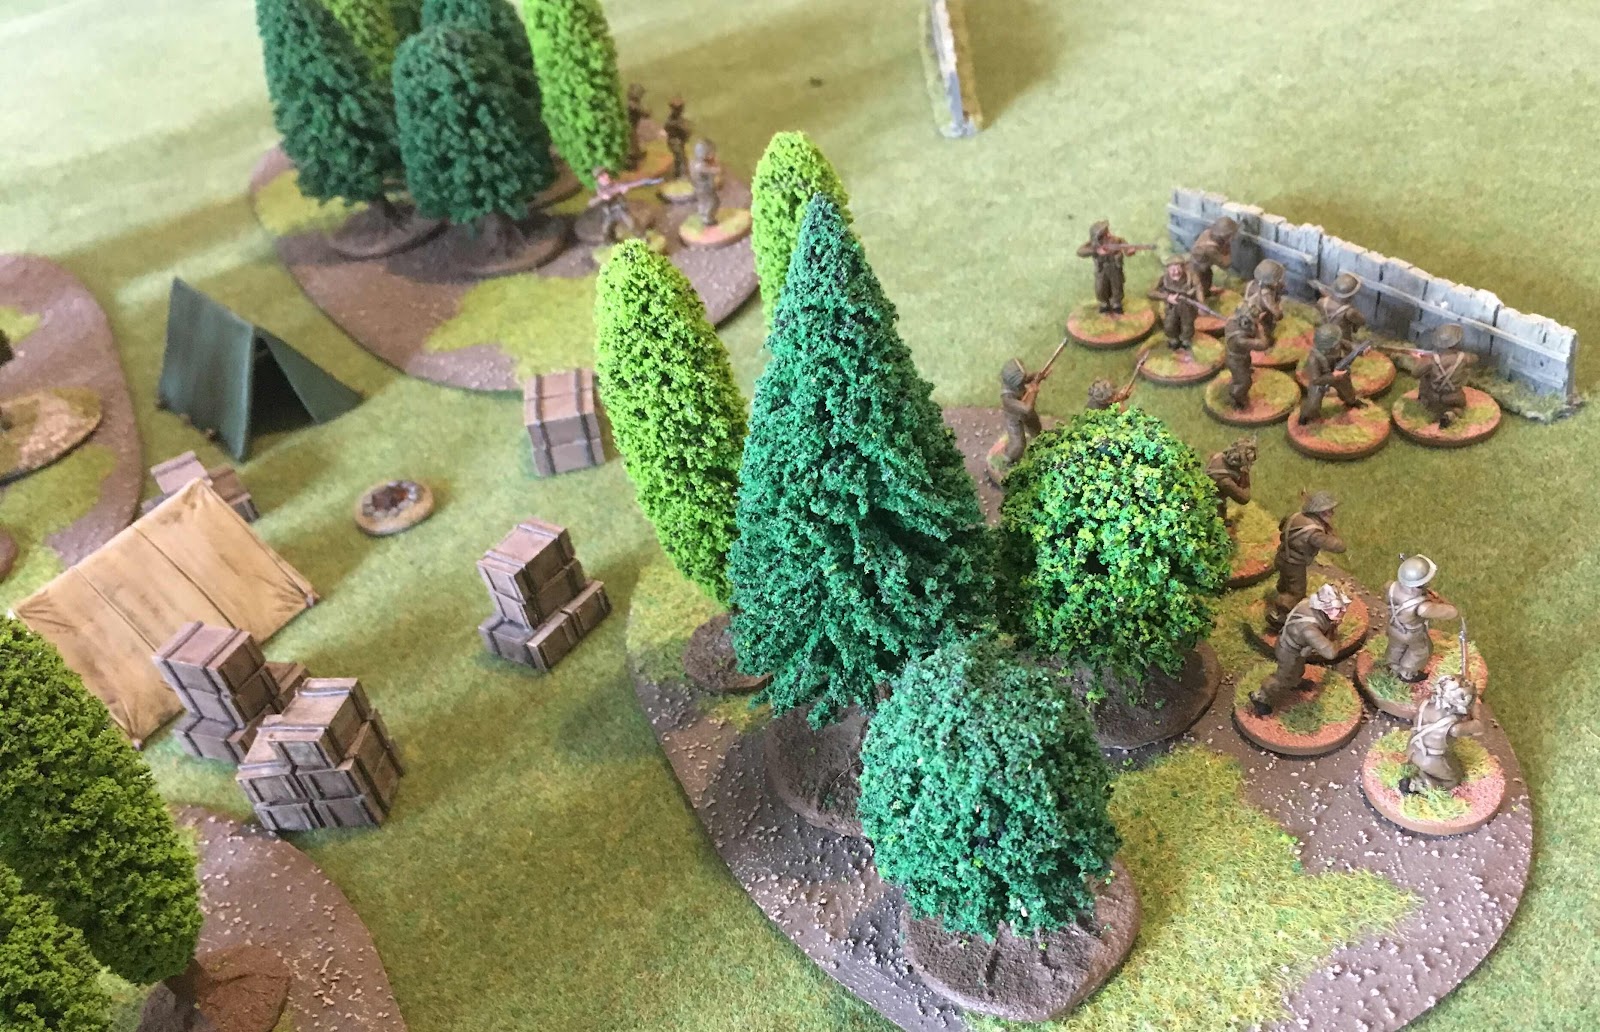
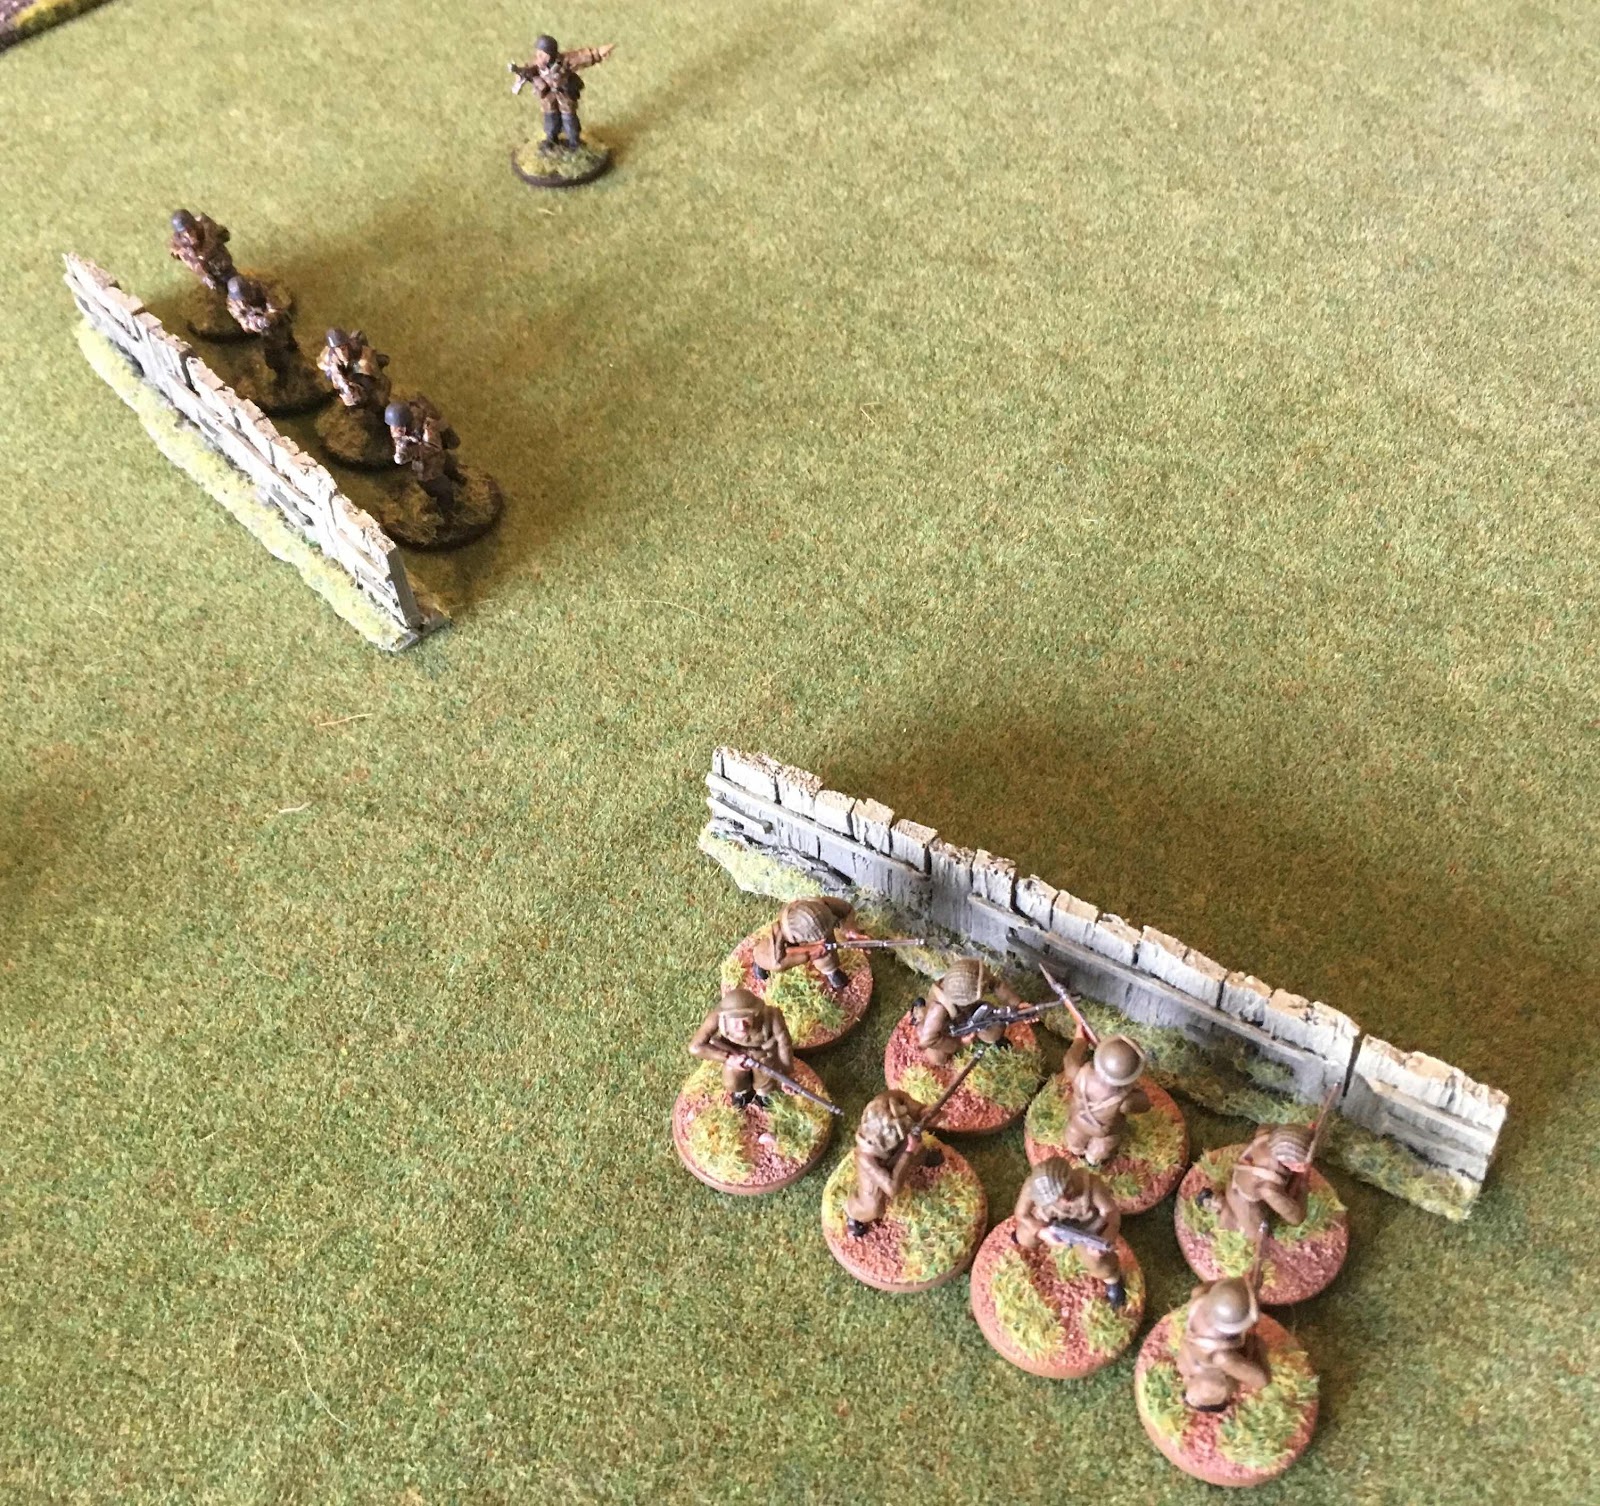
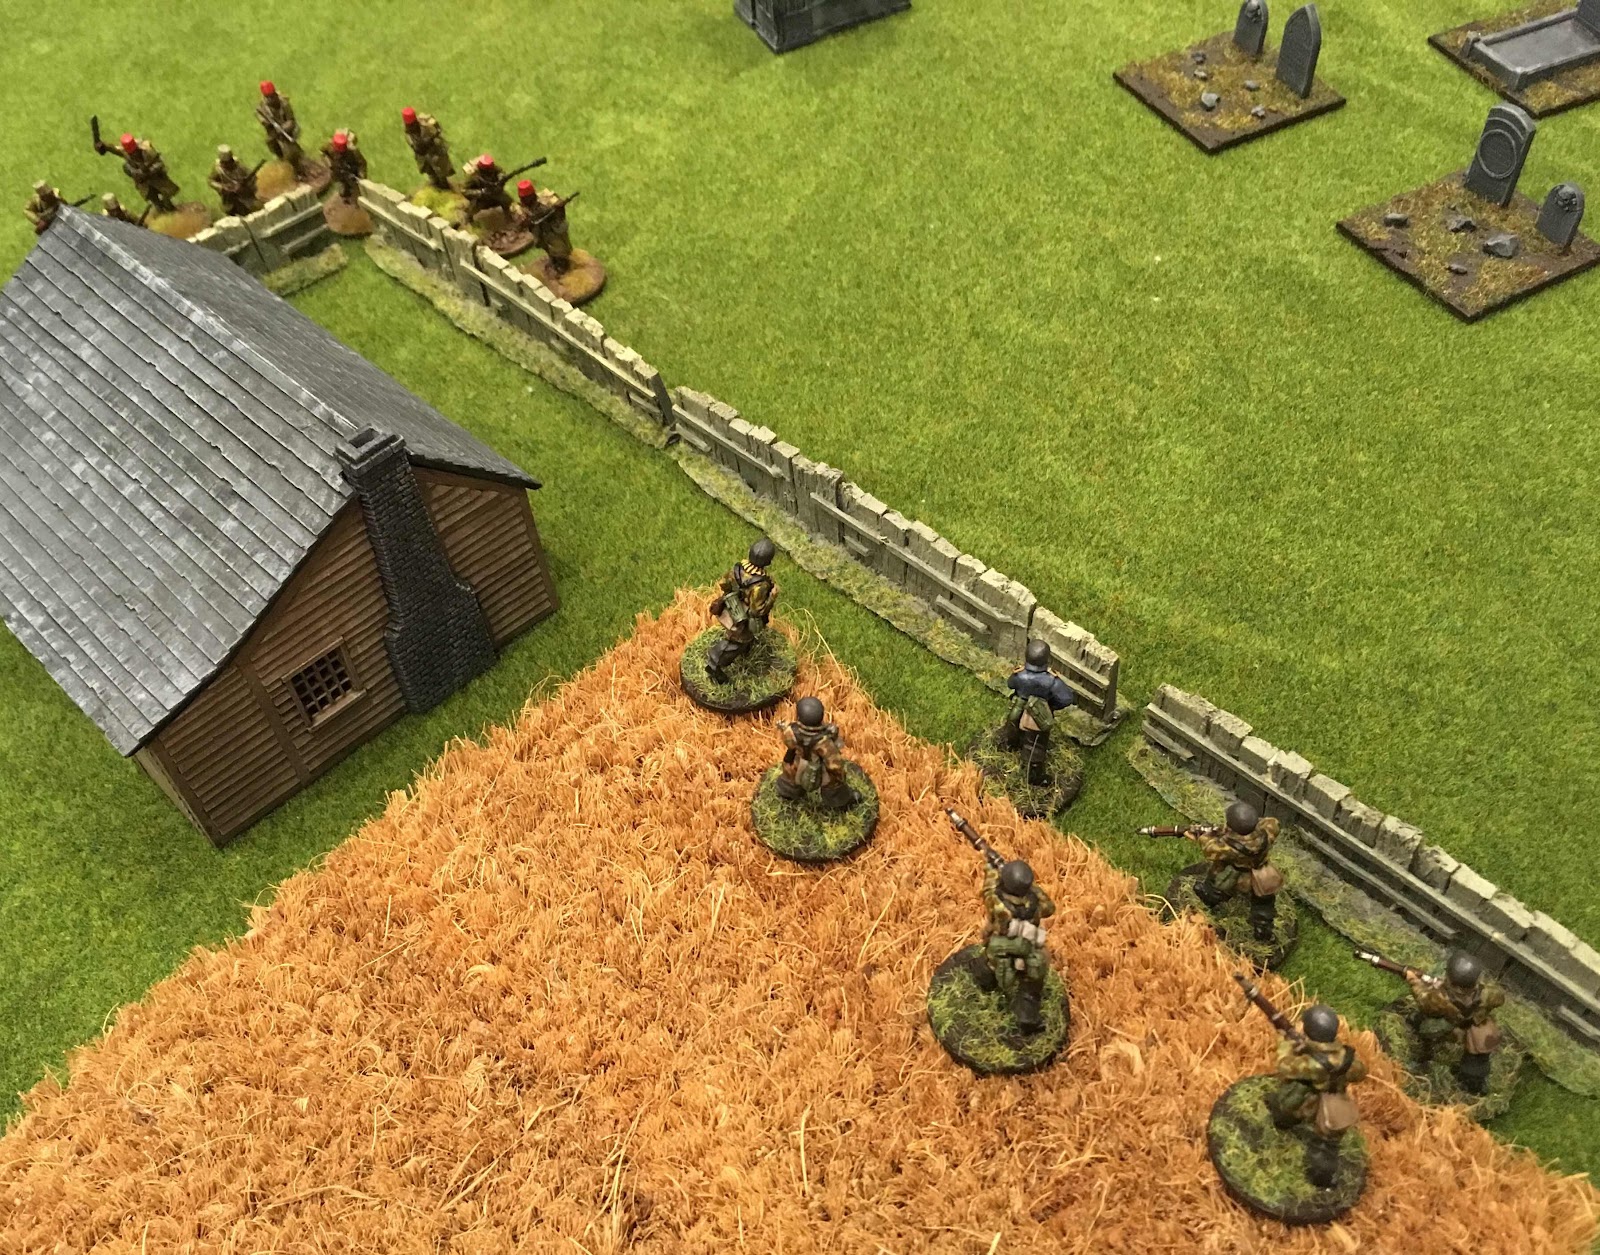
On the second turn, reserves began to arrive and my single squad was facing a veritable wall of French soldiers an the corpse they were binding in began to be lit up by rifle fire.
They hunkered down, took some pot shots and aimed to hold their ground until help arrived. It was here that it first became apparent just how much tougher to shift veterans are in comparison to regulars.
Help was on the way in the form of my officer, another squad, a medic and a Light Mortar team.
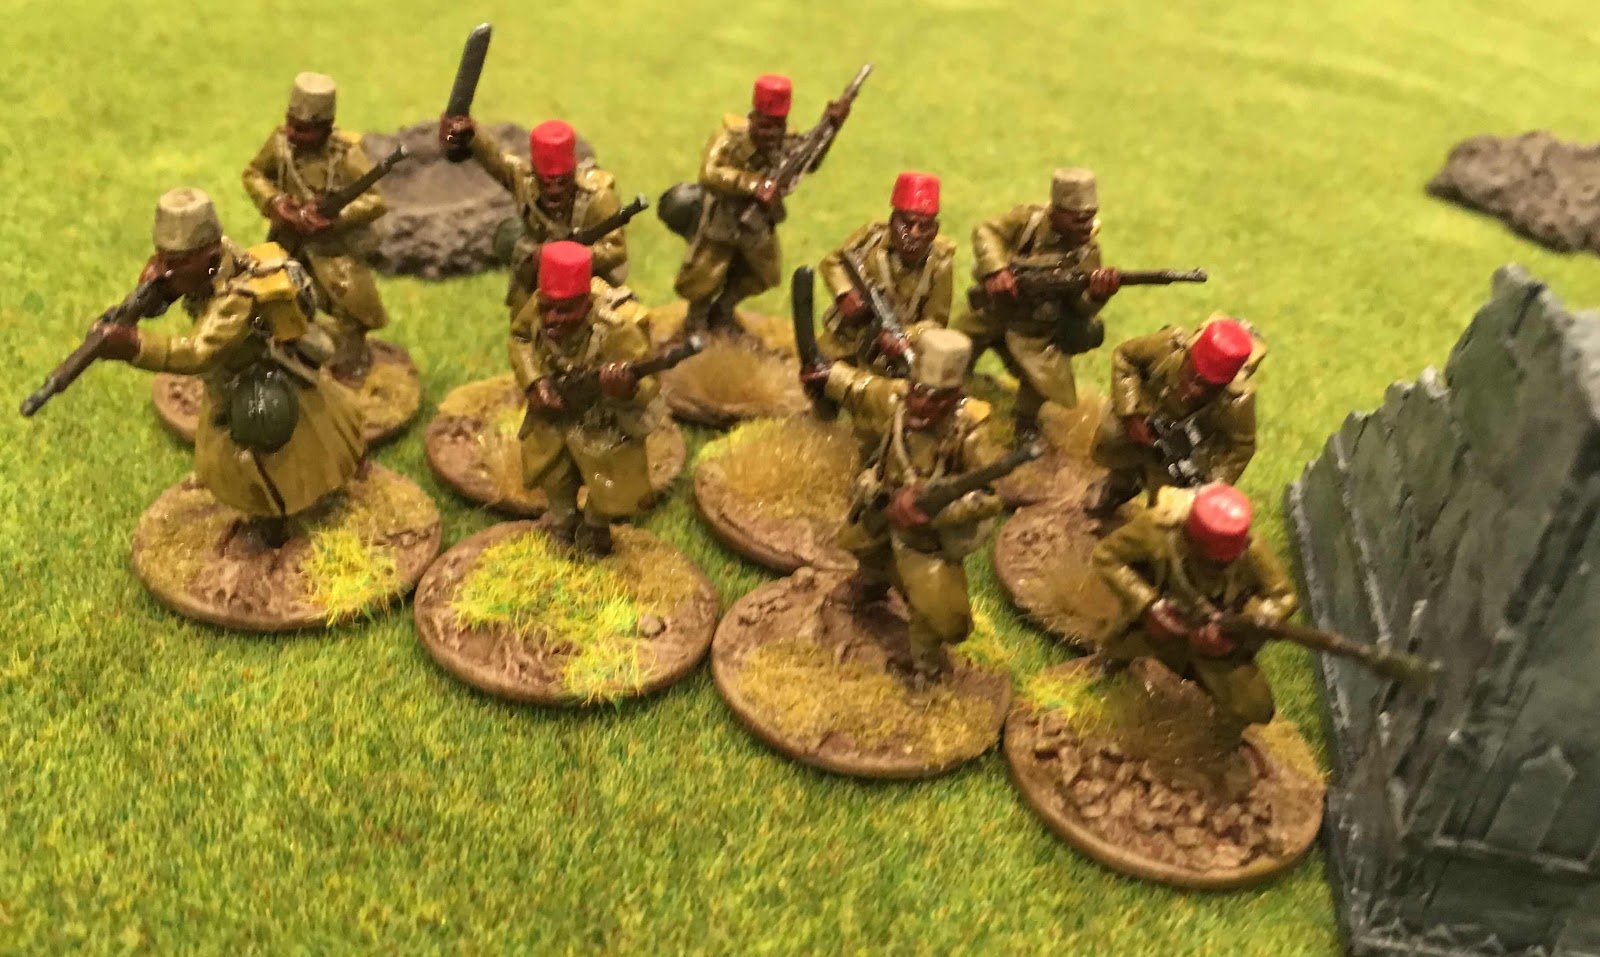
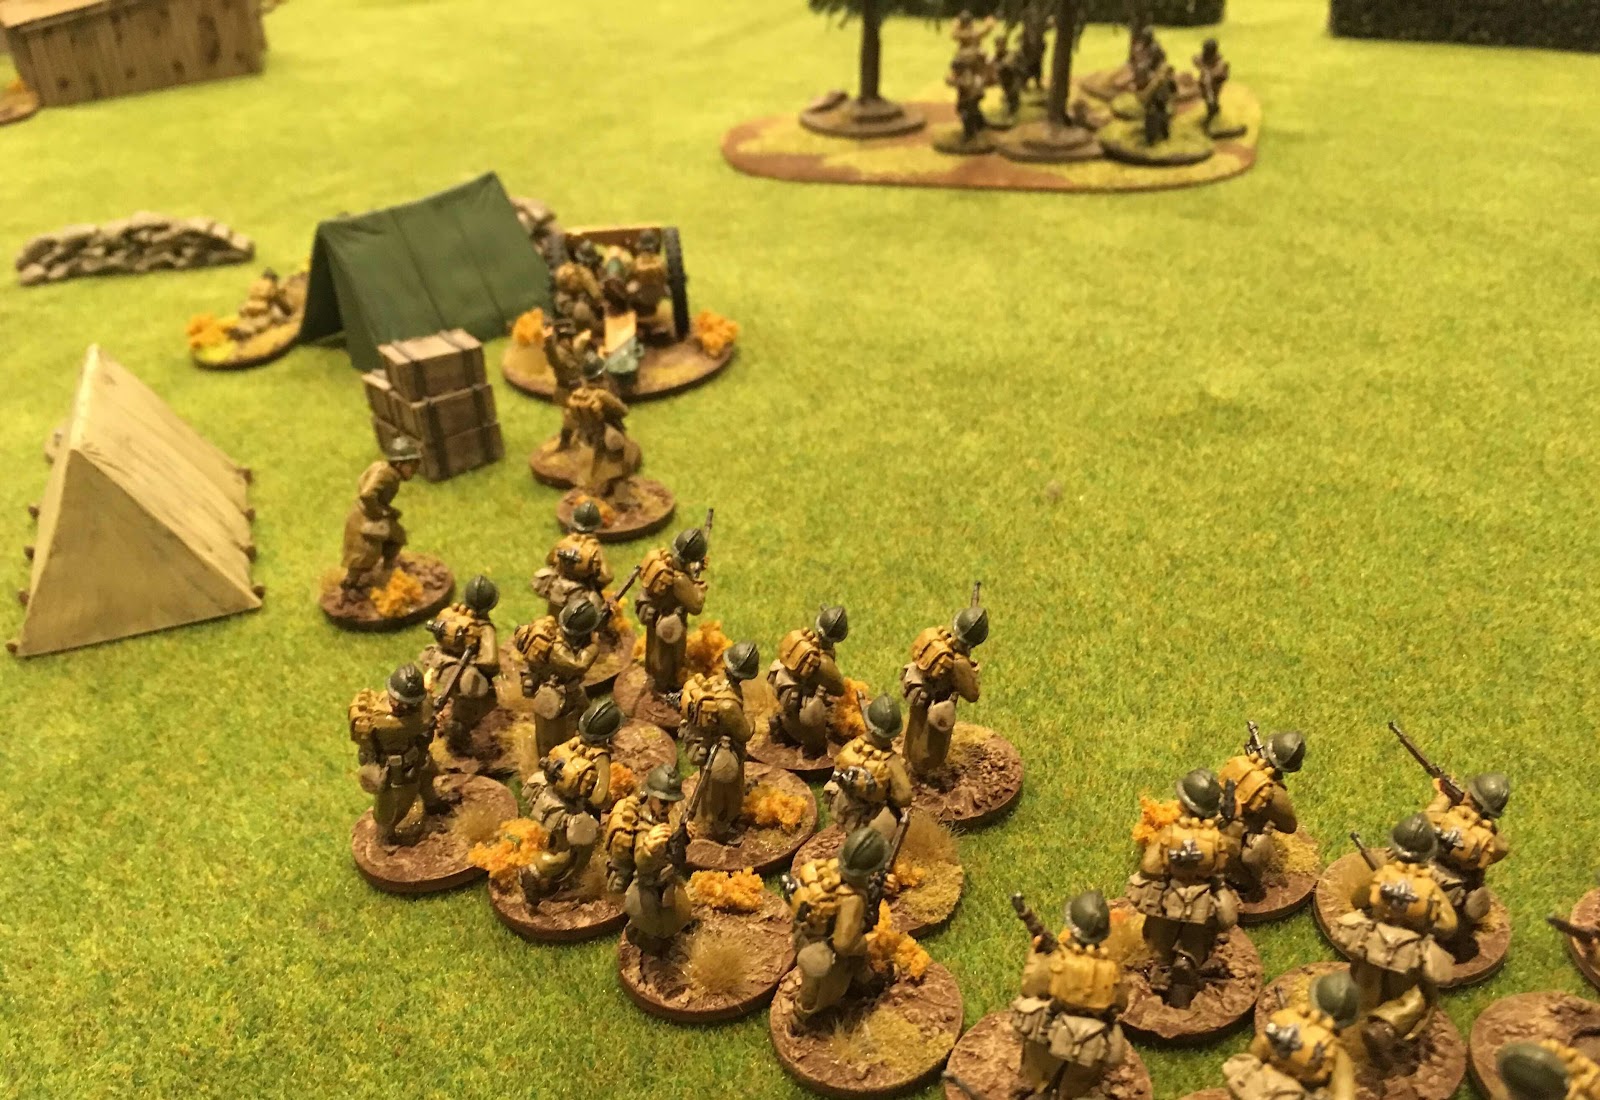
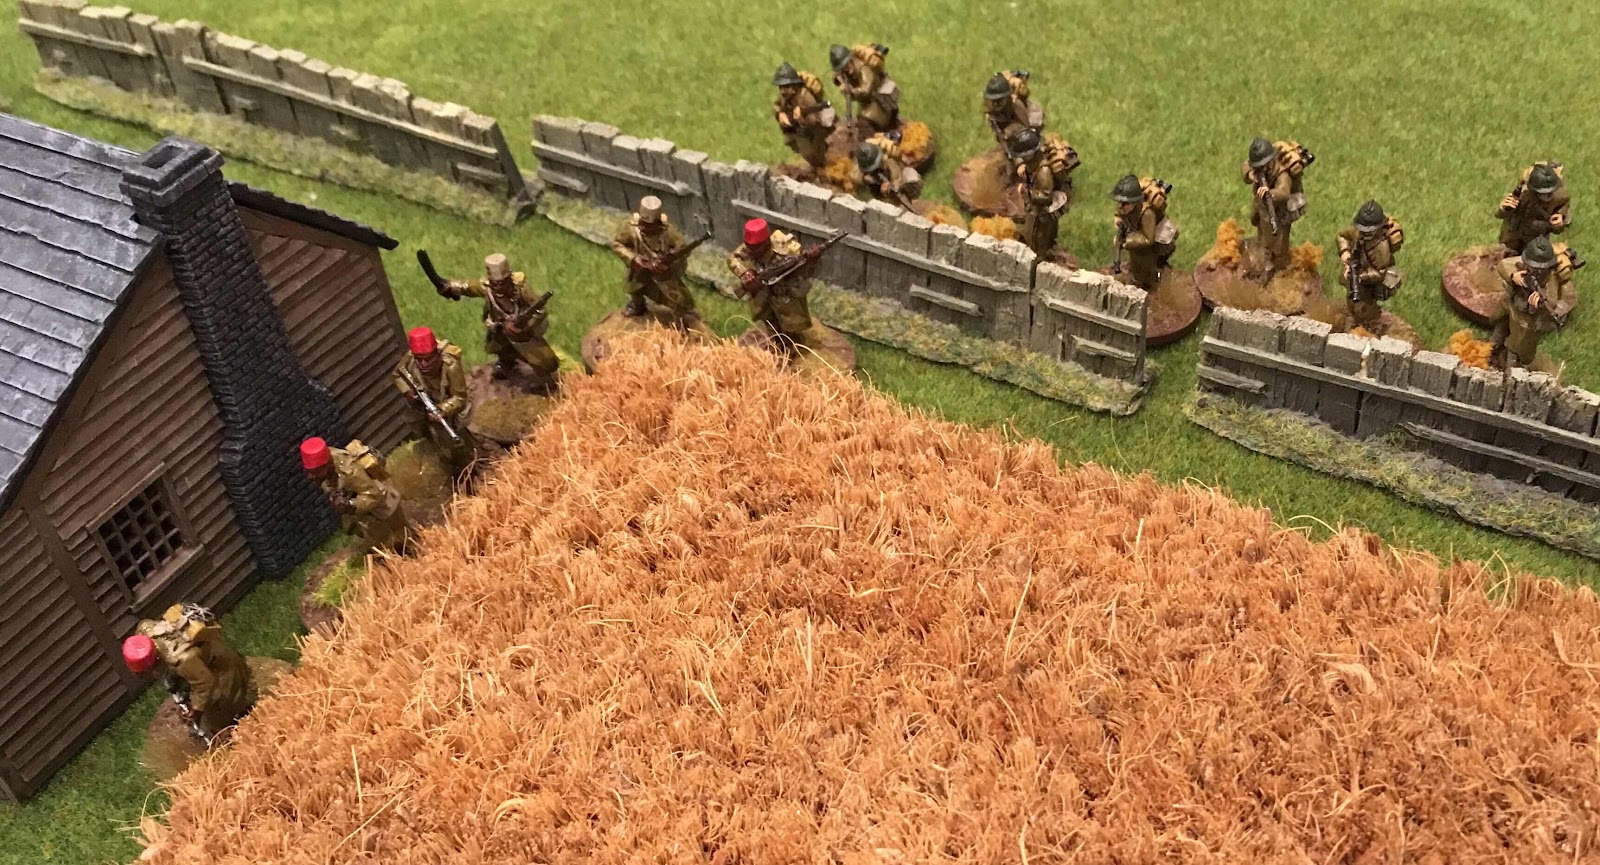
Unfortunately this meant I had nothing to commit to my right, where a squad of Senegalese had appeared in support of the Somua to block my escape route.

Back on the left, the weight of fire had begun to take its toll, but in response my Mortar had ranged in on the French gun. My squad had been saved from taking a very difficult break test by the presence of the medic who had ran up to support them.
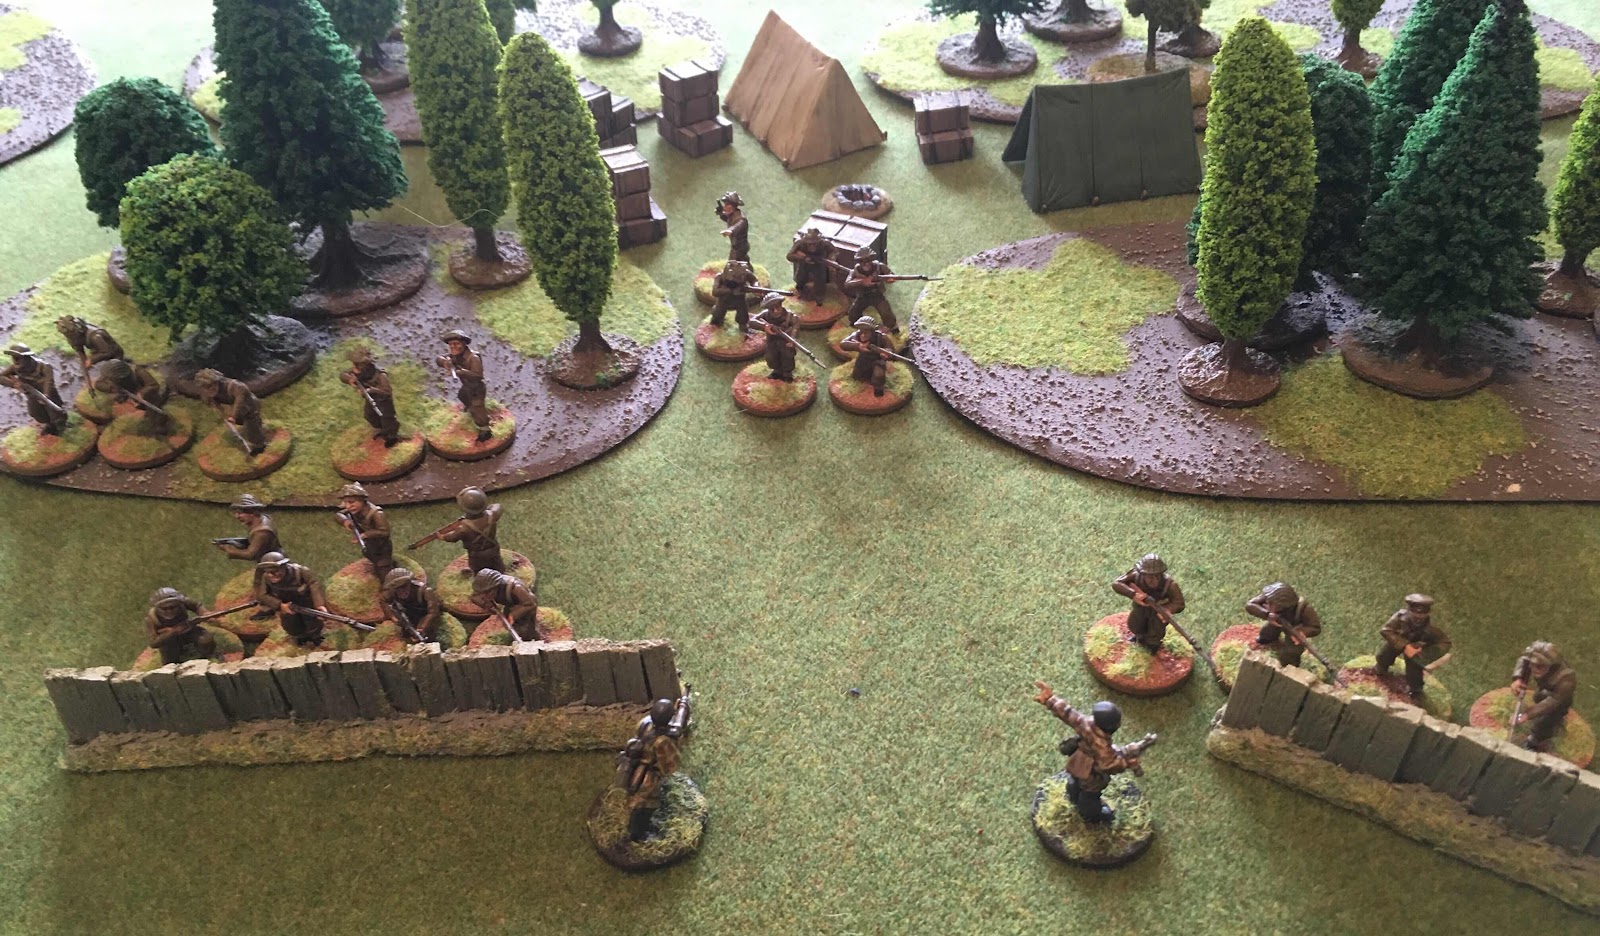
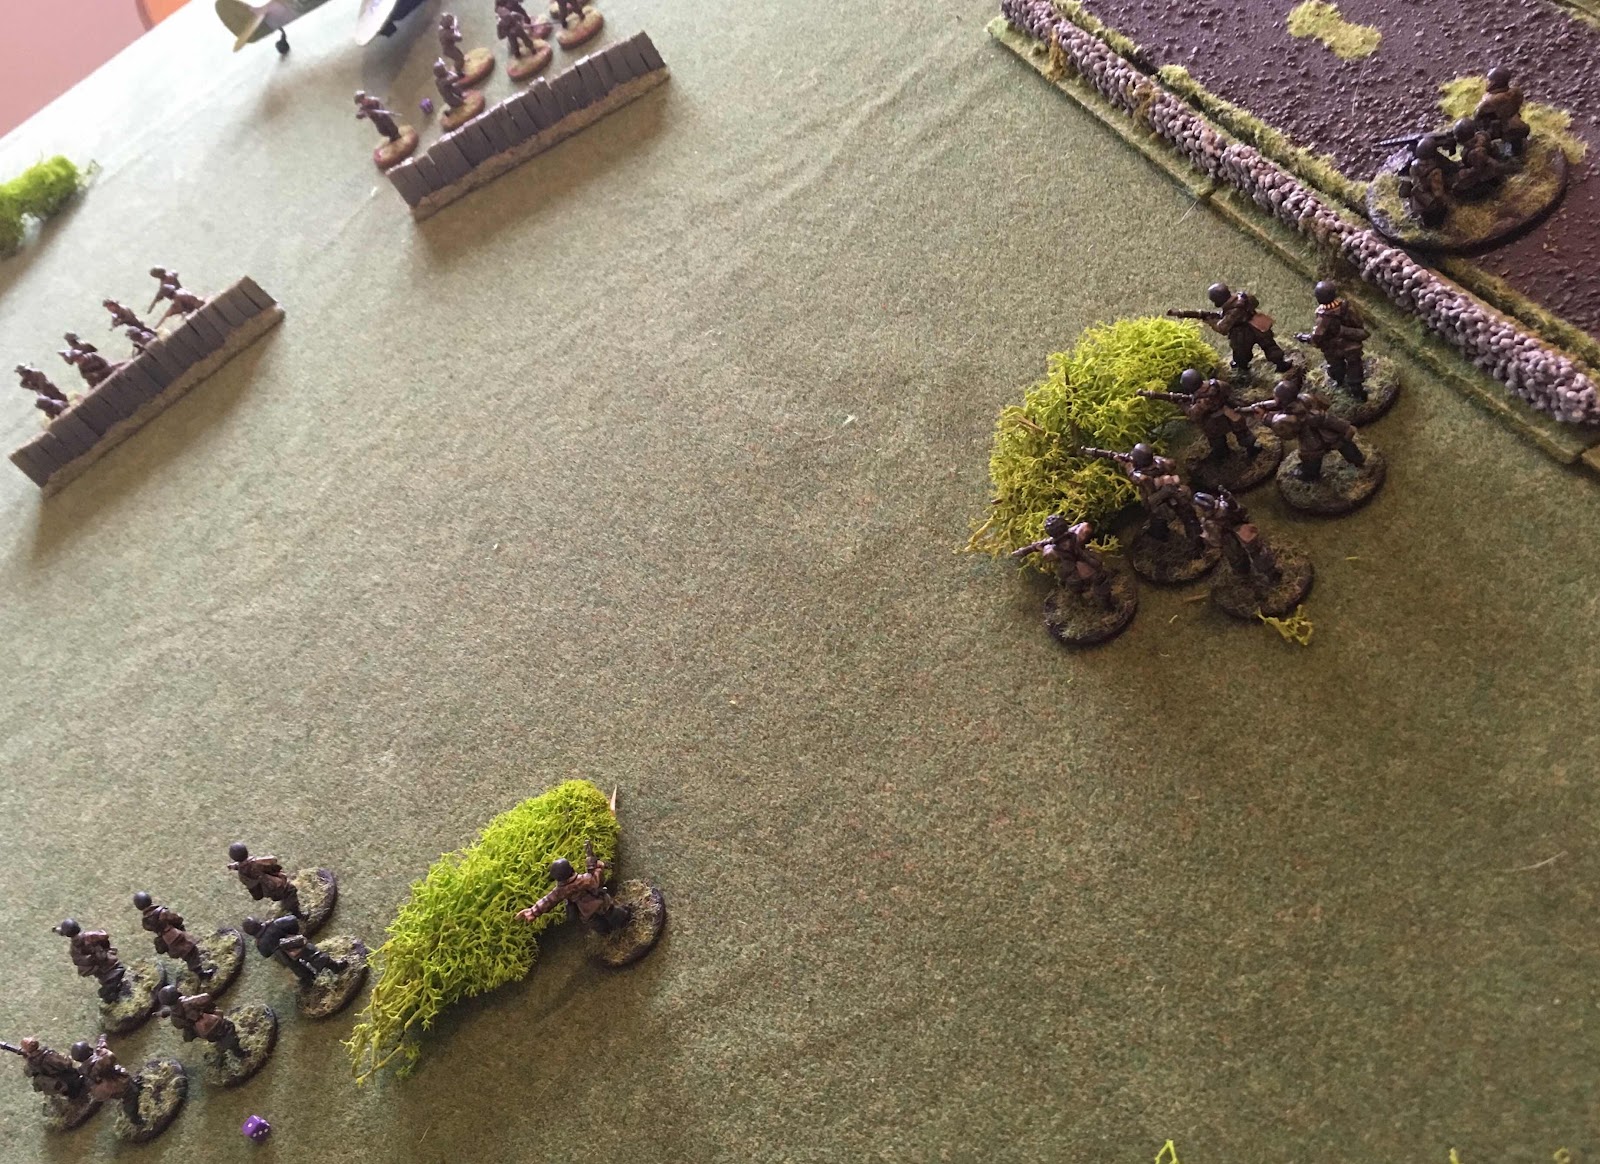
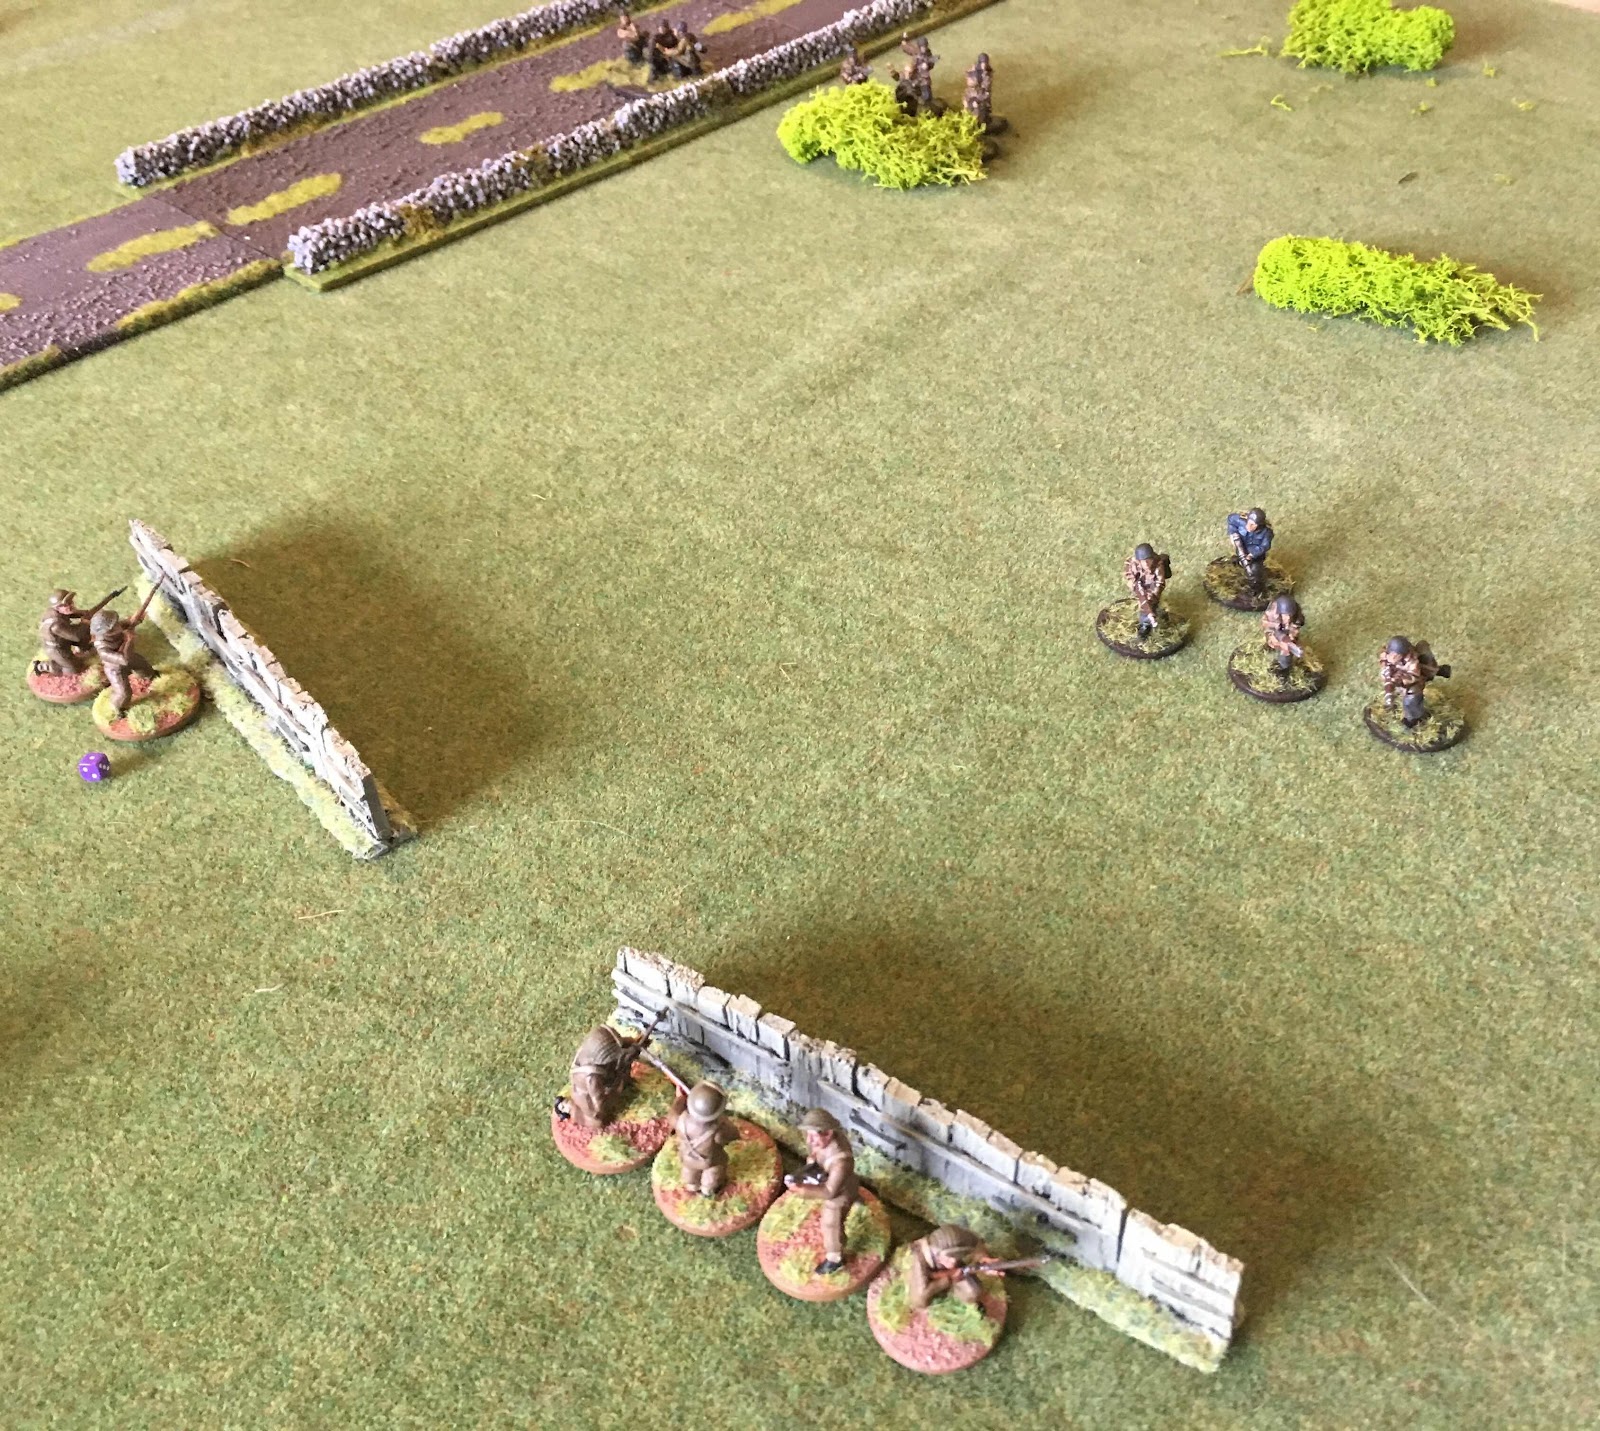
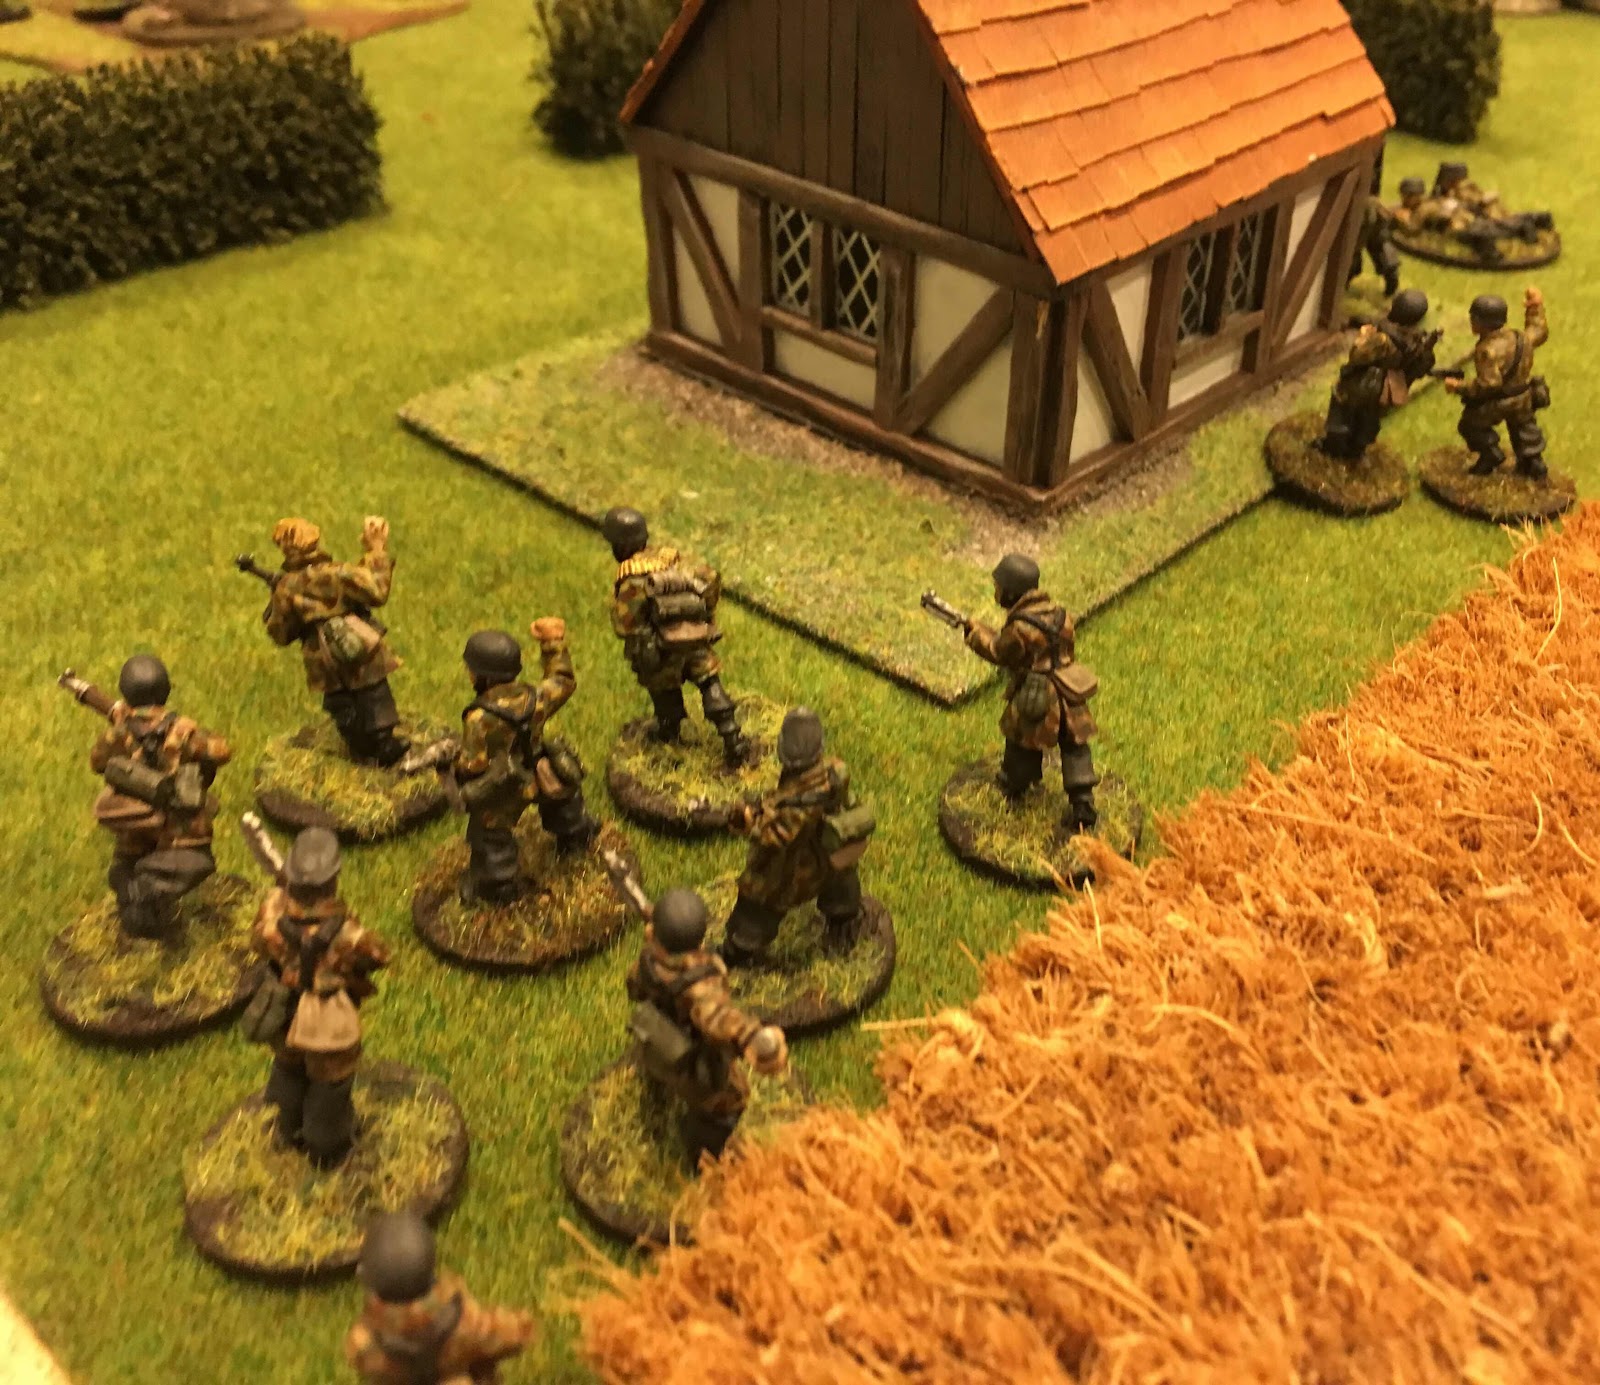
My reserve squad and officer advanced more cautiously, but the Light Mortar team managed to range in at the first attempt and blow a hole in the closely pack French infantry.
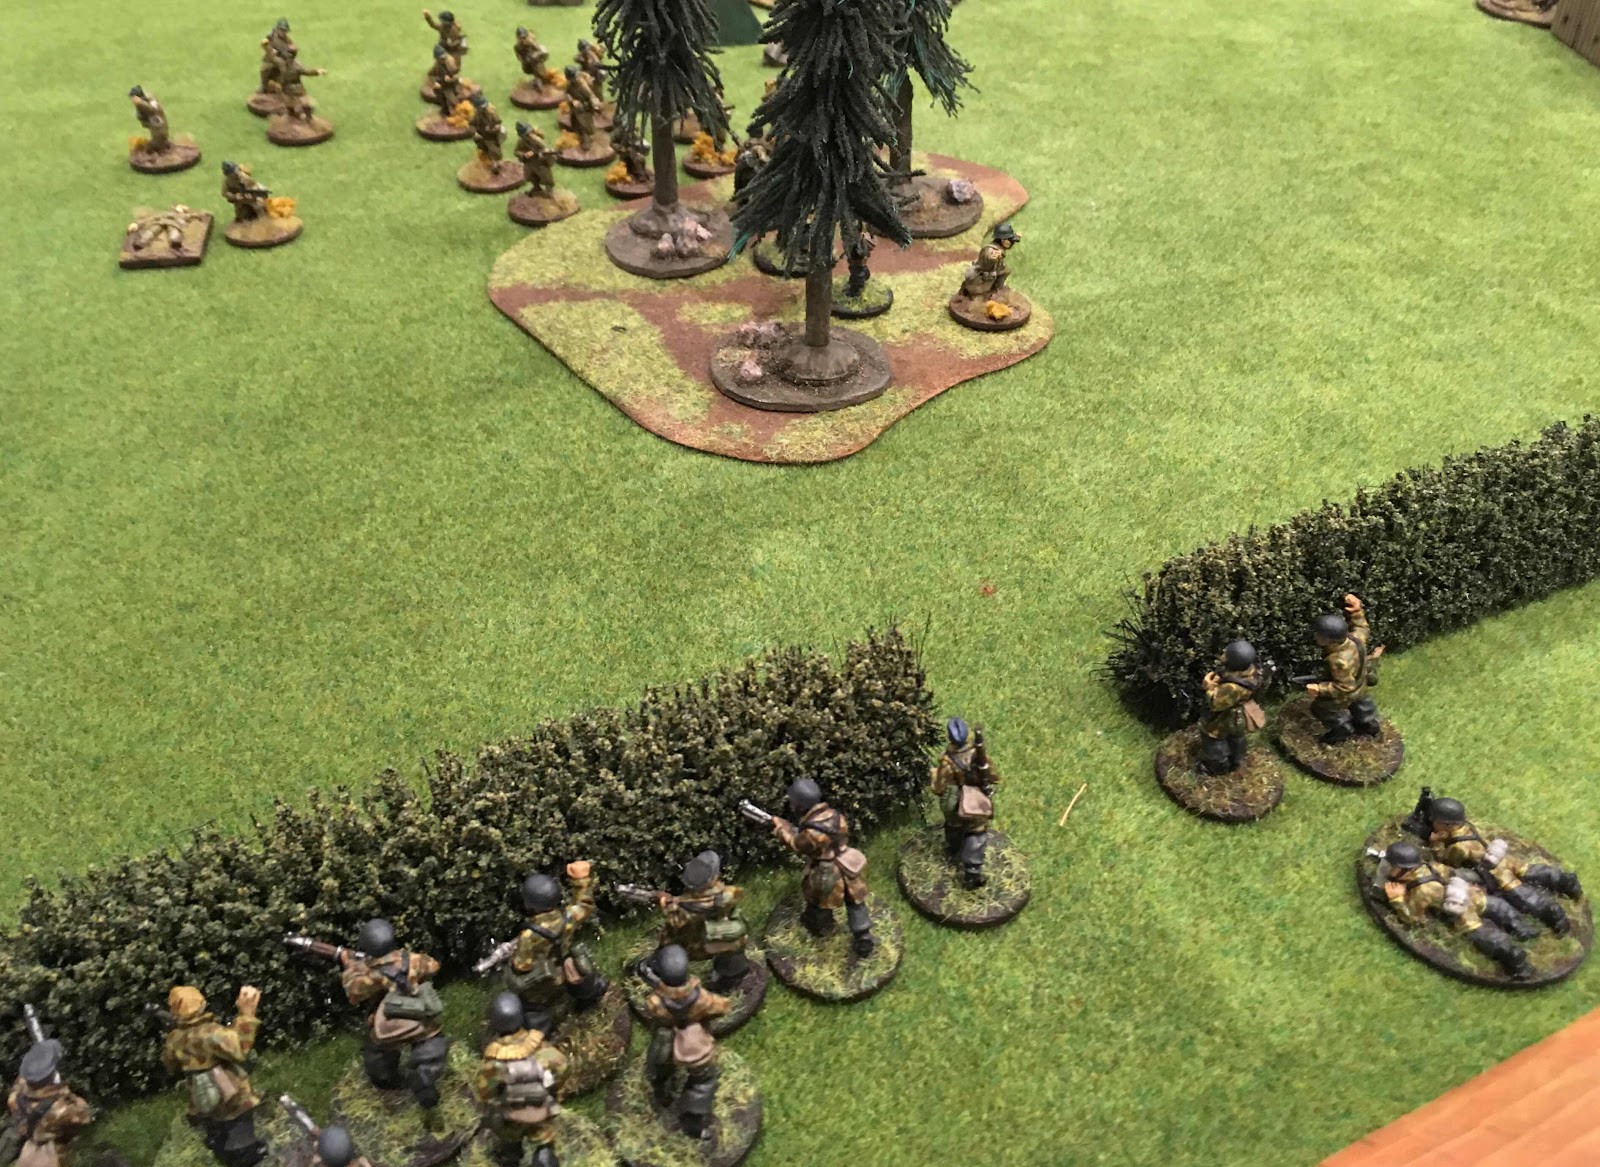
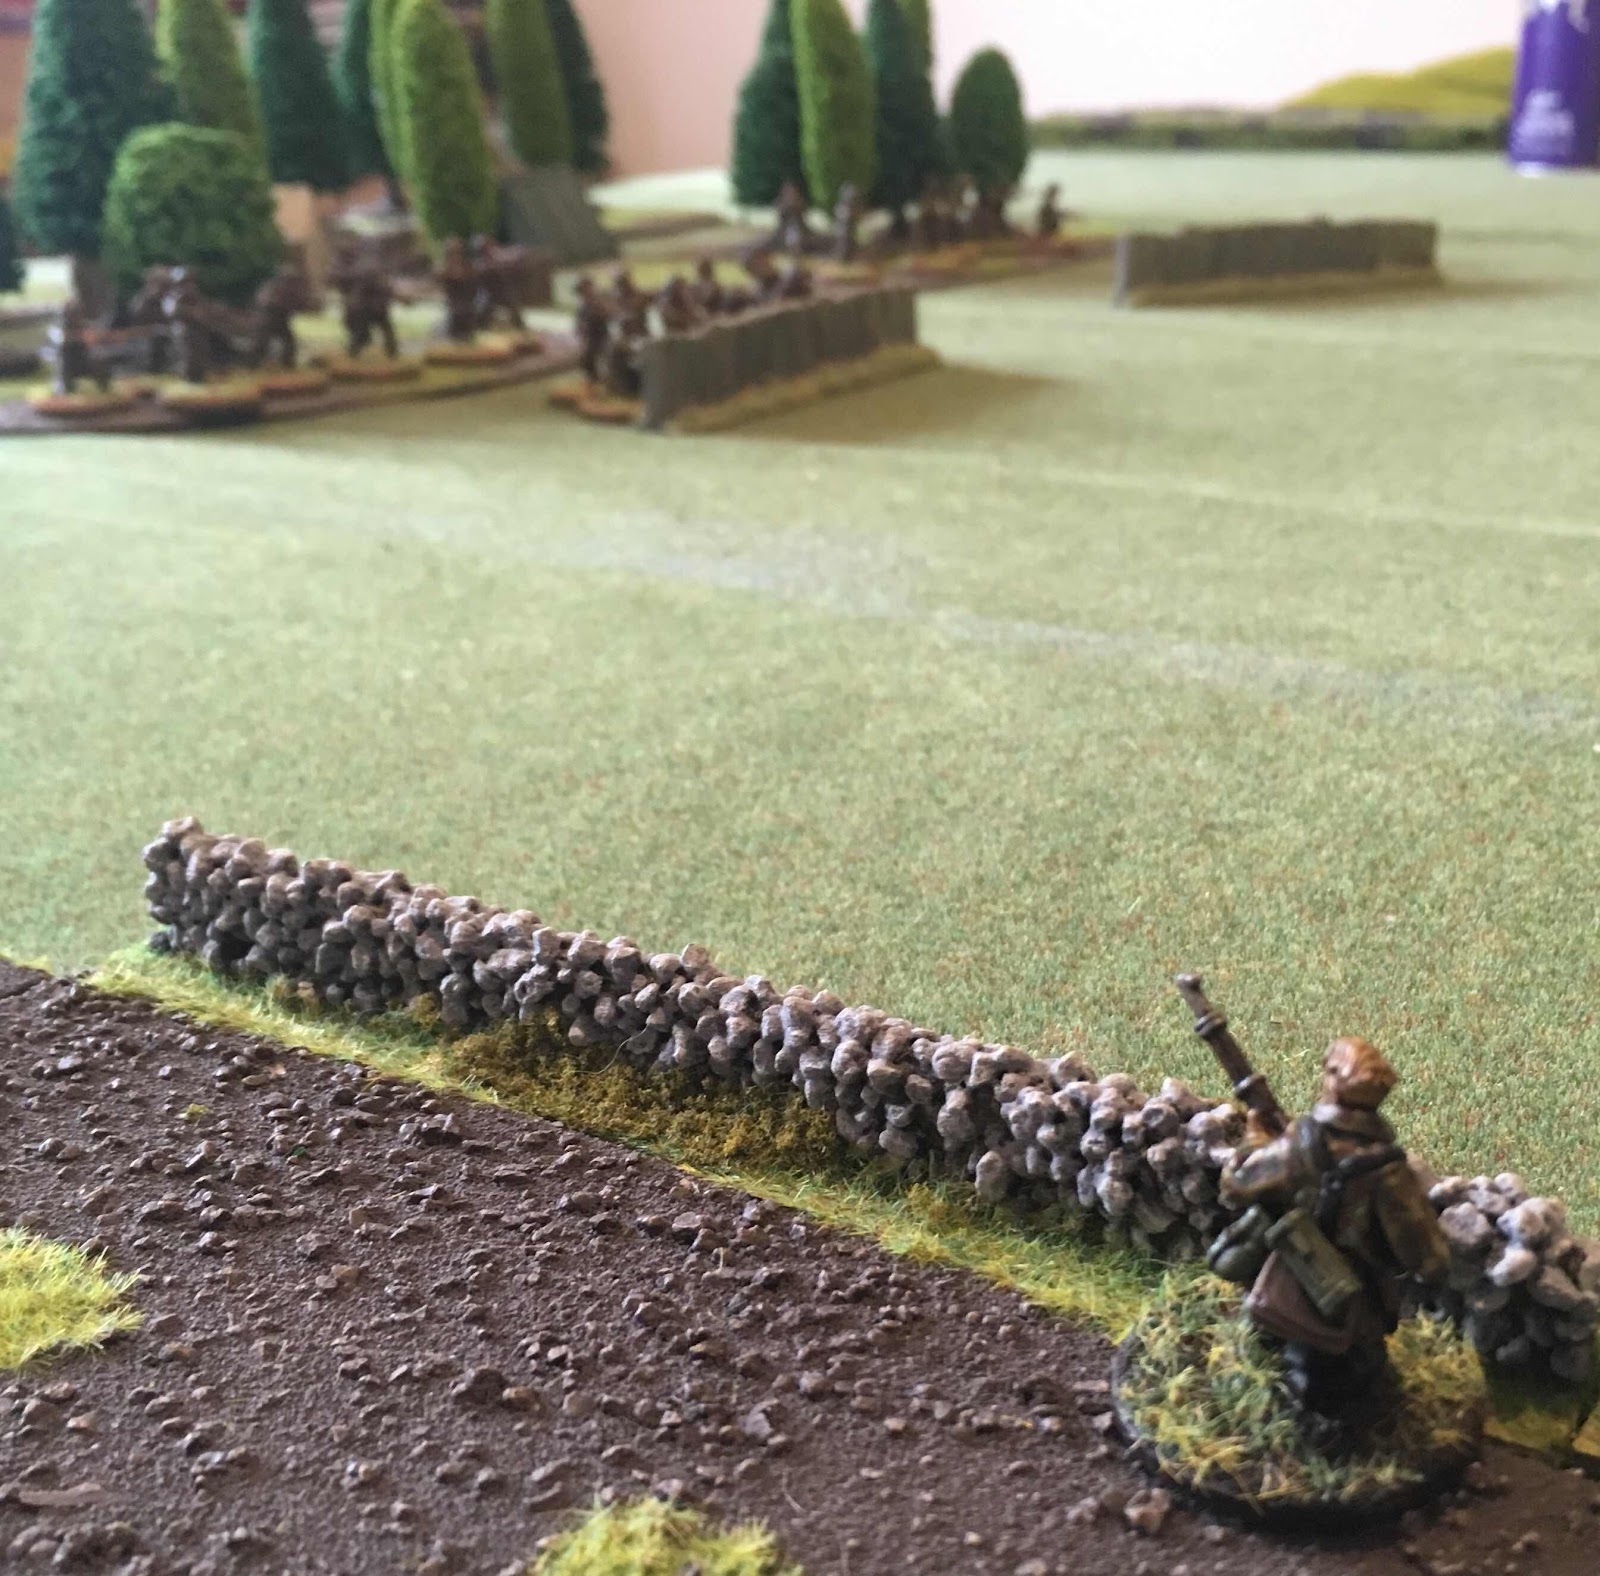
On the following turn their barrage was joined by the squad who moved to the hedge. The combined fire almost obliterated one of the French squads.

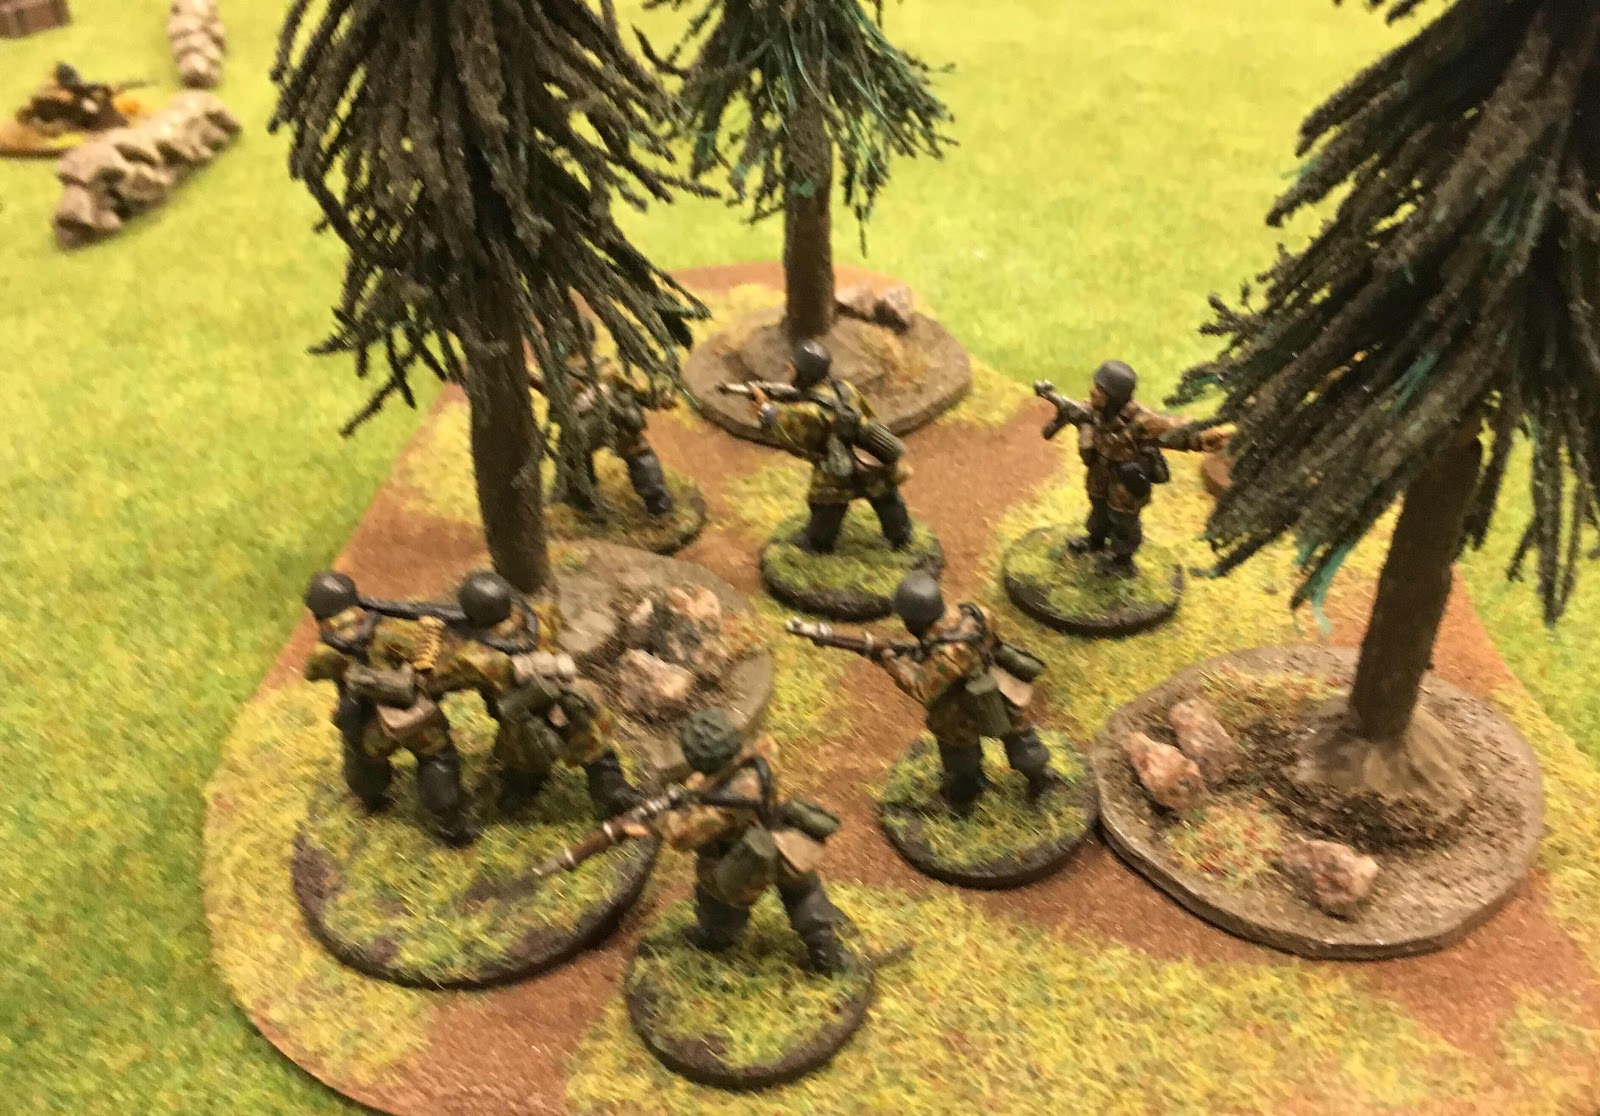
The French howitzer had also been finished off, but my squad in the trees were hanging on by their fingernails. They aren’t able to fire now and simply concentrated on holding their ground.

Meanwhile, things looked grim on my right. Another French squad arrived in time to kill the Air Observer (who’d been making a cheeky end zone run) and now my single squad looked likely to be overwhelmed.
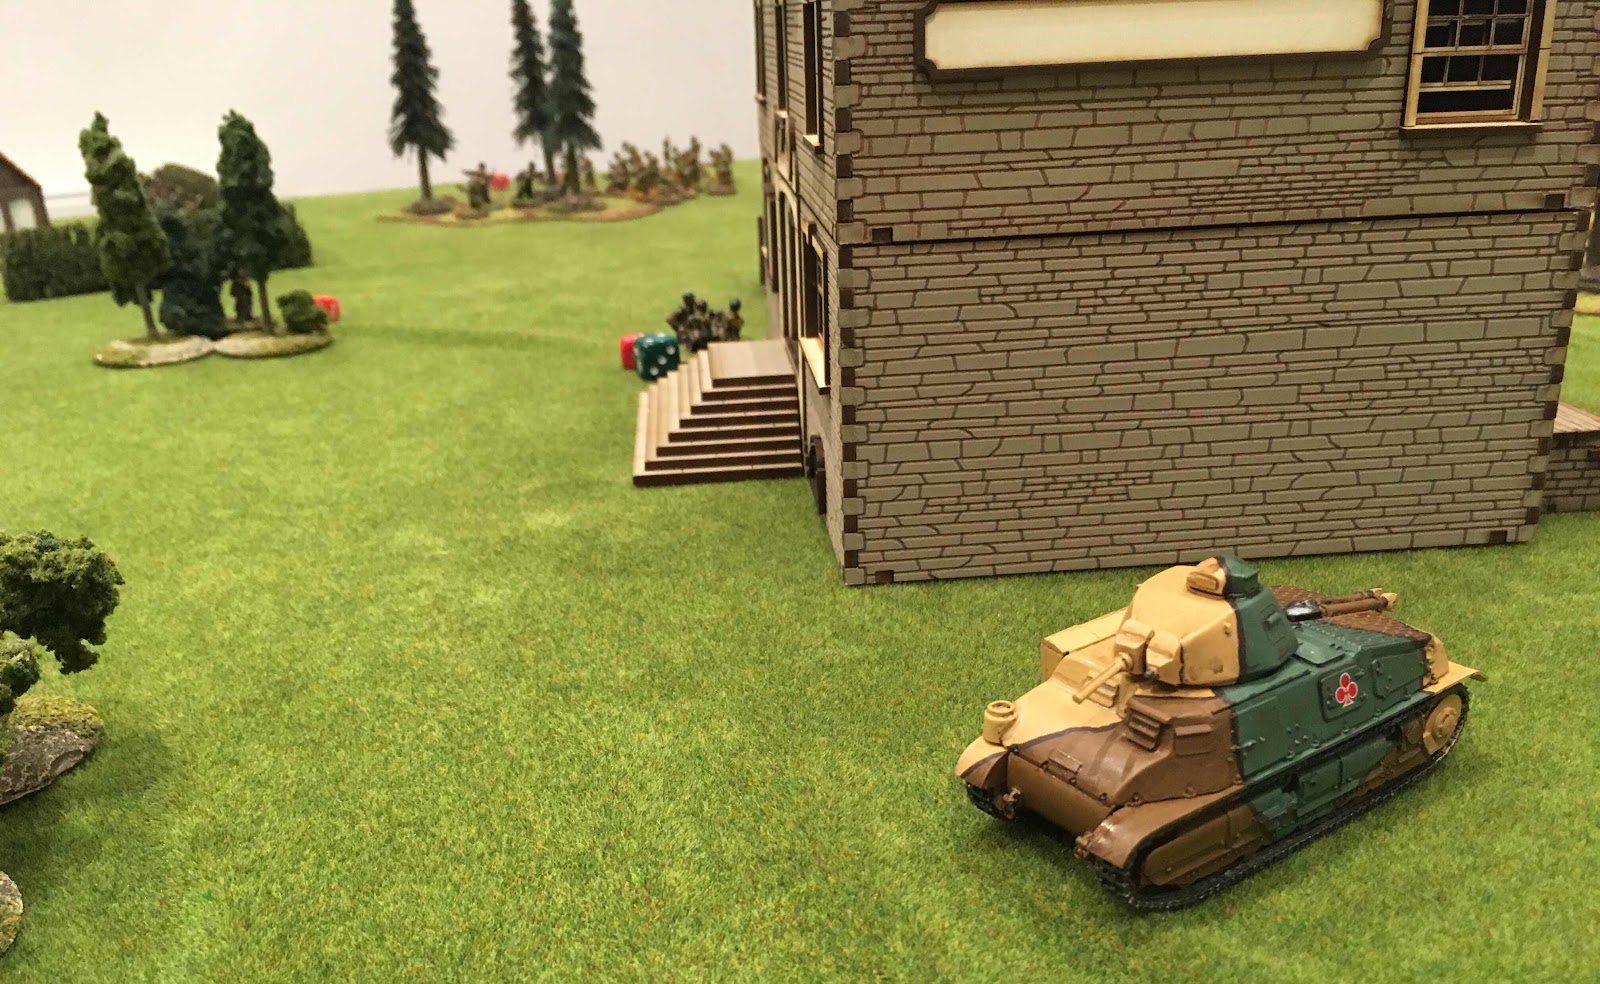
With nothing to oppose it save for an ineffectual and inaccurate Anti-Tank Rifle, the Somua rubbles forwards.
Unable to advance due to the enemy numbers, or retreat due to the tank in their rear, the Fallschirmjager found themselves flanked and raked by withering fire from the Senegalese.

From the front, the best the AT Rifle team could hope for was pinning the French tank, but even that was beyond them.
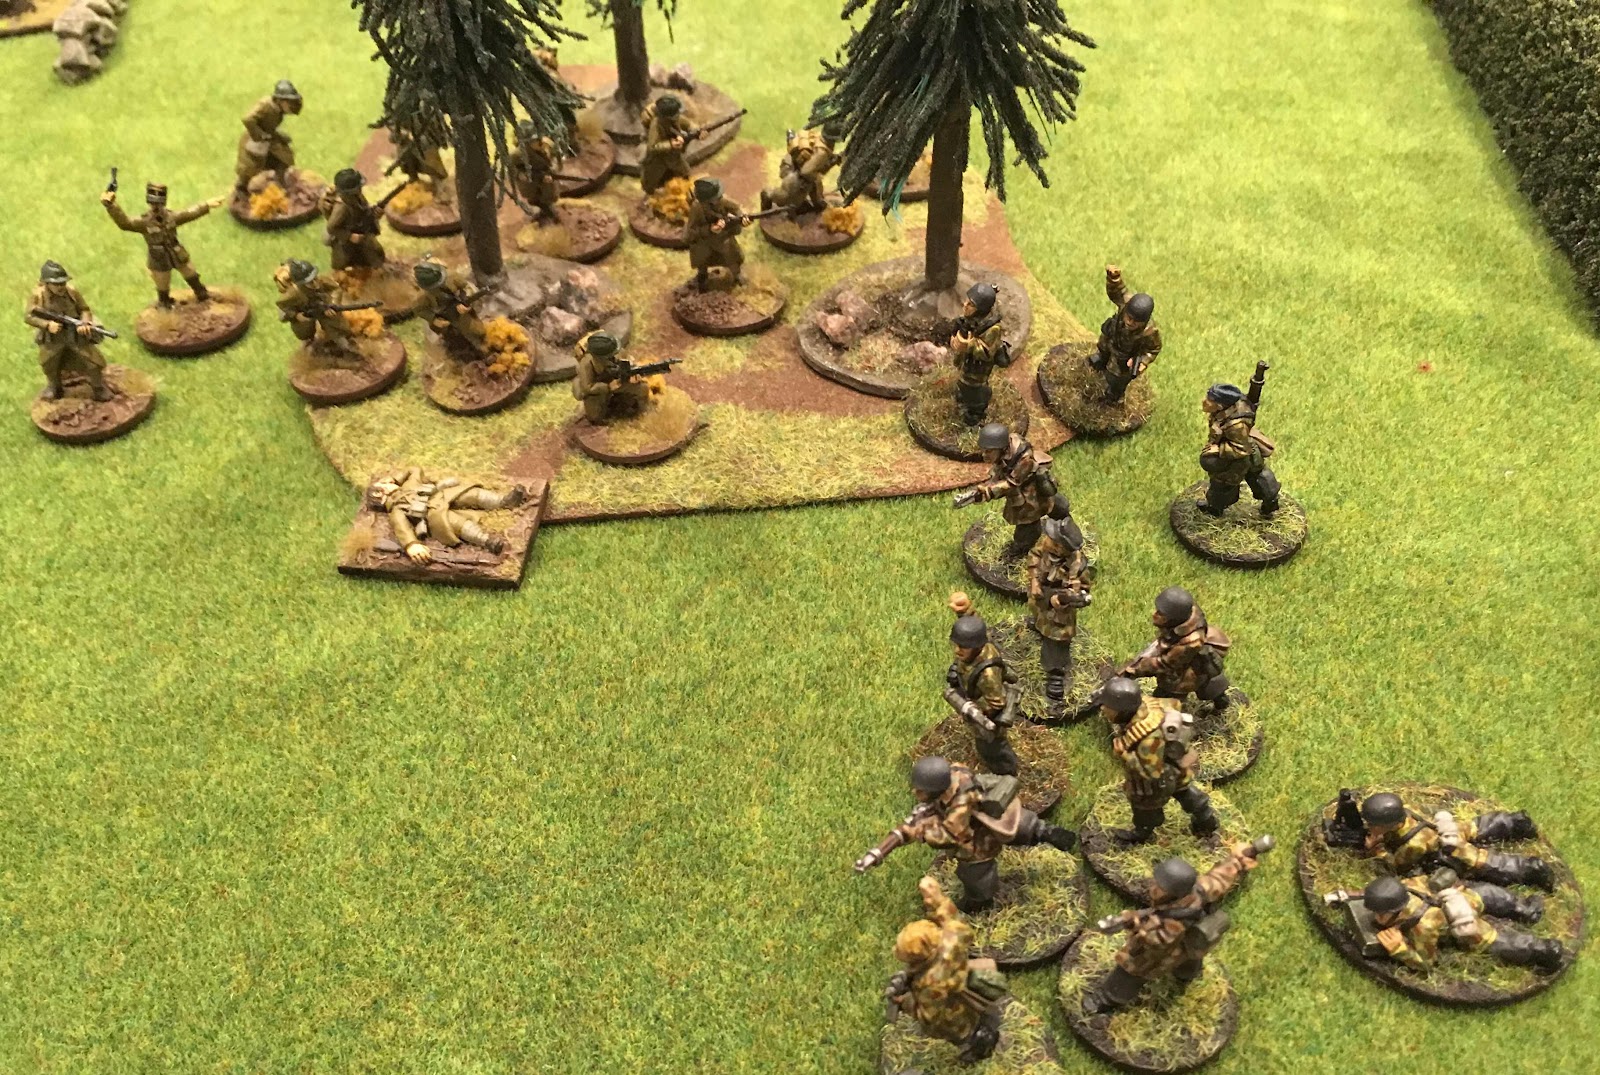
Over on the left, as my force advanced, the remaining French squad finally overran the squad in the copse. The battle would depend on who got the initiative on the following turn.
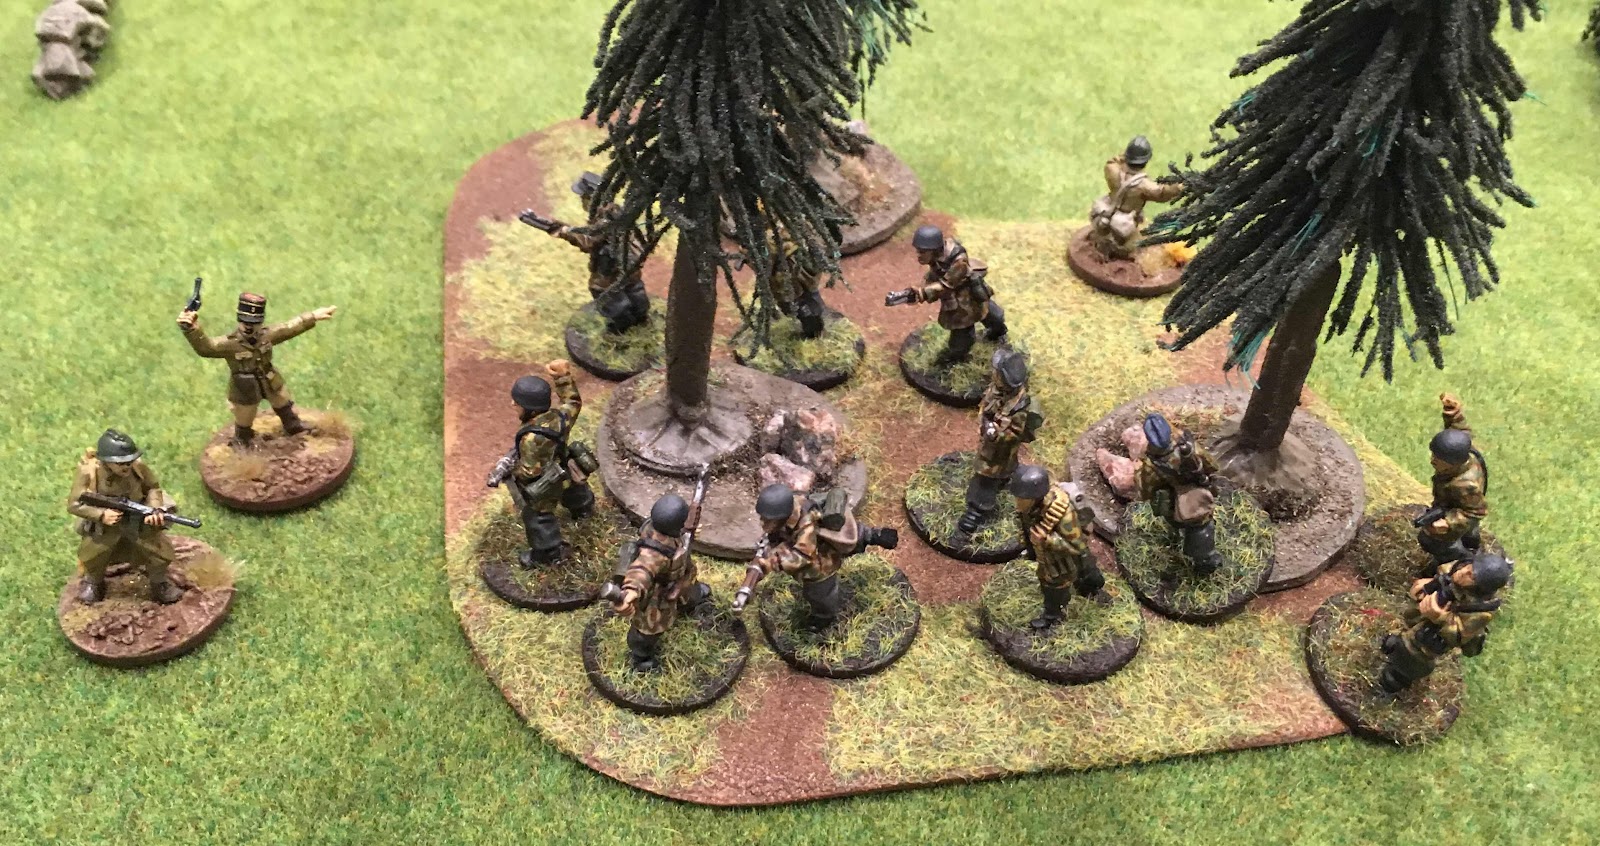
The Germans struck first and the veteran paratroopers made short work of the French in bloody hand-to-hand combat. Suddenly there was very little standing between them and their objective. The battle for the right flank looked won.
Only an MMG team was left (the sniper had been hit by another frighteningly accurate Mortar round) to spray the woods indiscriminately in the hope of slowing down the German advance. My own MMG had been hit by a howitzer round earlier in the game, and the solitary survivor was unable to have any impact on the outcome, even failing to hit a medic that wandered in front of him.
Despite the German success on the left, the right was collapsing. Thinned out by rifle fire, the Fallschirmjager squad was easy prey for an assault from the vicious Senegalese.
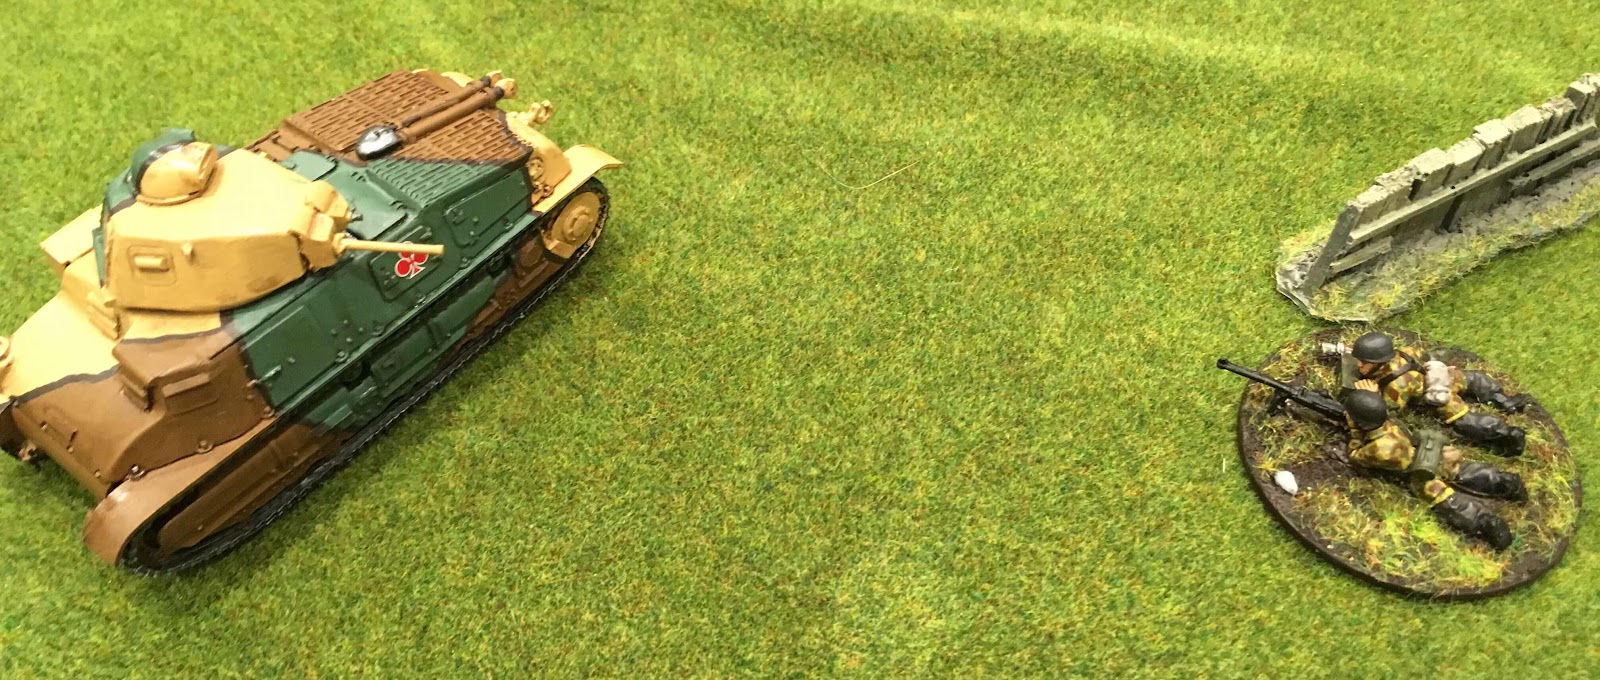
The AT Rifle made a dash for the (slightly) vulnerable flank of the Somua before it left the field of battle. However, they failed again nd only avoided being killed by the fact that there were more victory points available to Matt by simply driving off.

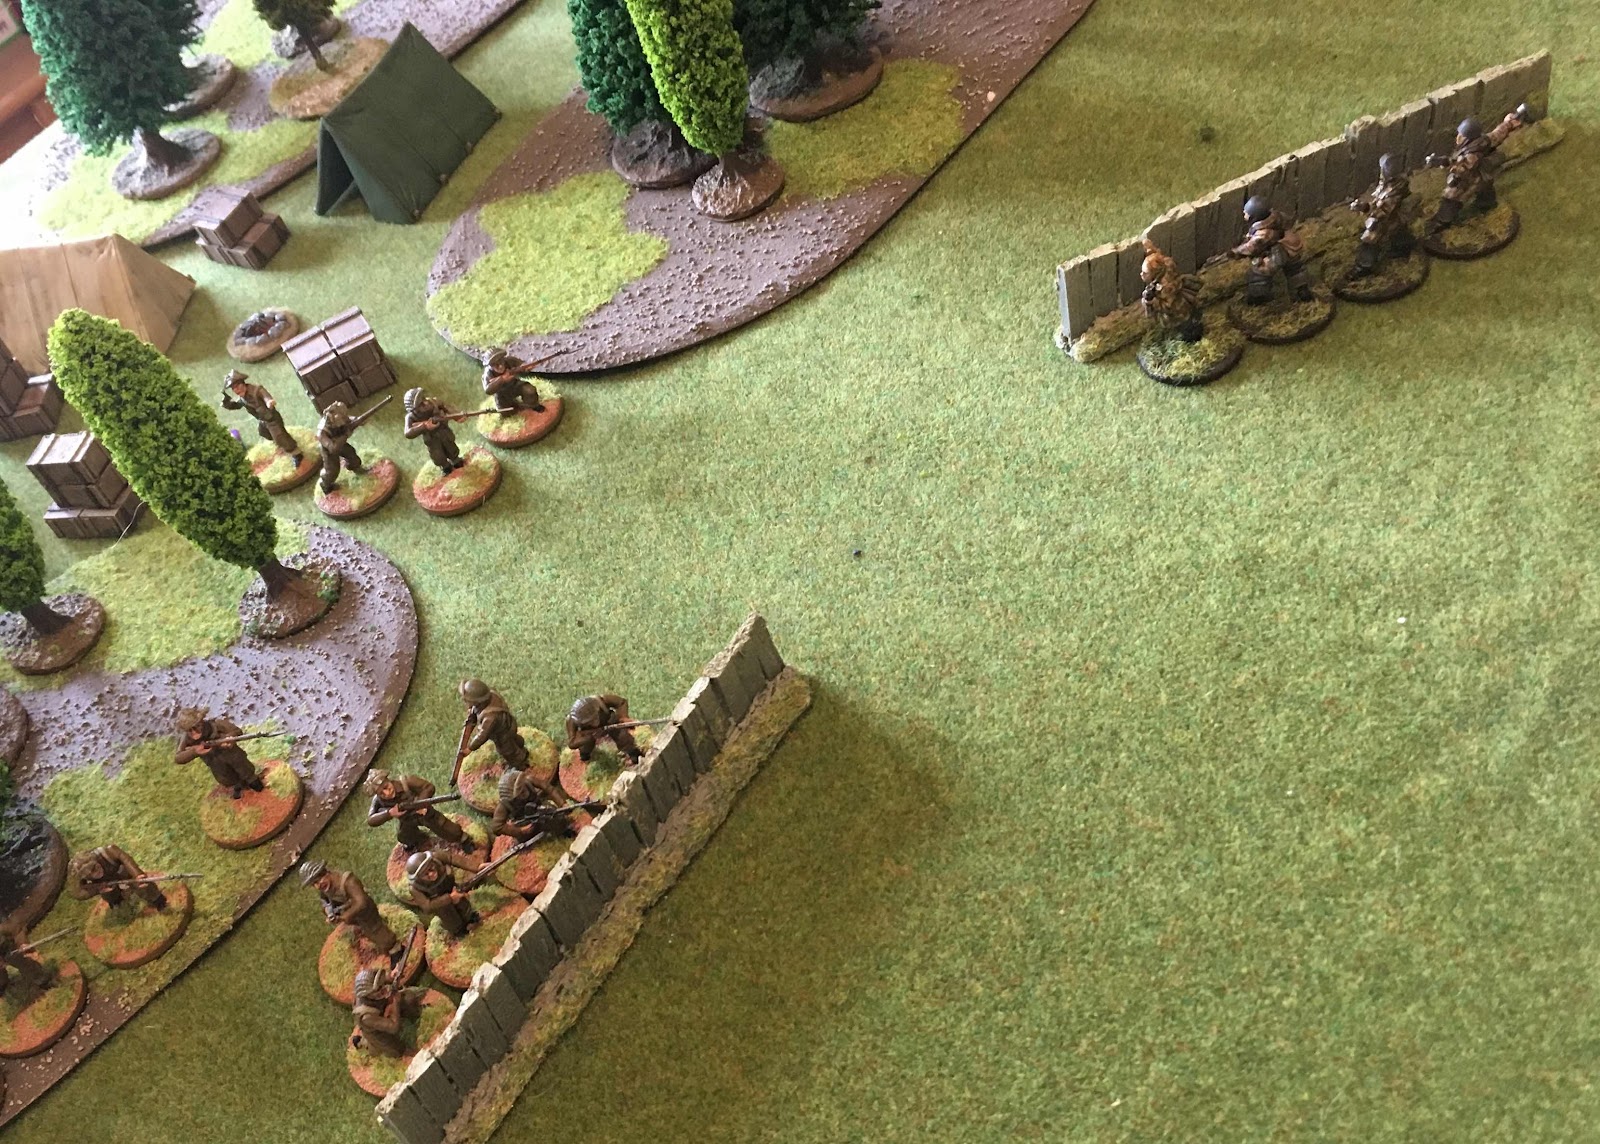
On the left, the last of the French units were brushed aside. The squad led the way, making it off the table, followed by the officer, medic and Light Mortar who made it into the French camp.
The Senegalese also made it into my deployment zone, but the other squad, who’d taken two extra turns to arrive and had then failed an orders test, fell short.
At the end of the game the result was 17-12 (or 15-10 if medics don’t count for scoring, we were unsure) to me. The large building in the centre made it a game of two halves. The left flank was hard fought, but went my way thanks to accurate Mortar fire, veteran toughness and me being unusually aggressive.
The right was pretty much a lost cause when I threw almost all my reserves against the left. Only extreme luck would have held back the tank. However, veteran doggedness did hold up Matt’s troops long enough to secure victory.
My MVP was the brand new Mortar team which not only took out the howitzer and the sniper, but also drew fire via the spotter.
The Fallschirmjager offer a really different game to my Soviets or British LDV, one that is all about movement and aggression rather than firepower. This is not my usual m.o. so it will be interesting to adapt to this out of character army.