On the night of 30th June 1944, at the start of Operation: Bagration, a platoon of the 3rd Guards Tank Corps of the Red Army, led by Lieutenant Pavel Rak stormed across the bridges into the Wehrmacht-held town of Borisov. Despite throwing the German forces back in confusion, the Soviet tank commander found himself isolated as the rest of his platoon was destroyed and cut off when the bridges were blown behind him.
With only a small force of infantry to support him and facing overwhelming odds, Pavel Rak steeled himself to hold until relieved or to fight to the last man against the hated invaders.

This is the background of my final game of 2022, an asymmetric Bolt Action battle taken from the Road to Berlin campaign book. I would be taking on the role of the heroic Lieutenant Pavel Rak, and Matt would be commanding the nefarious faceless legions of the Third Reich.
The scenario dictated that Matt would have three times as many points as me (1800 vs 600), but I would be defending three bunkers (pictured below). The objectives were simple, Matt had 8-9 turns to capture the bunkers and I had to stop him or die trying.
You'll notice that two of the bunkers were actually coastal defences with hideous blind spots (this would be relevant) and for the third we created a strongpoint within the ruined factory. It made sense to us.

As stated earlier, the forces were somewhat uneven, but Matt and his Germans had a lot of ground to cover, whilst I had the benefit of sitting tight and letting him come to me. Given that I had to include a T-34 in my list to represent Lt Rak, I opted for quantity over quality for the rest of my force which was drawn from the Operation Bagration theatre selector:
Soviet Defenders (all Inexperienced unless noted)
2nd Lieutenant
Free Rifle Squad (12 men)
LMG Squad (10 men, 2 LMG)
LMG Squad (10 men, 2 LMG)
2 AT Rifle Teams (Regular)
Mortar Team & Spotter
T-34/85 (Regular)
Matt had more freedom but was required to use the Folorn Hope theatre selector which limited his choices to an extent. However, he knew that he would have to storm bunkers and deal with a T-34 and so could build his list accordingly...all 1800 points of it...
German 1st Platoon (1st wave, all Regular unless noted)
2nd Lieutenant
Forward Air Observer
Heer Grenadier Squad (10 men)
Heer Grenadier Squad (10 men)
Heer Grenadier Squad (9 men, Veteran)
Flammpanzer B2 (f)
German 2nd Platoon (2nd wave, all Regular)
2nd Lieutenant
Major
Heer Grenadier Squad (10 men)
Heer Grenadier Squad (10 men)
Panzerschreck Team
Panther Ausf D
Turn 1

I deployed my infantry squads in each of the bunkers, with the rifle squad occupying the factory strongpoint. The AT teams took up positions to allow them to try to put pins on advancing units and the T-34, Mortar team and officer were all hidden away out of danger.
Matt deployed most of his first wave on my right, around the stately home, with the air observer in an upper floor. We'd both overlooked the fact that the scenario began using the night fighting rules and so for now there was very little shooting possible.

On the other flank he deployed the somewhat terrifying form of the Flammpanzer. The fact that Matt has one of these is due to the fact that he has a rather large French army and there's only so many Char-1b tanks a single force can use.
I was very aware that if the Flammpanzer got in amongst my bunkers the game would be over very quickly and so the only shooting of the round came from and AT rilfe team and the mortar trying and failing to put pins on it.
Turn 2

The Flammpanzer continued to advance and the Panther failed to arrive from reserve, and so I brought Rak's tank out of hiding and, after successfully spotting the lumbering beast (it was still dark), opened fire.

BOOM!
First blood to the Russians.
I'd actually managed to put pins on the tank with the mortar and the AT rifle team in the same turn, but the T-34 shot was good and set the Flammpanzer on fire. Once the crew failed their morale test (which the pins helped with) we decided that the burning hulk should be a light source for the rest of the time that darkness lasted. It seemed to make sense.

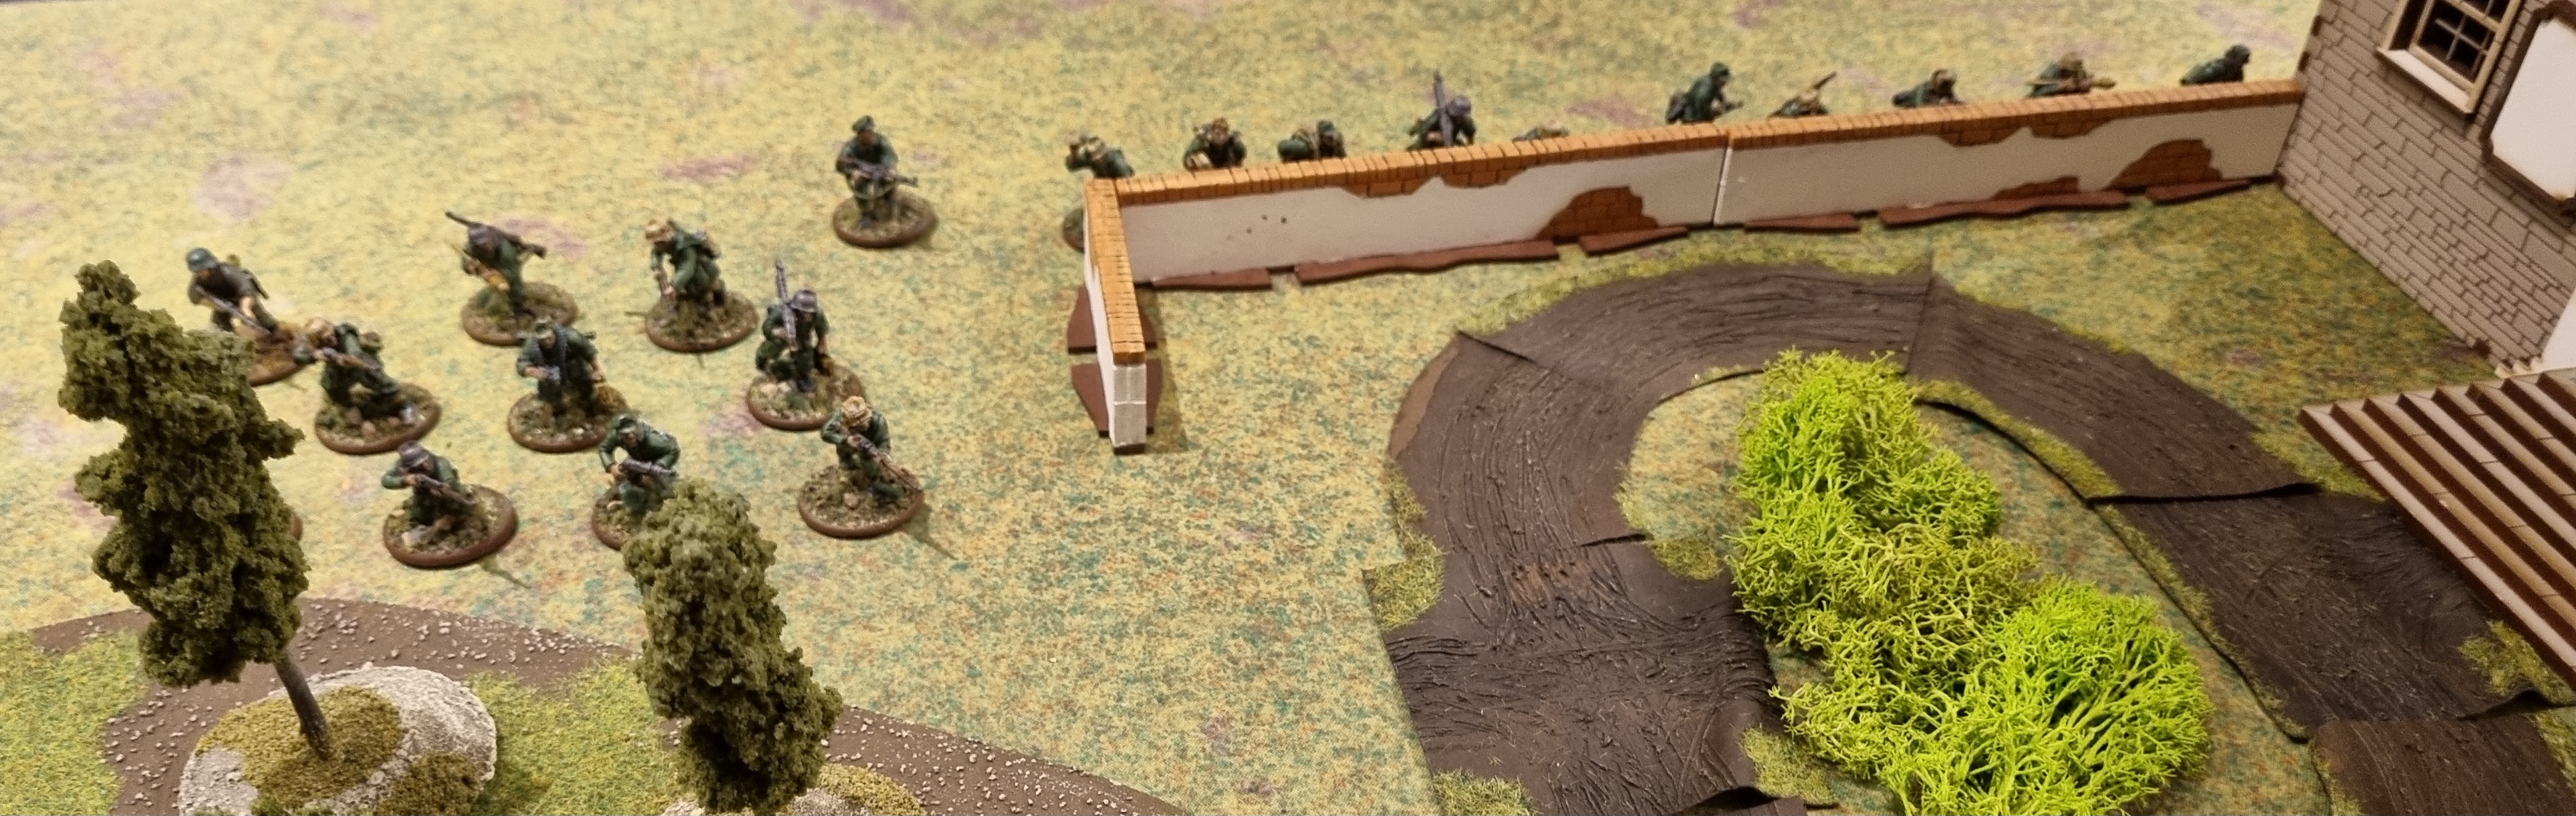
Meanwhile, the German infantry scurried across open ground praying that it would get light before they found cover.

The veterans, however, revealed their superior experience of warfare by using the massive building to sneak up behind, aiming to turn the flank of the Russian defences.
Turn 3

With the sun failing to rise again, German infantry swarmed across open ground hoping that they wouldn't be spotted. Unfortunately, the LMGs in the bunker opened up on them.

The pressure was added to by the T-34 using is machine guns to spray the squad, inflicting significant casualties and causing them to break. My T-34 was living up to the legacy of Pavel Rak.
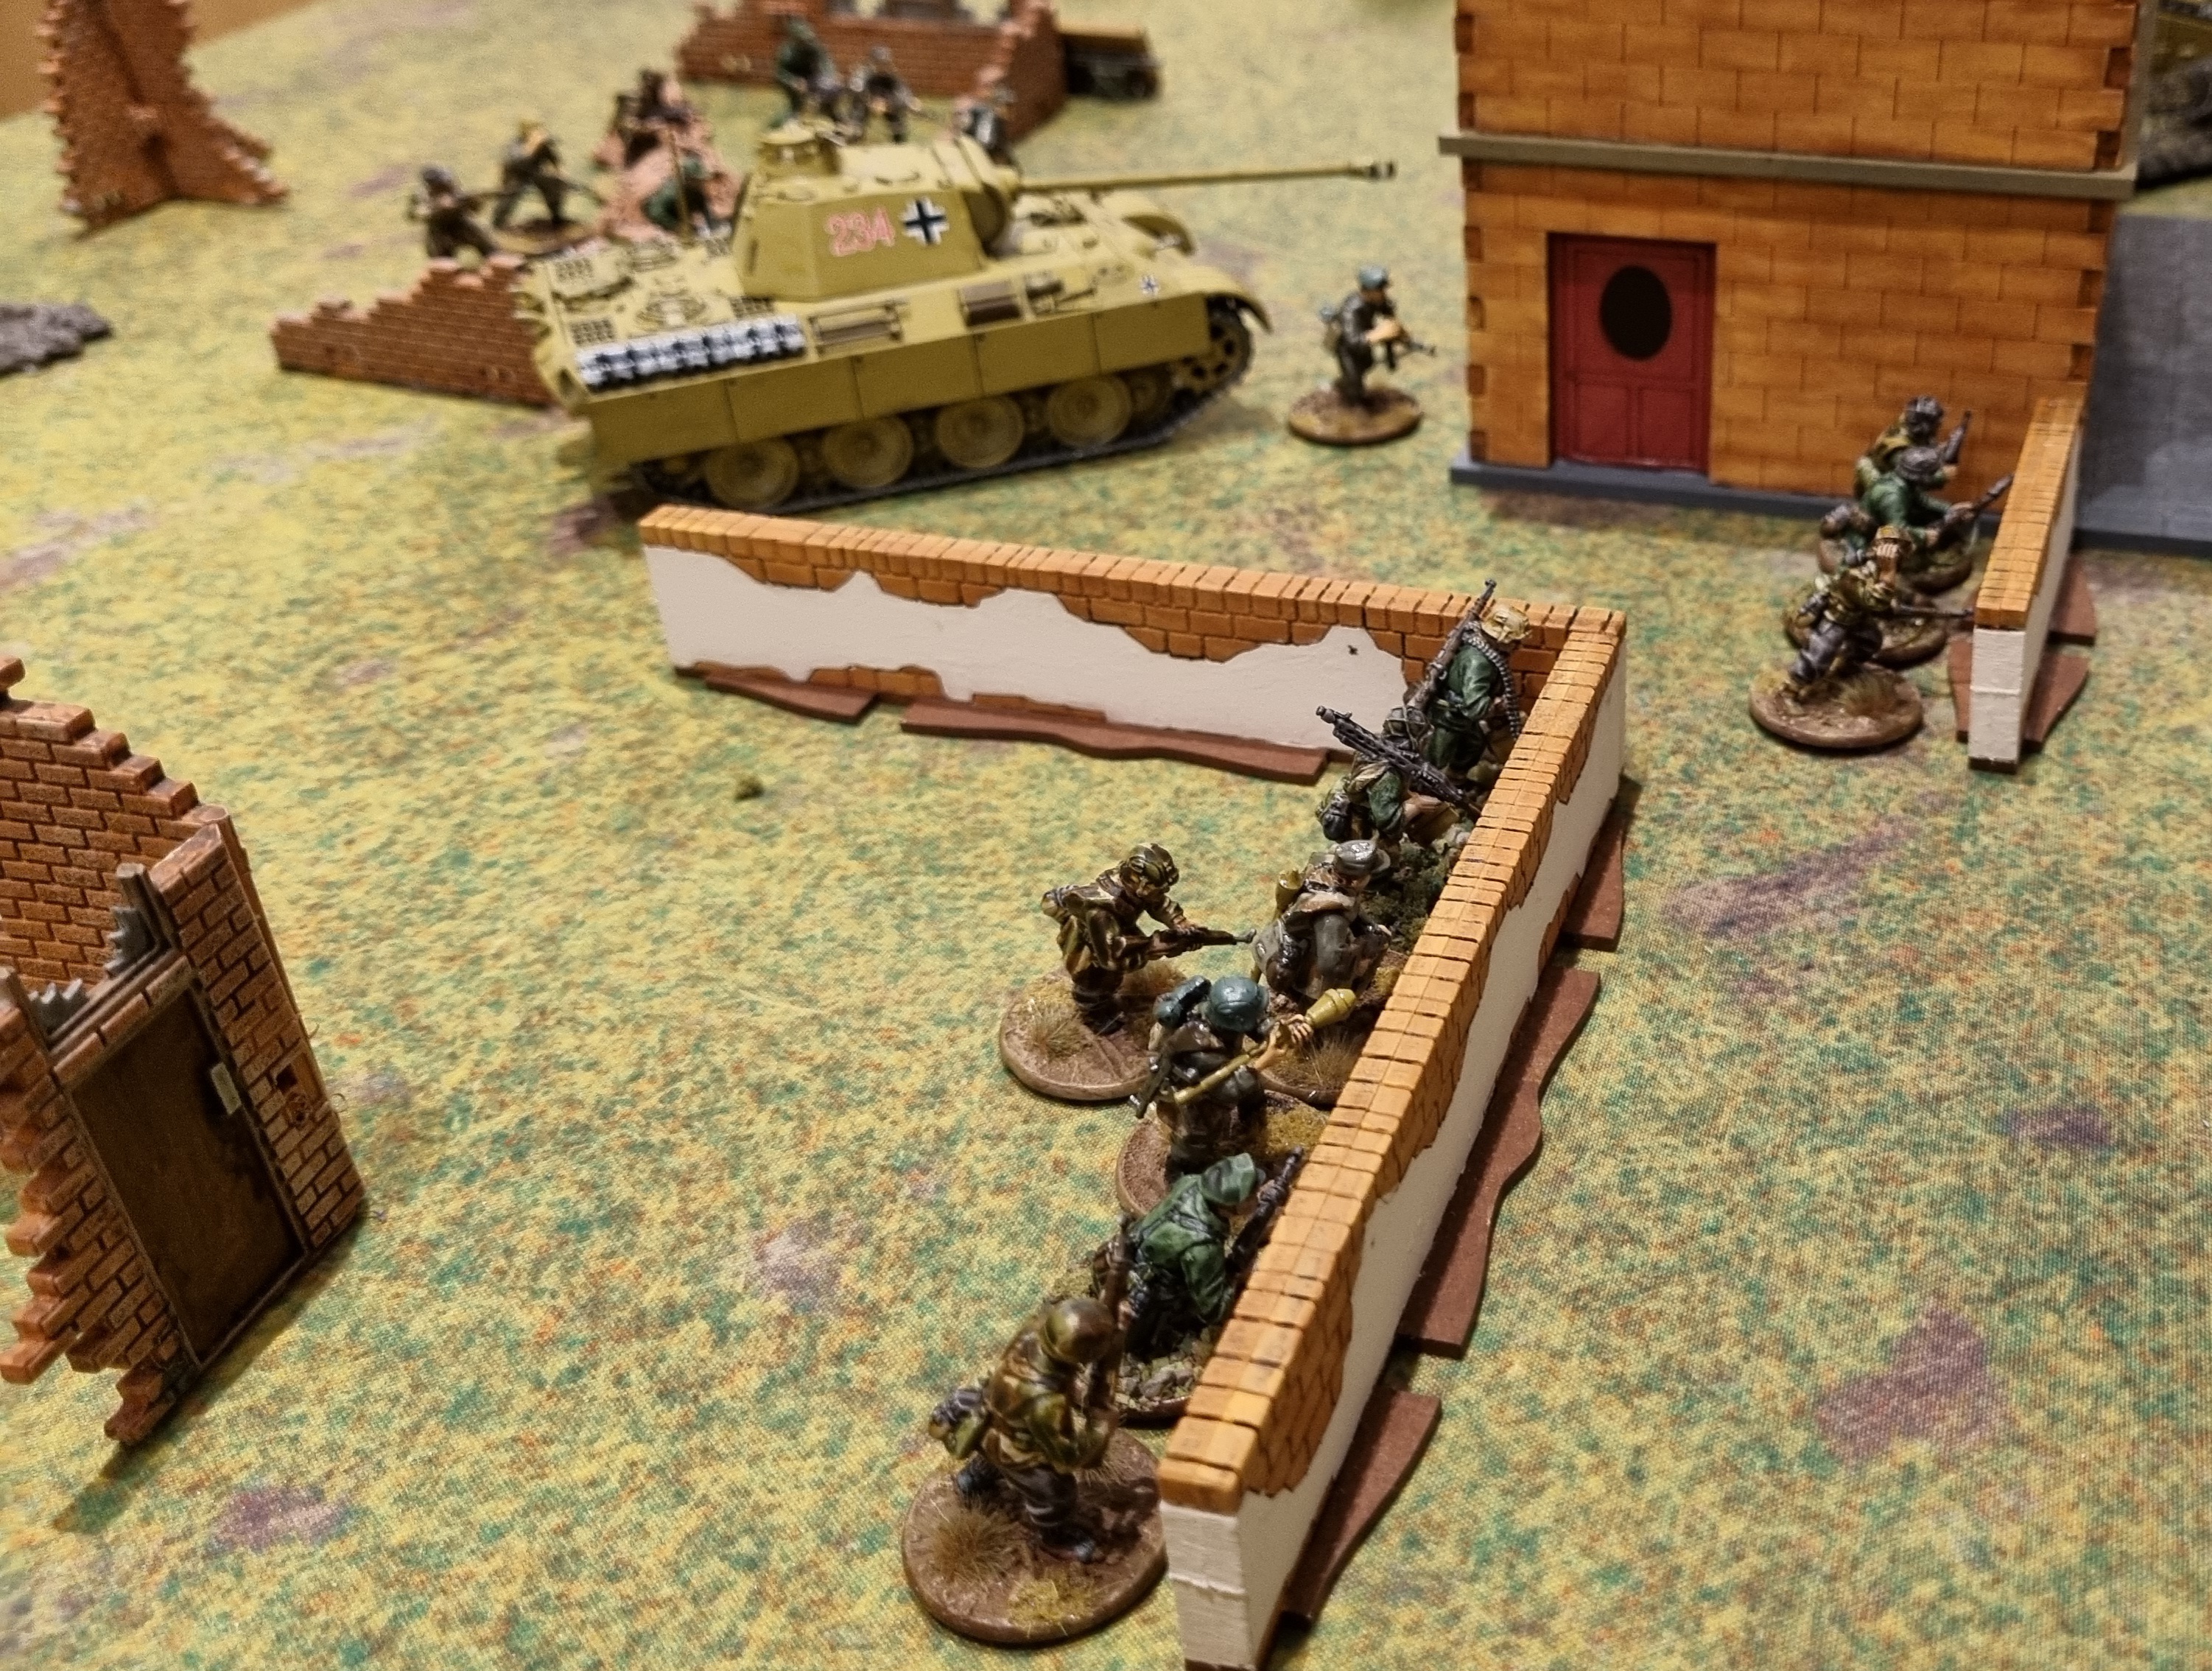
However, despite the successes in the centre of the battlefield, Matt had brought most of his second wave on to my left flank. Two squads of infantry advanced and the ominous form of a Panther rolled in to view. The defenders of the factory facing them were a single AT rifle and a squad of inexperienced infantry.
Turn 4

The advance towards the factory continued apace. A smattering of riffle fire issued out of the strongpoint, aiming more to pin and slow down the assault rather than with any hope of driving it off.

And even if they were successful in this, another squad were coming up in support. Things looked bleak for the defenders of the factory.
Things took a turn for the worse in the centre too, where the Panther and panzerschreck team moved into range of Pavel Rak. Both fired, but somehow both failed to cause any damage.

More infantry moved out into the open, keeping the attention of the soldiers in the bunker fixed to the front.
Turn 5

During all of this the veteran squad had successfully turned the flank of the Soviets, causing the mortar team to redeploy, and the officer to move to defend the bunker which, as a coastal defence, had a massive blind spot. Again, veteran experience had enabled the Germans to spot this.
The officer made a valiant attempt to pin and slow the veterans but his fate was sealed.

Over near the factory, the flood of German soldiers continued and the AT rifle team was brushed aside with ease.

Meanwhile, another squad had made it into assault range of the entrance to the strong point. If all went to plan, the Germans would be in position to take two objectives in the following turn and the Rusians would not have the means to dislodge them.
Turn 6

Daylight finally came and inevitably the air observer targetted my heroic T-34.
On my right the veterans were poised to strike and assaulted the bunker. Veteran soldiers bristling with assault weapons charged into inexperienced recruits armed only with rifles. The outcome was inevitable, but the scenario gave the Soviets the fanatics special rule which meant that the fight was more drawn out that it might have been. When the dust settled there were six veterans remaining anf the bunker was in German hands.

Meanwhile in the centre another assault was being prepared but things weren't going to plan. The panzerschreck team managed to hit but did little more than jam the tureet of the T-34 and the Panther failed to fire after taking a pin from the second AT rifle team. At least the infantry were able to use their cover and get forward, killing the AT rifle team in the process and sweeping towards the bunker.

Over on the left there was a surprise turn of events when the rifle squad rushed out of their bunker with a cry of "Ura!" and swept the German squad away in a storm of fixed bayonets.
Turn 7

The buzz of engines overhead signalled the arrival of the Luftwaffe who somehow managed to miss the tank in the open and instead annihilate their own infantry, removing any chance that Matt had of actually capturing the central bunker unless he could get a HQ unit to relieve the veterans on the left.

In order to prevent this and realising he was on borrowed time anyway, the foolhardy Lieutenant Rak turned his rear to massive gun firing on him and opened up with his hull machine gun on the lone officer heading toward the bunker. The veterans wouldn't be leaving and, barring a disaster, the centre was secure from piecemeal assaults by small squads and HQ units.
With the now customary failed shots from the Panther and panzerschreck, all eyes now turned to the factory.
Turn 8

The final German squad geared up to assault the factory and went in, SMGs and assault rifles at the ready. The fanatical defenders fought back ferocously and two rounds of combat were fought, after which Soviets were still standing. The remaining German officer tried his luck, but also died. The bunker had held.
Soviets 1 - Germans 0

The heroic tale of Pavel Rak finally came to an end when the Panther eventually worked out which way was up and took out the T-34.

Rak had prevented the veterans from leaving the right hand bunker, but this was still firmly in German hands.
Soviets 1 - Germans 1

A smattering of Germans lingered near the central bunker which was still grimly defended by the Russians. Technically the scenario states that units within 3" of an objective contest it, but this didn't really make a great deal of sense, given that standing outside a bunker doesn't really do anything unless you're armed with a flamethrower.

As Matt had gallantly assaulted the factory rather than loitering with intent but with the scenario rules being a touch weird we decided to call it a draw.
The Soviets still help two of the bunkers, but had no means of harming the Panther without leaving shelter and so would be pinned down until the veterans could be freed up to clear them out.
Final Score: Soviets 1 - Germans 1
This was a really fun game to play with a very different feel to it. In retrospect I should probably have had slightly smaller squads and tried to have a few more mobile troops that I could use as a fire brigade. The AT rifles were a good choice, but the mortar was not the best decision against a mobile opponent and so I could easily have squeezed in one or two better quality squads designed for counter attacking.
Matt obviously wouldn't have brought the air observer and had terrible luck with his many failed attempts to destroy the T-34. Despite the points advantage, it's not easy to assault a fixed position and he had to keep moving throughout the game, whether he had cover or not or risk running out of time.
It's been enjoyable to get back to Bolt Action over the last few weeks and I'm hoping to get a few more games. I really enjoy the scenario gaming much more than straight fights and I'll be looking to ake good use of the campaign books over the coming year.
No comments:
Post a Comment